|
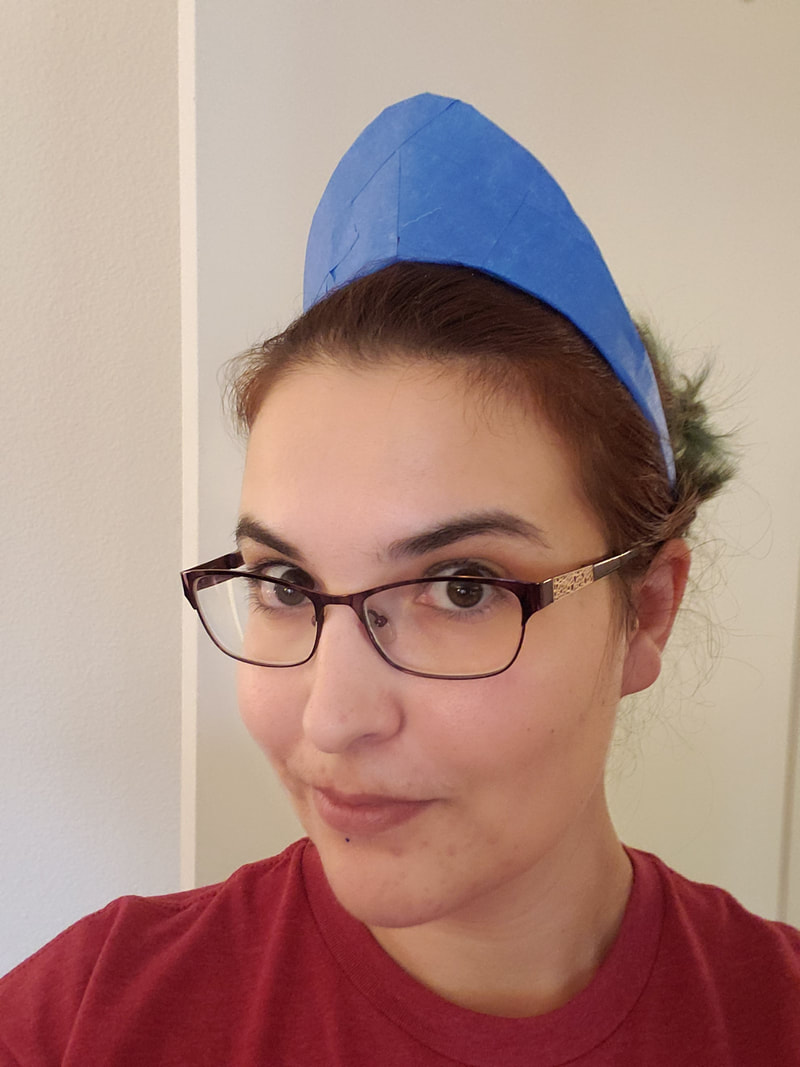
Challenge: I will link rules and results at the bottom of this post. TL;DR: In this challenge, contestants were asked to create a tutorial, either written or in a video, that shows a styling technique as part of an overall style. I chose to showcase styling pinup rolls and created a classic pinup hair ‘do to show off the technique. This was one part of the overall Final Round, which had 3 parts total. The Materials: Links to products used will also be provided at the bottom of this post. Arda gave us a bunch of stuff for the final round and of that haul I chose to use the following for this tutorial:
Results:
In terms of score, I did okay. I was rather proud of myself though for making my first tutorial video and learning a lot for my future tutorials. I was also happy that I managed to keep the overall video less than 20 minutes as well as just focus in on the core of what I wanted to teach.
0 Comments
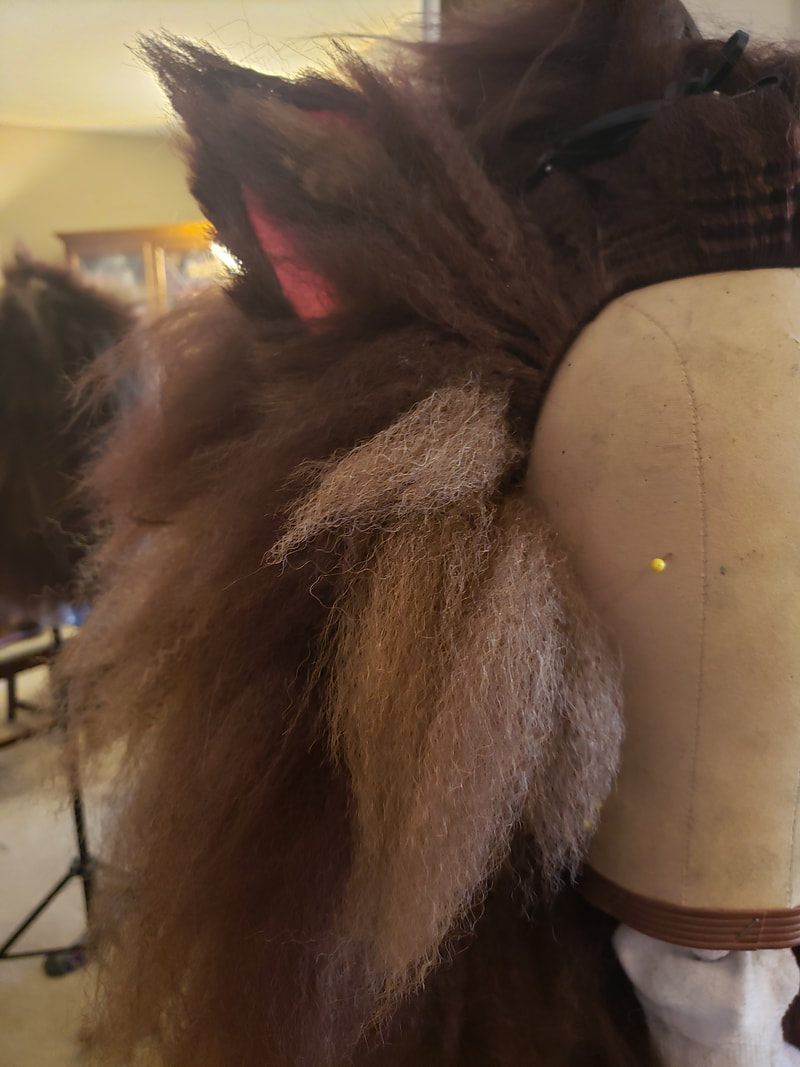
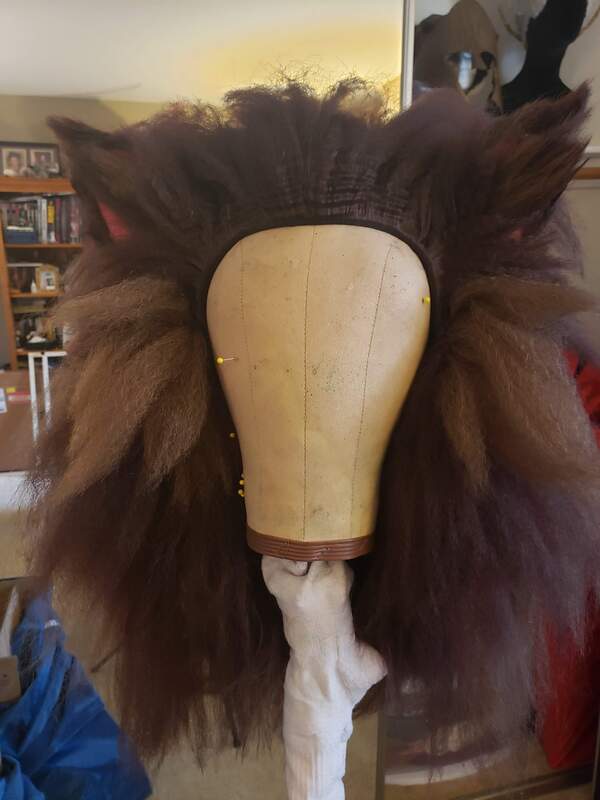
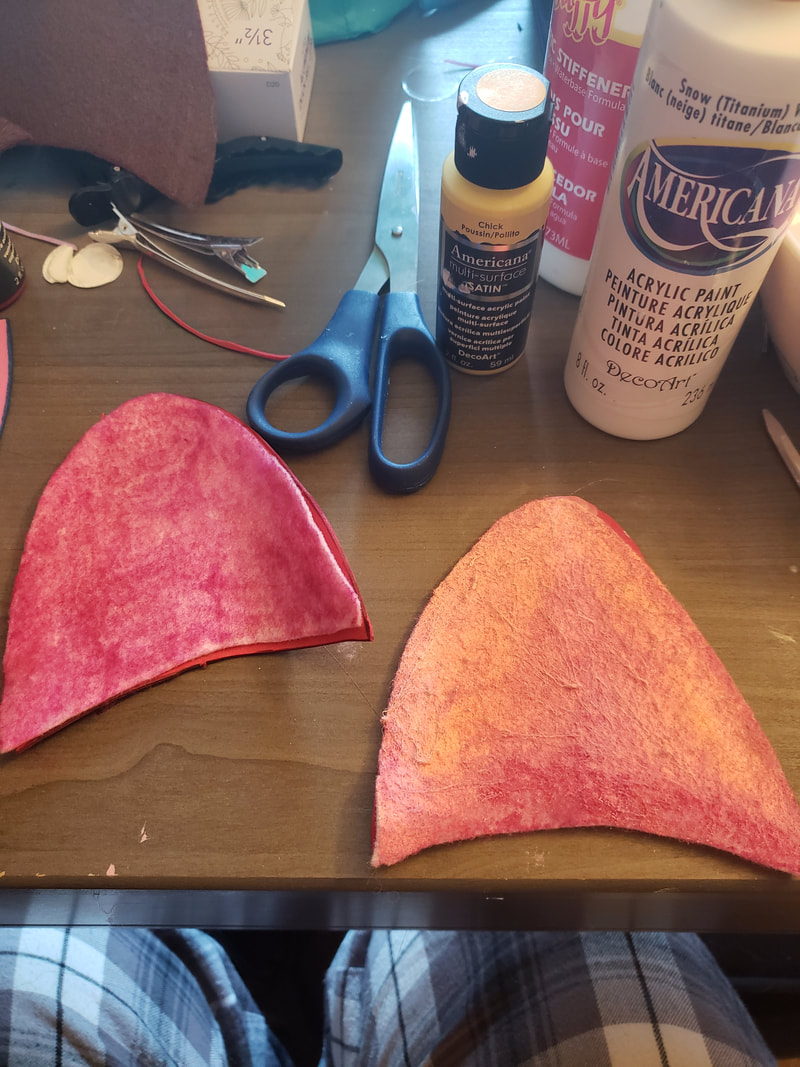
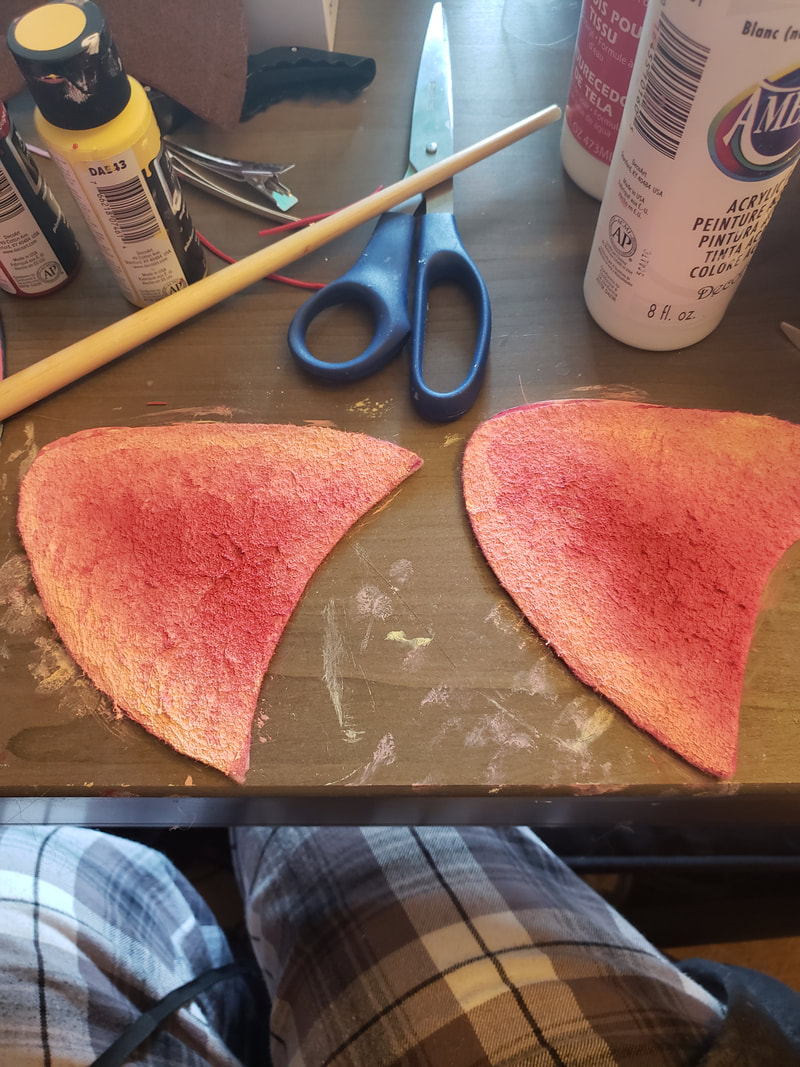
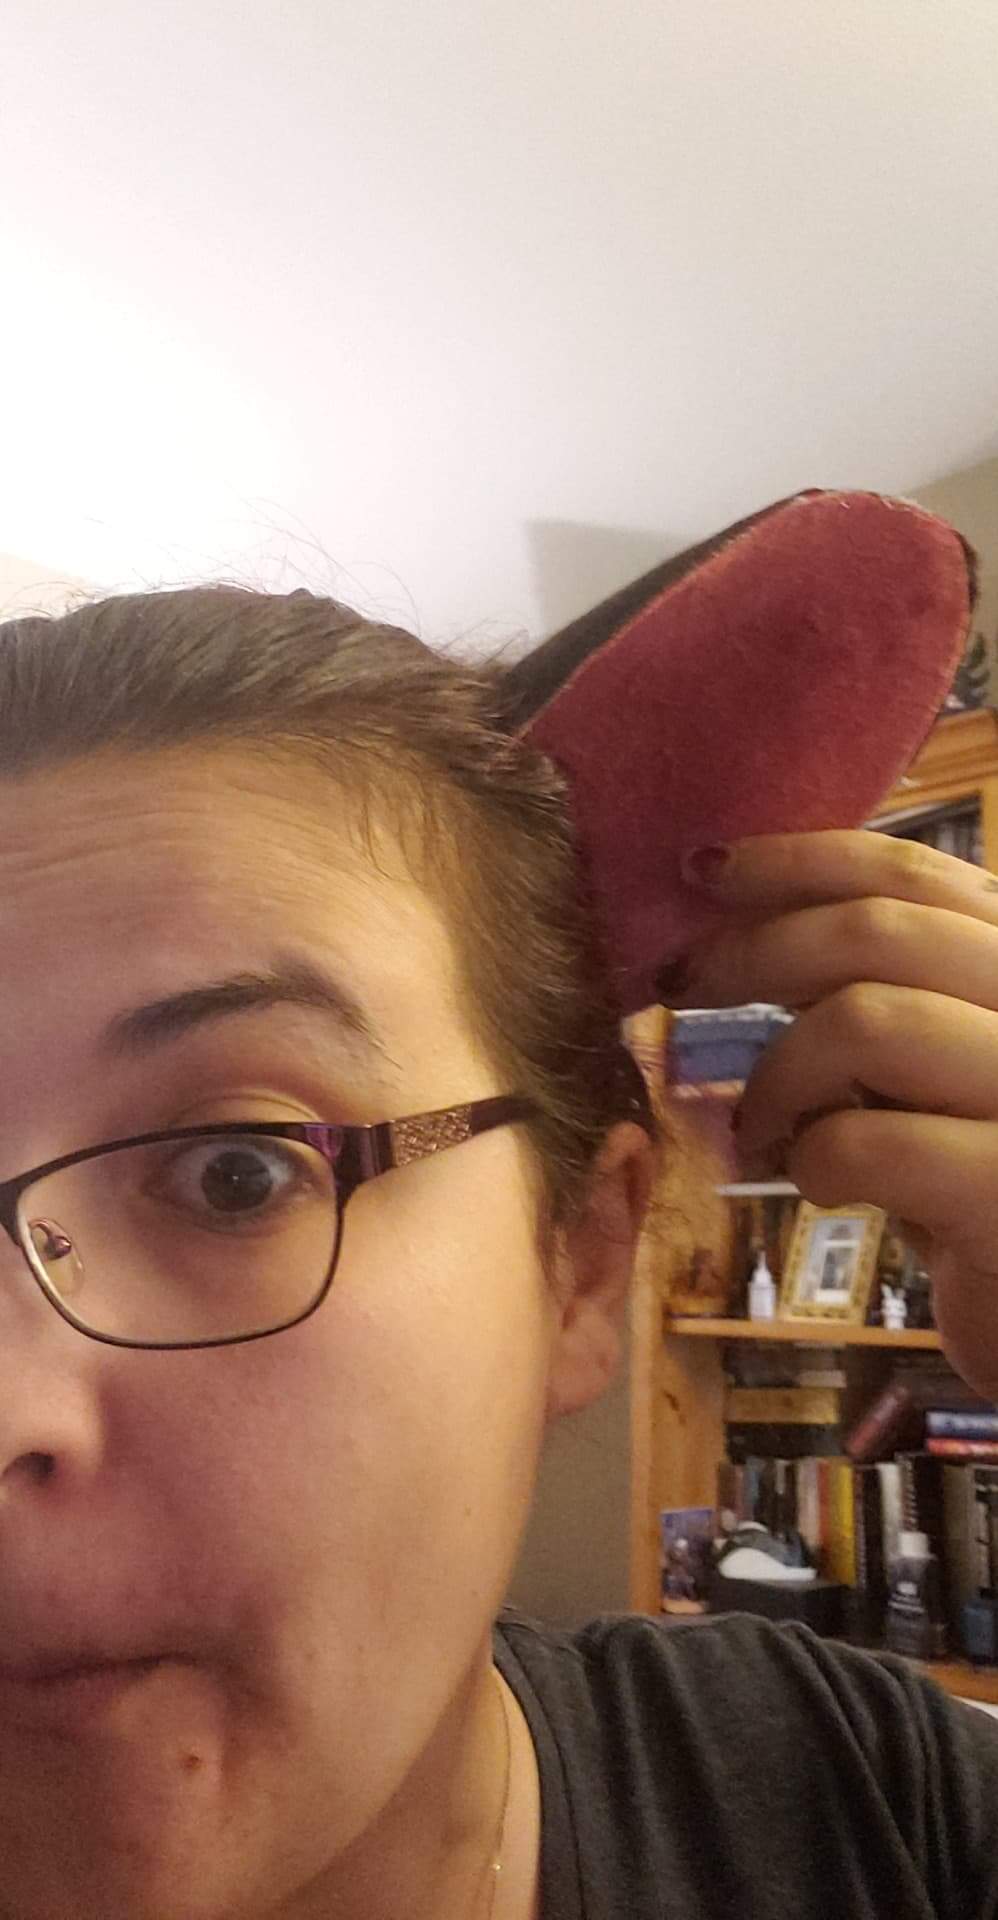
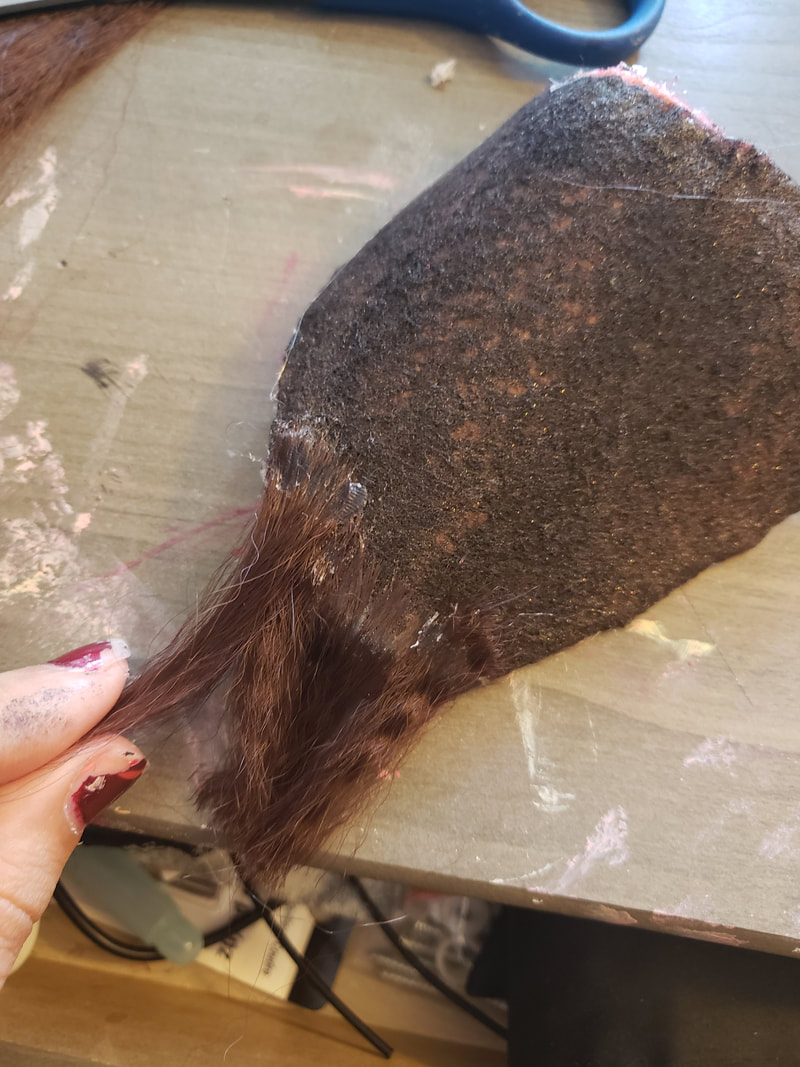
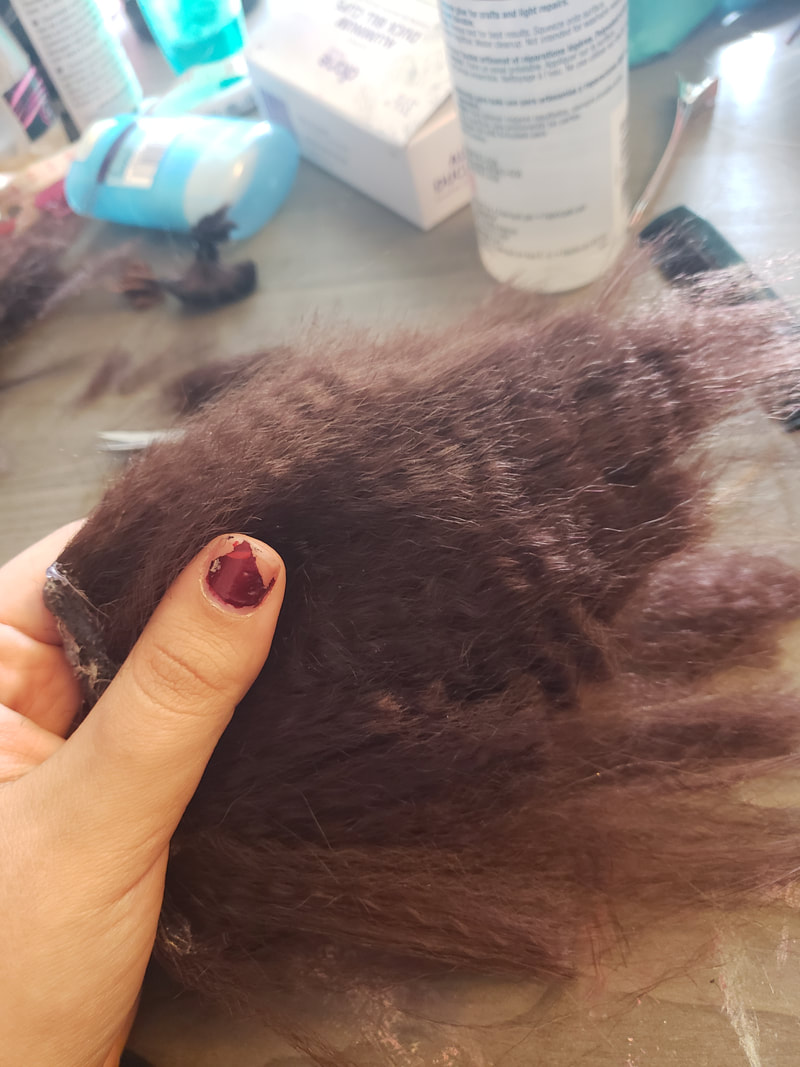
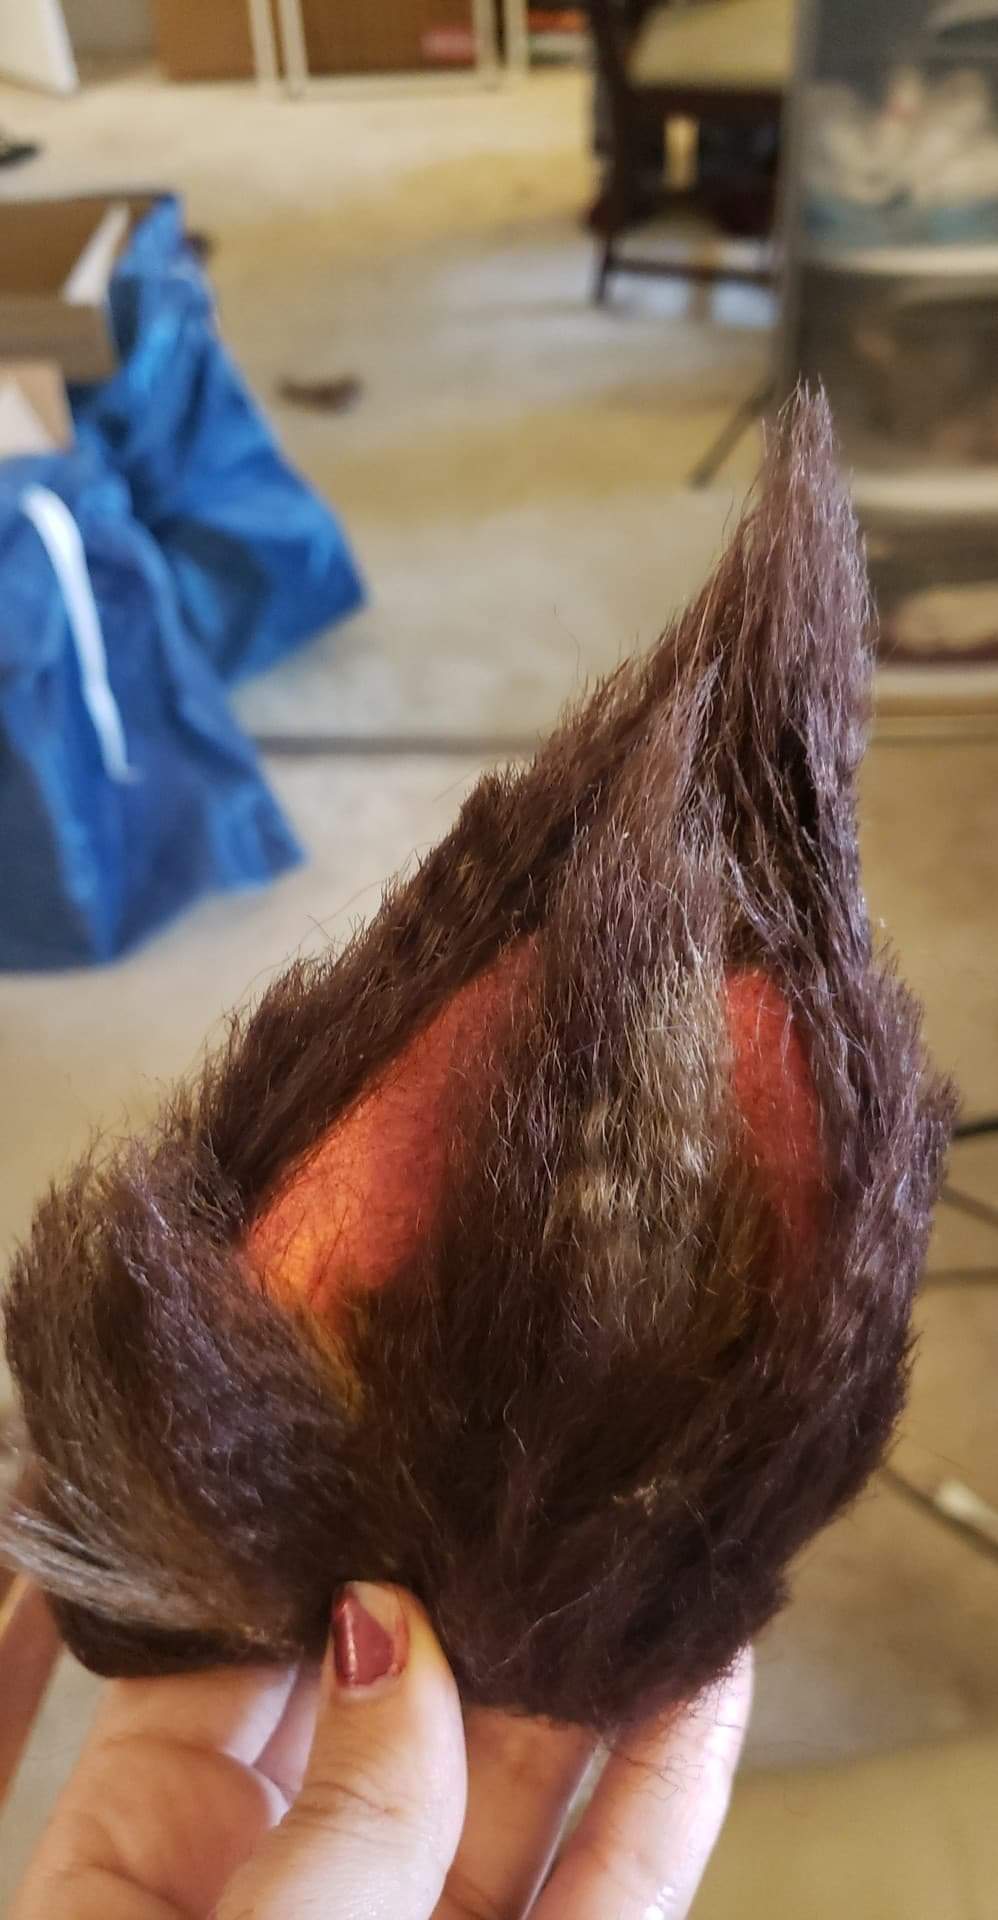
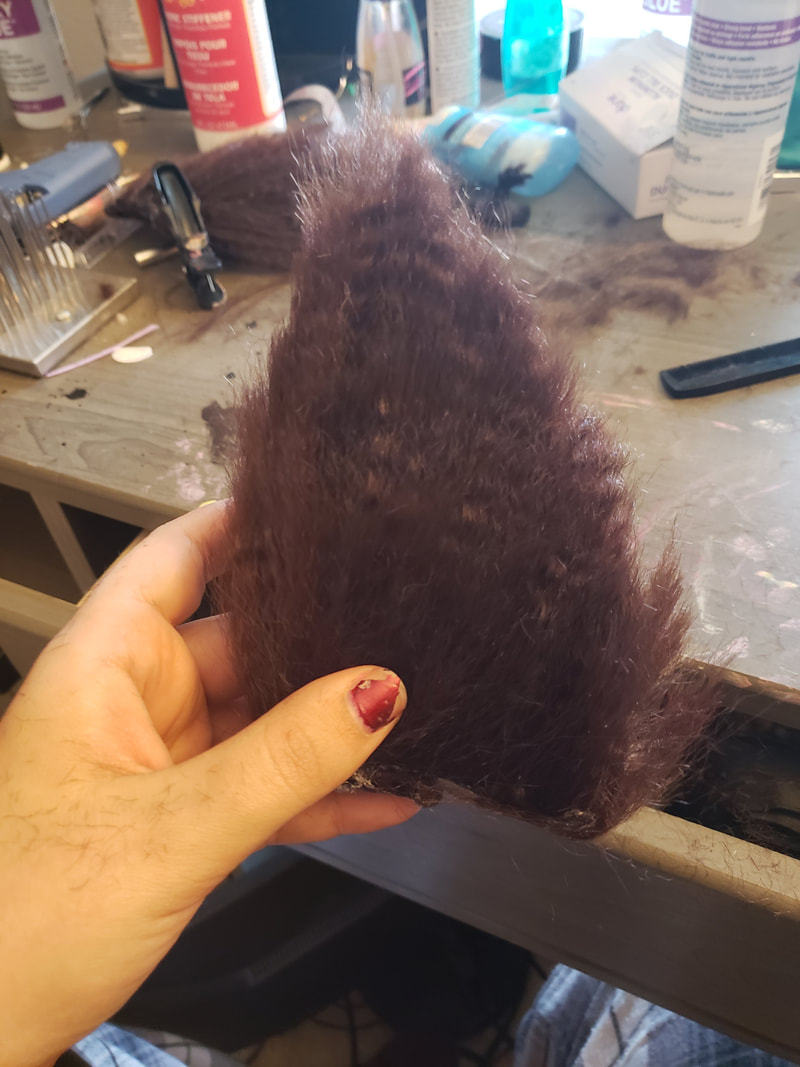
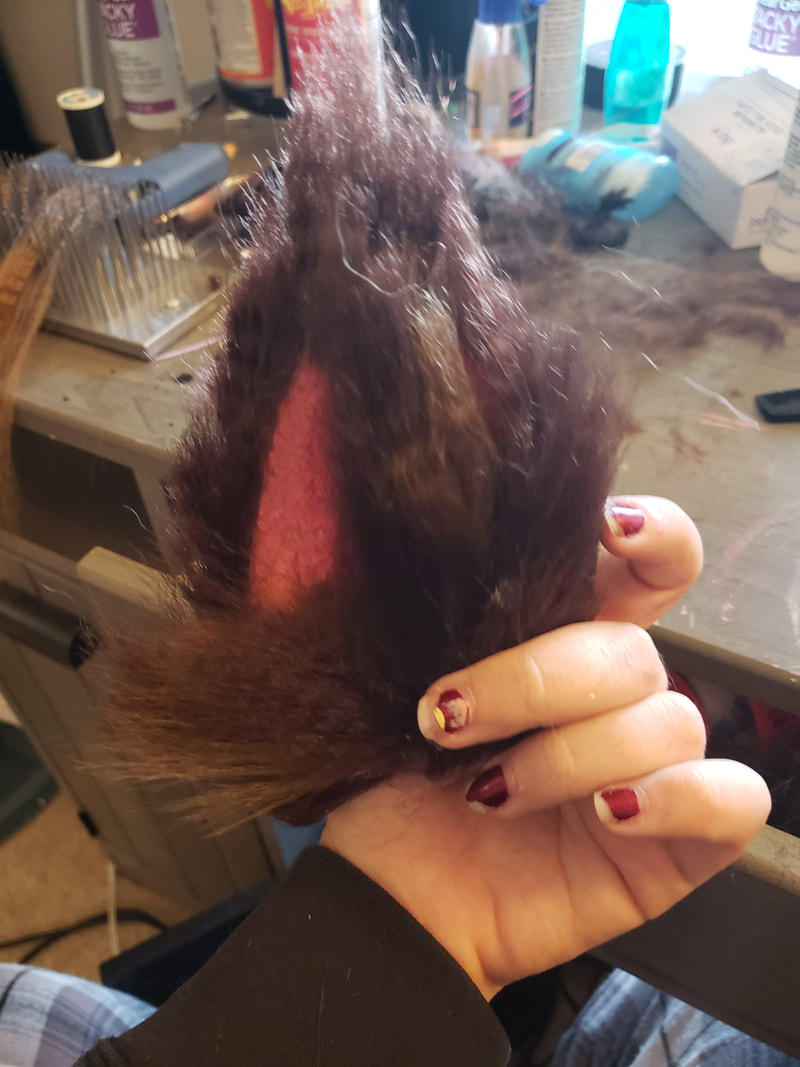
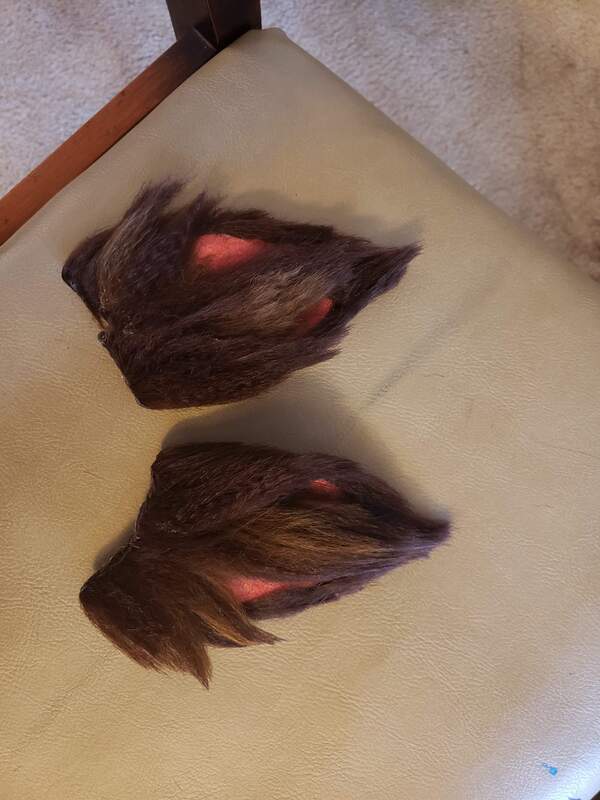
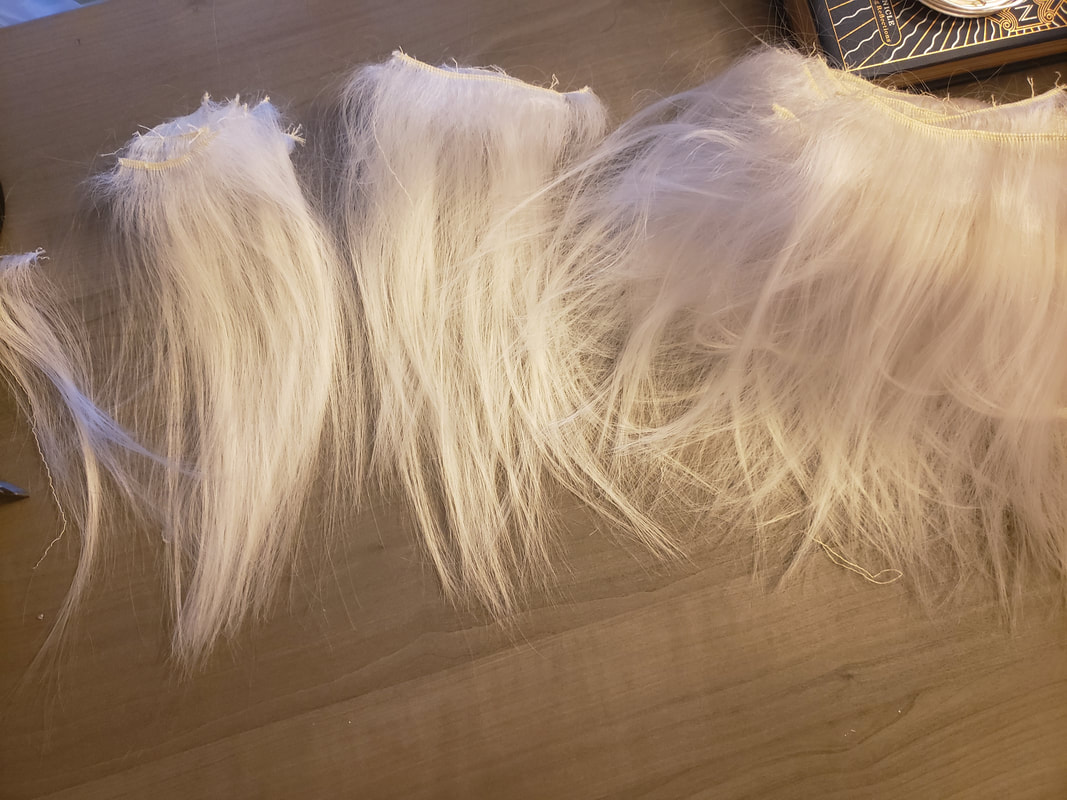
Challenge: I will link rules and results at the bottom of this post. TL;DR: In this challenge, contestants were asked to create a wig for the animated character Catra from She-Ra and the Princesses of Power. The Materials: Links to products used will also be provided at the bottom of this post. Arda gave us the following to use for this challenge
Results:
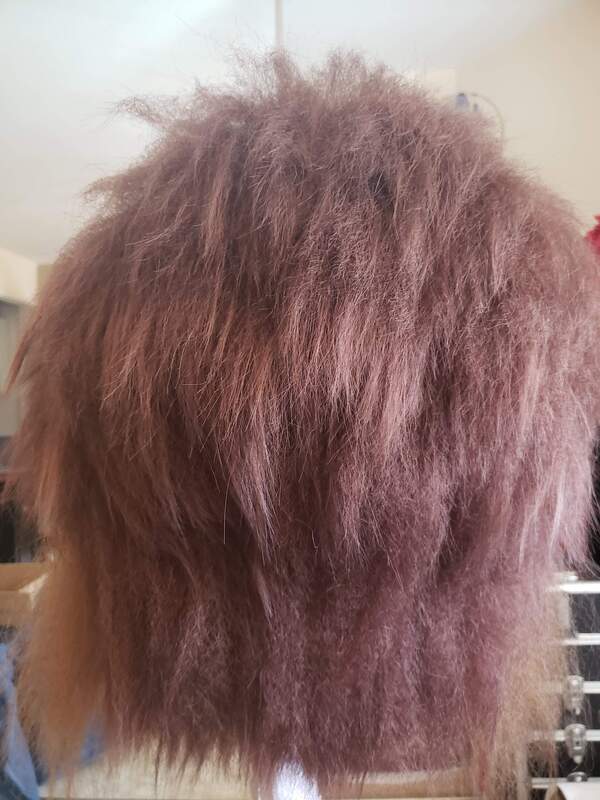
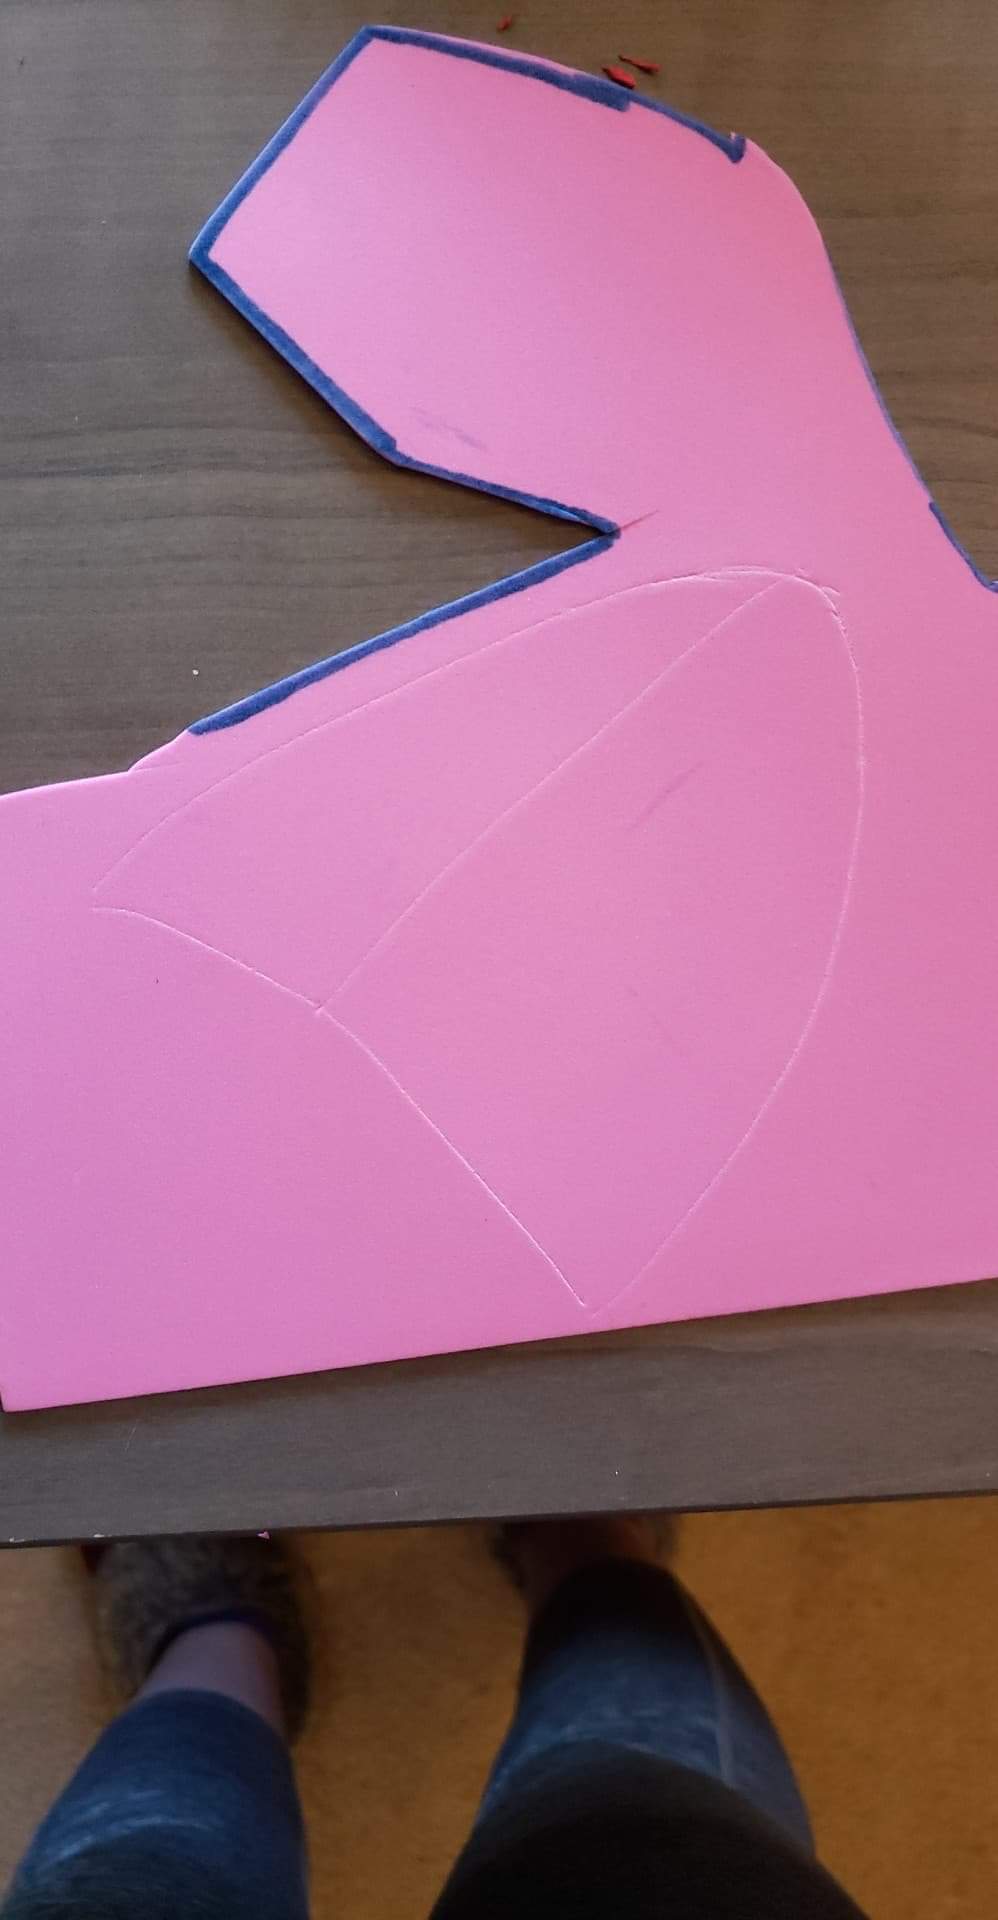
I'm not sure I scored better this round than previous rounds. The judges did not seem to respond well to the textured hair, but I also know the hairline could use some work. I plan on redoing the hairline with lace, and keeping the textured hair while making it more uniform throughout. This wig will be available for purchase at a later date. 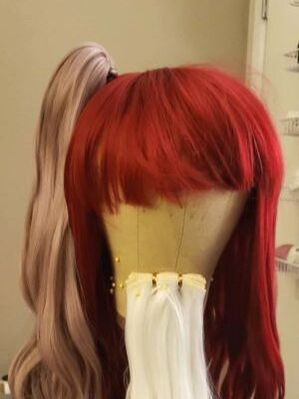 Challenge: I will link rules and results at the bottom of this post. TL;DR: In this challenge, contestants were asked to design a wig with a removable hat or accessory. We could color the fibers and create whatever design we wanted, but we could not add any additional hair besides that which was provided. The Materials: Links to products used will also be provided at the bottom of this post. Arda gave us the following to use for this challenge
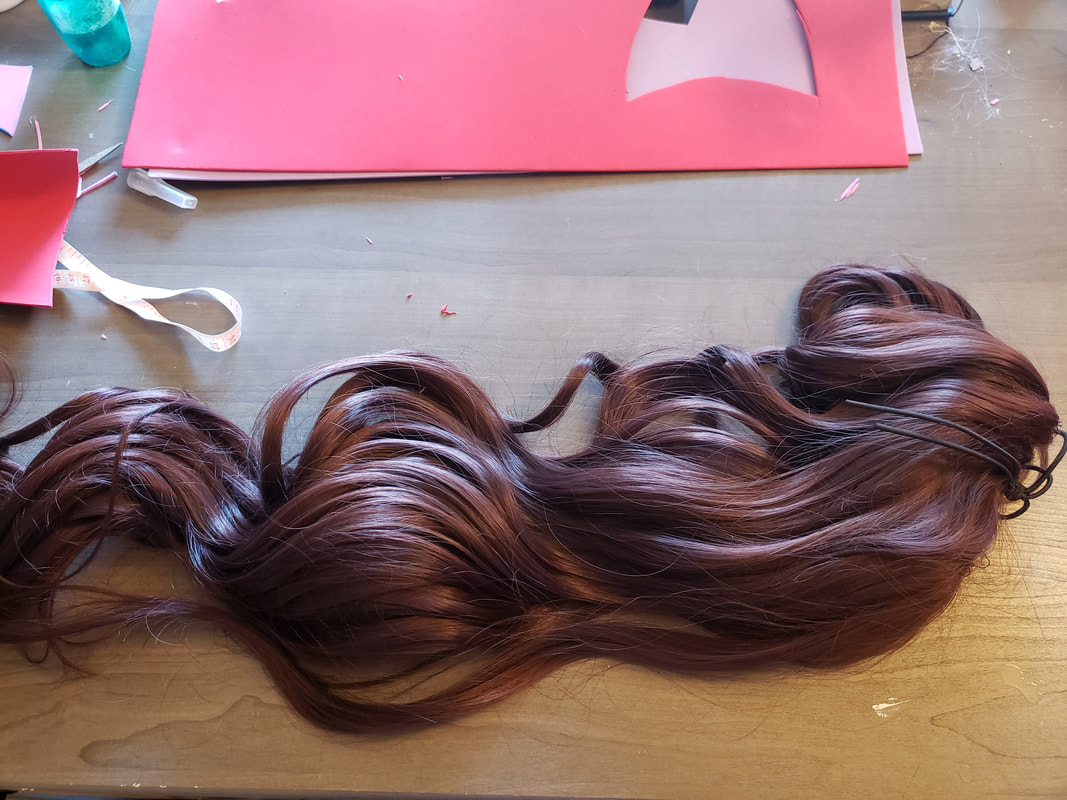
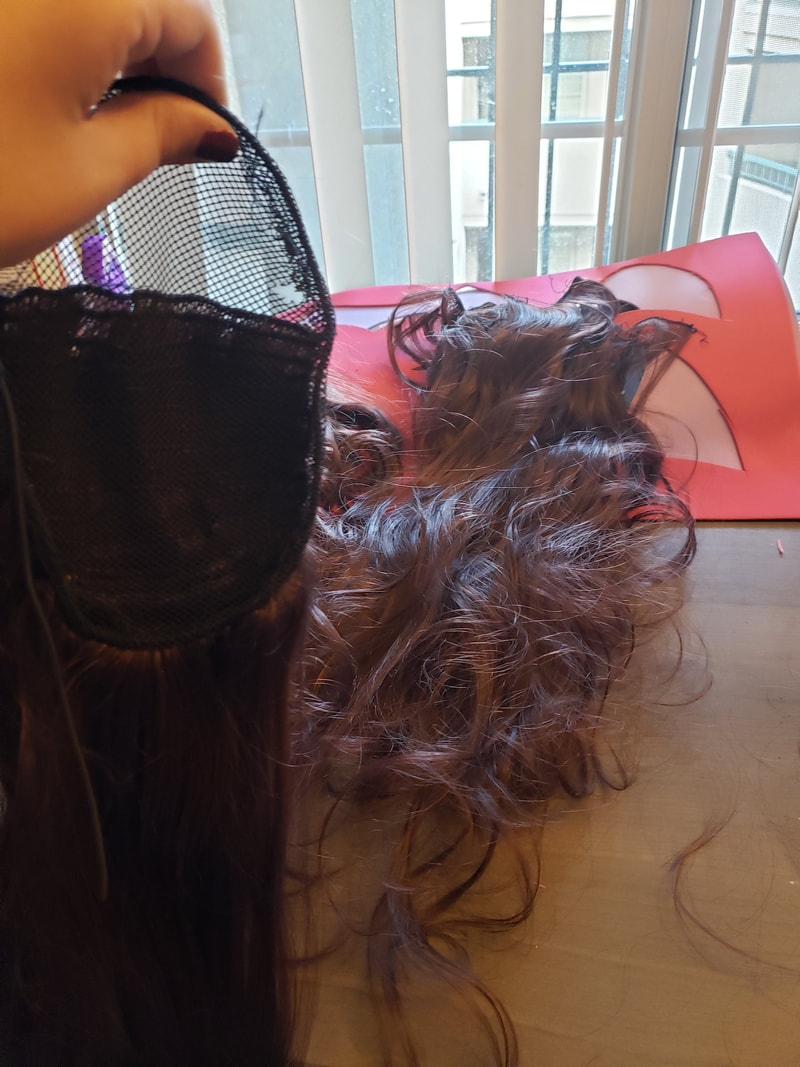
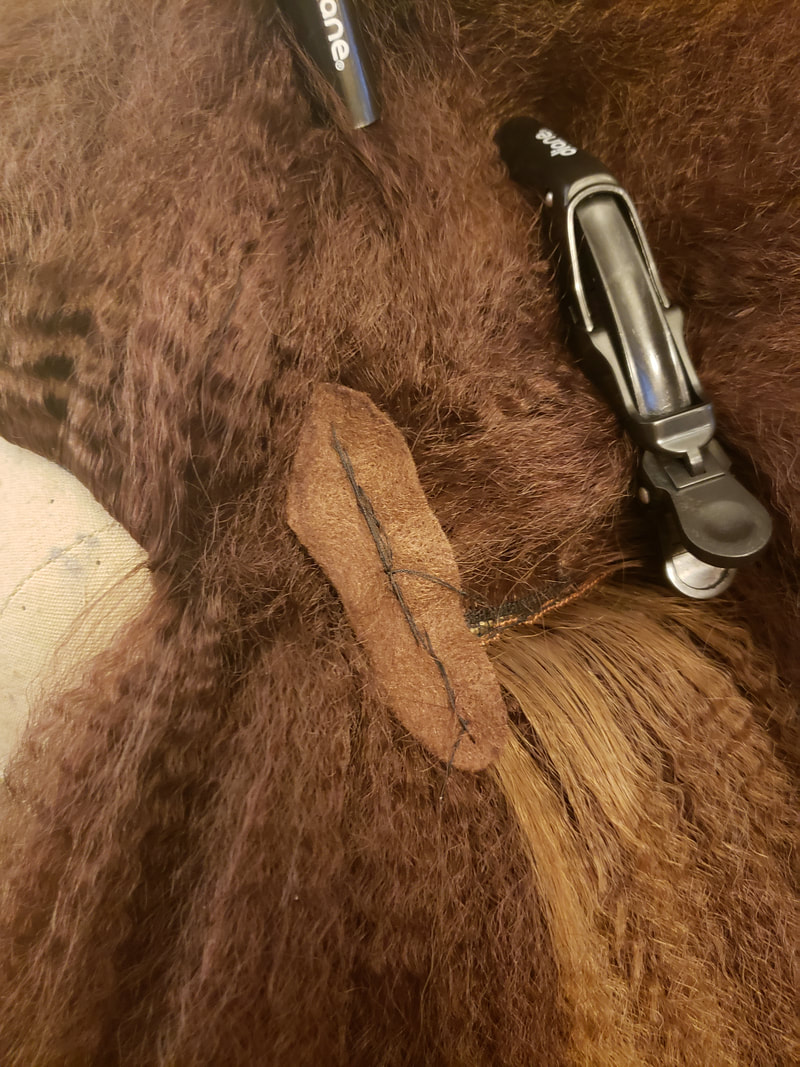
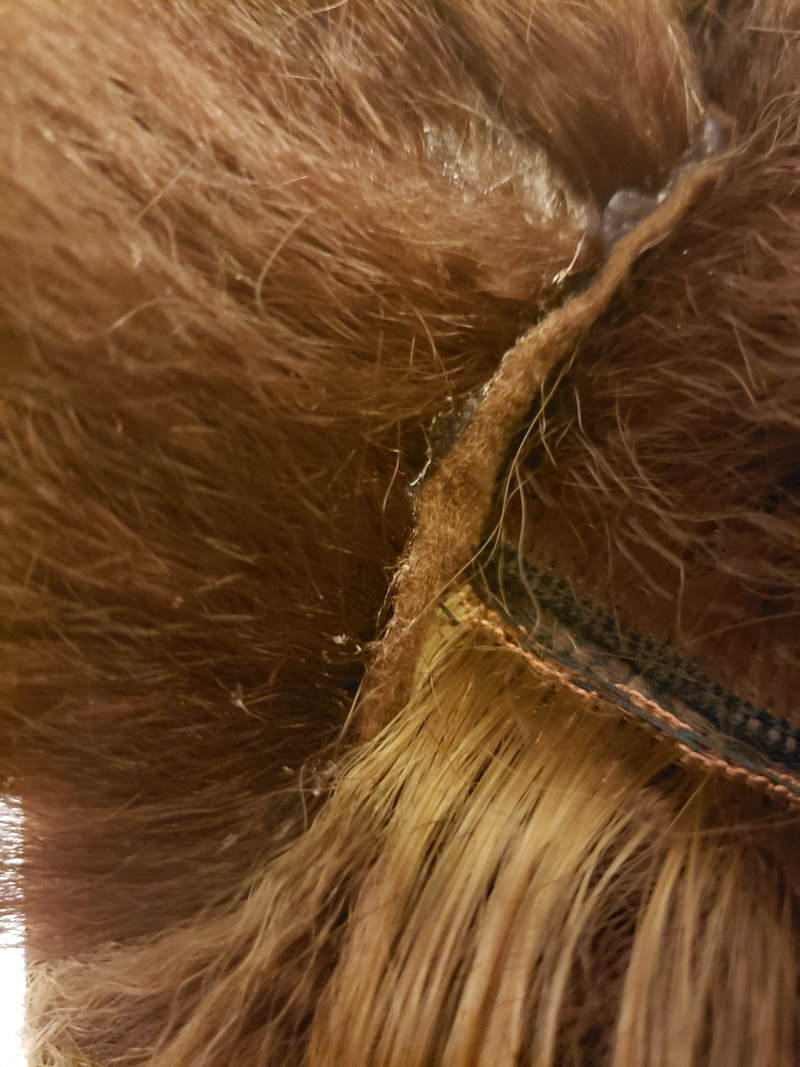
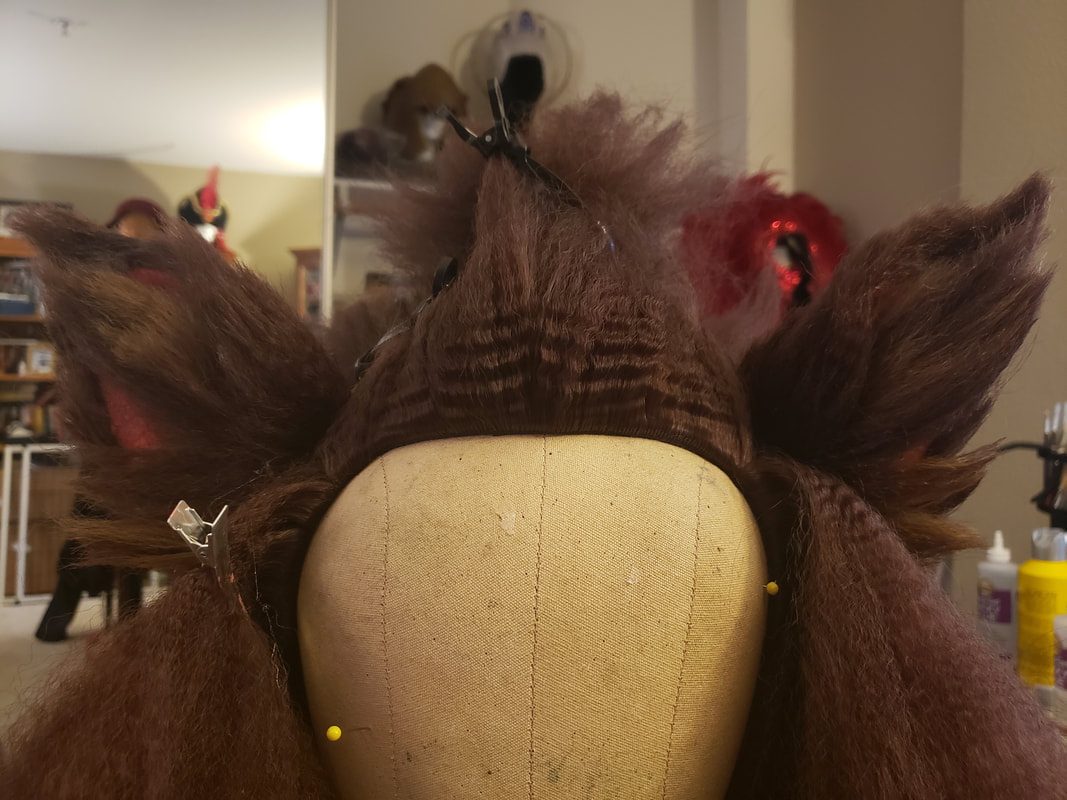
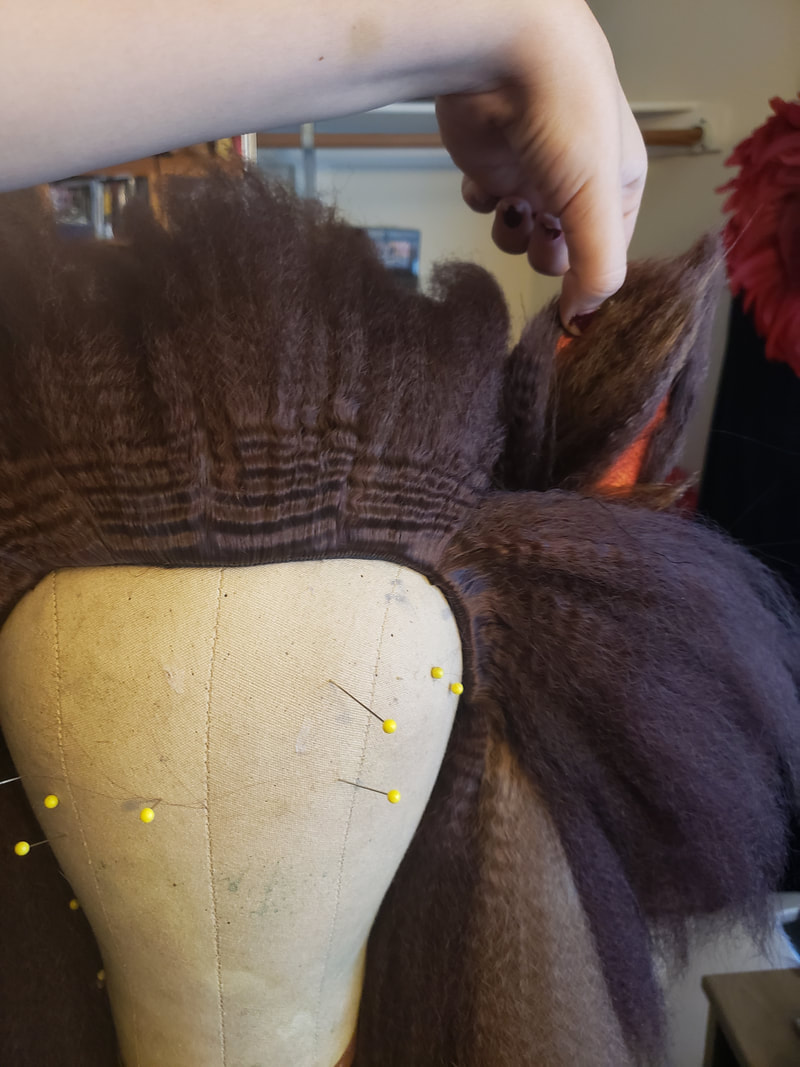
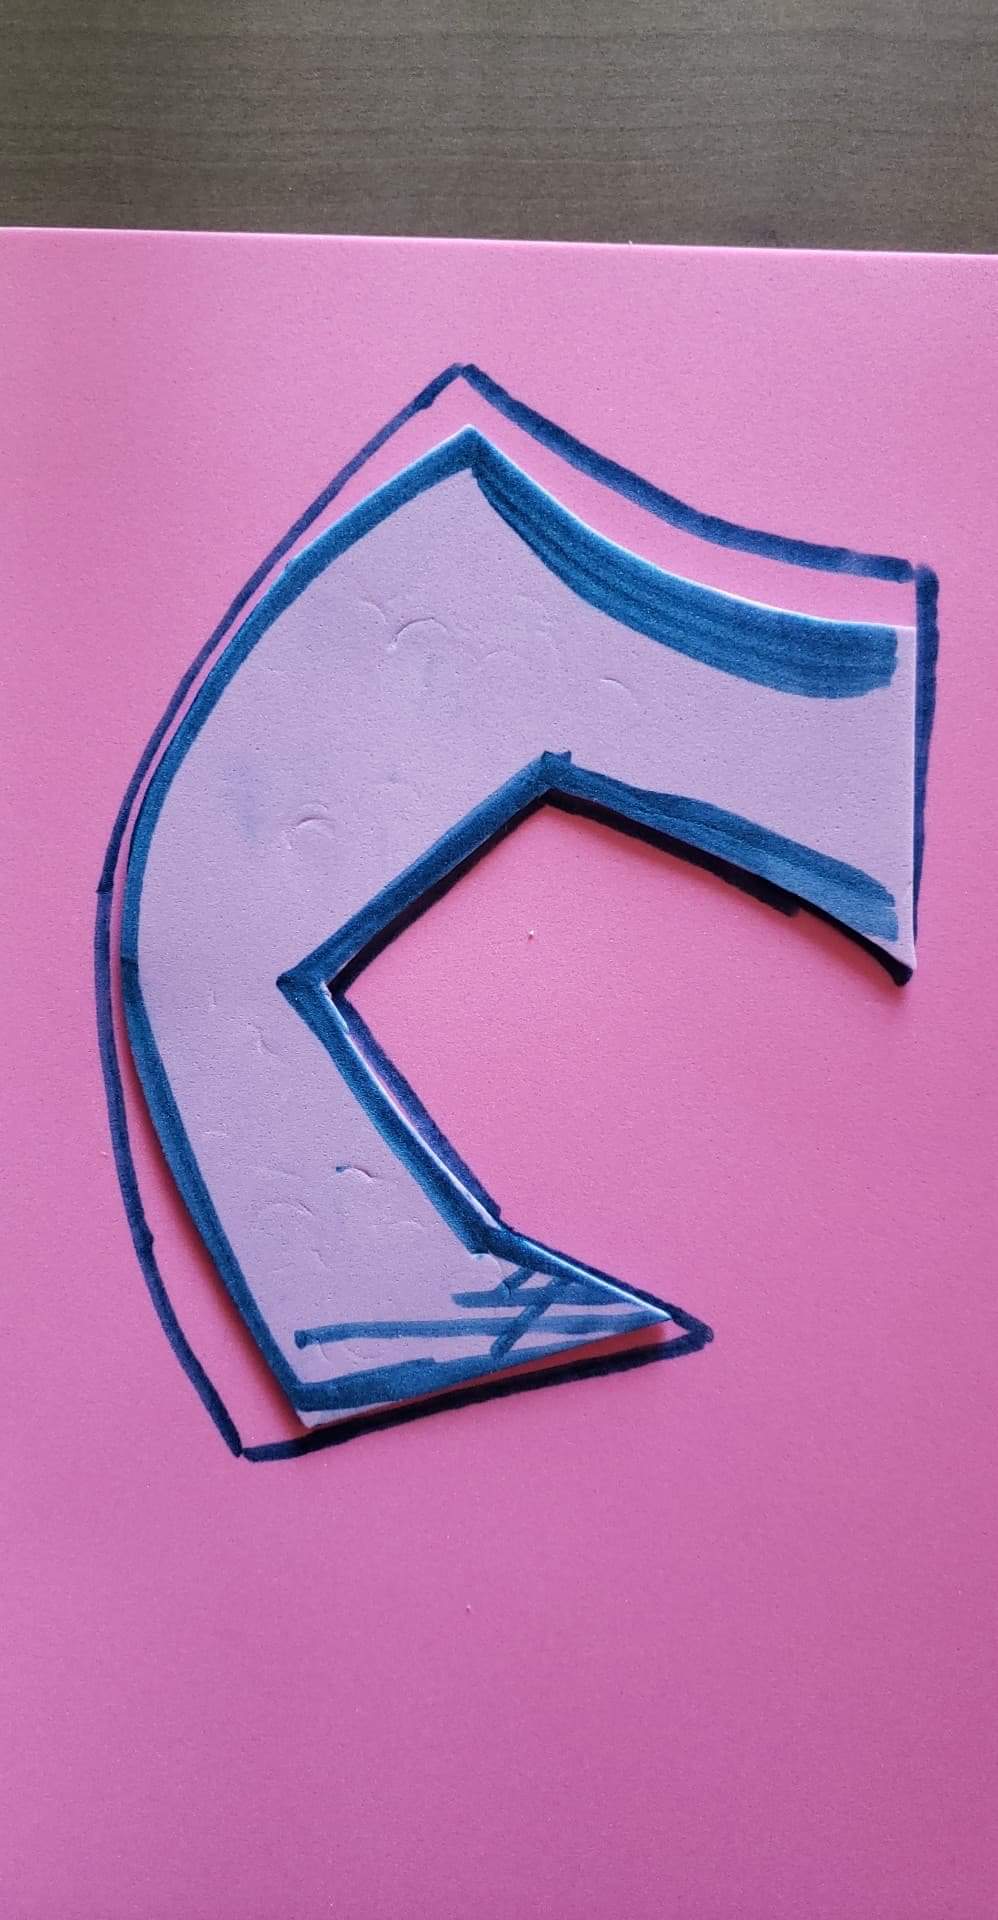
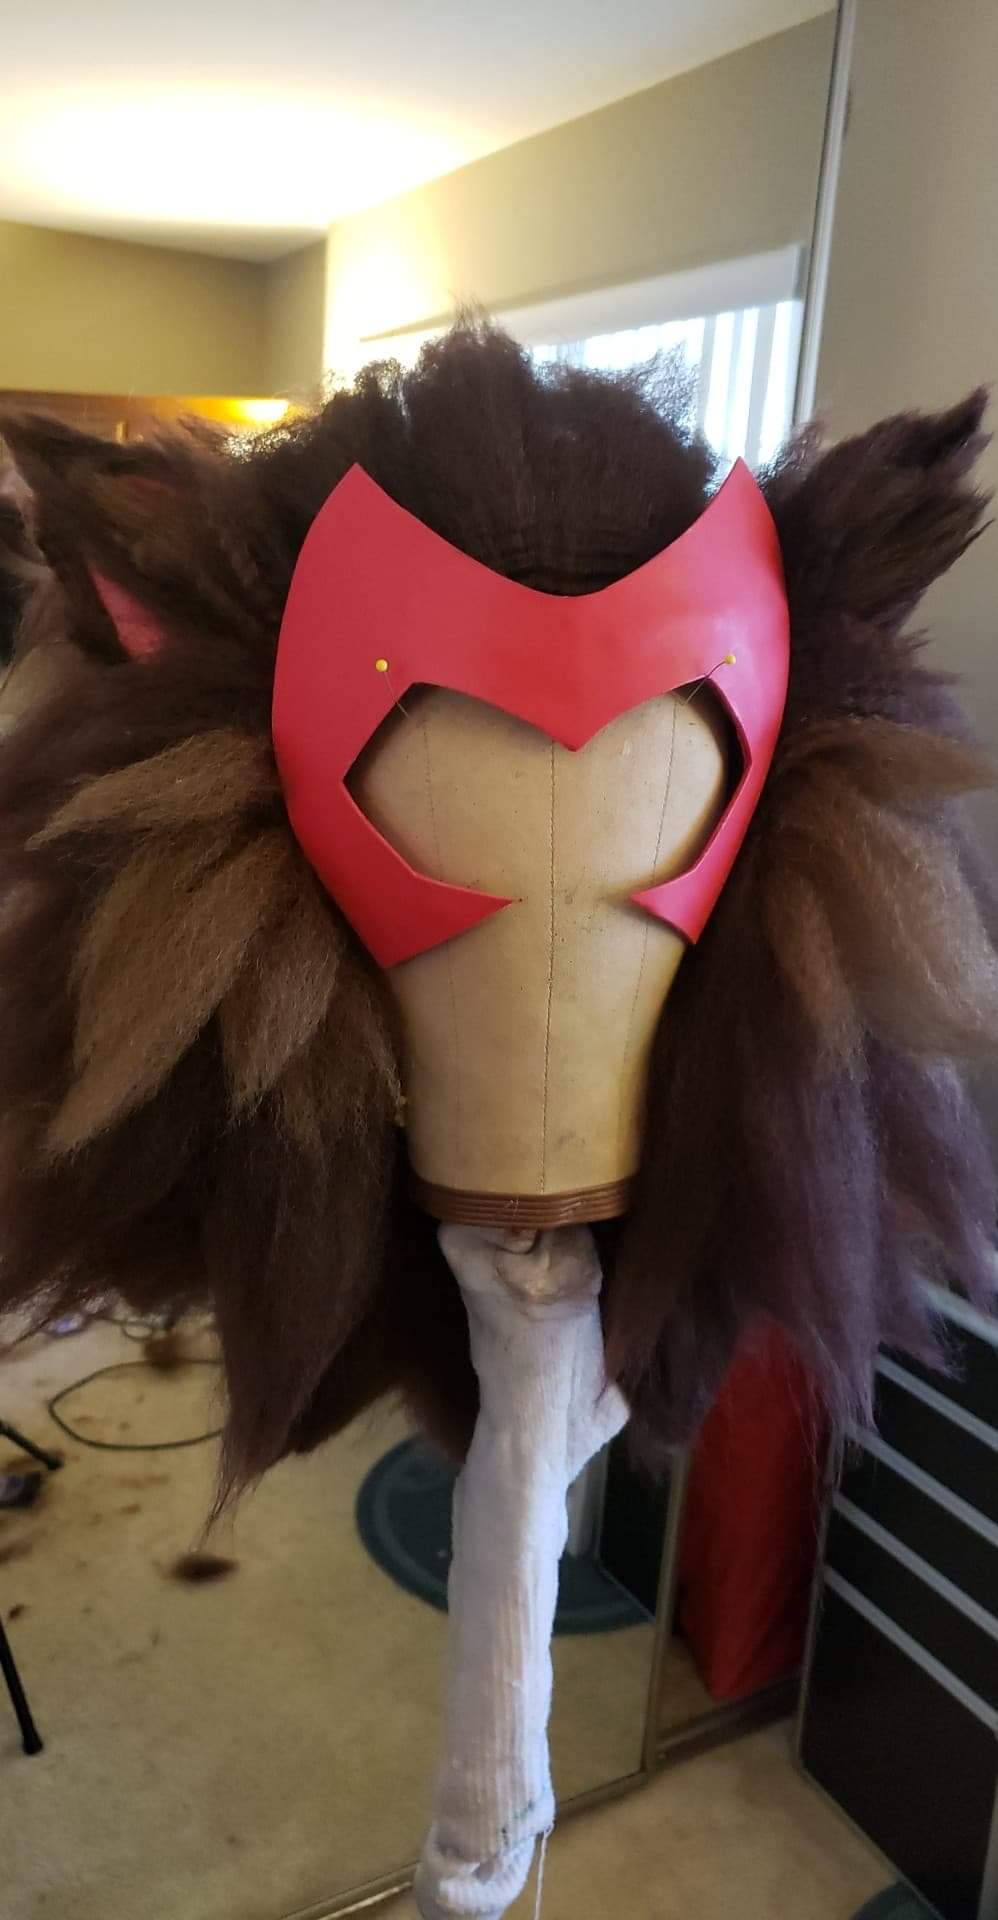
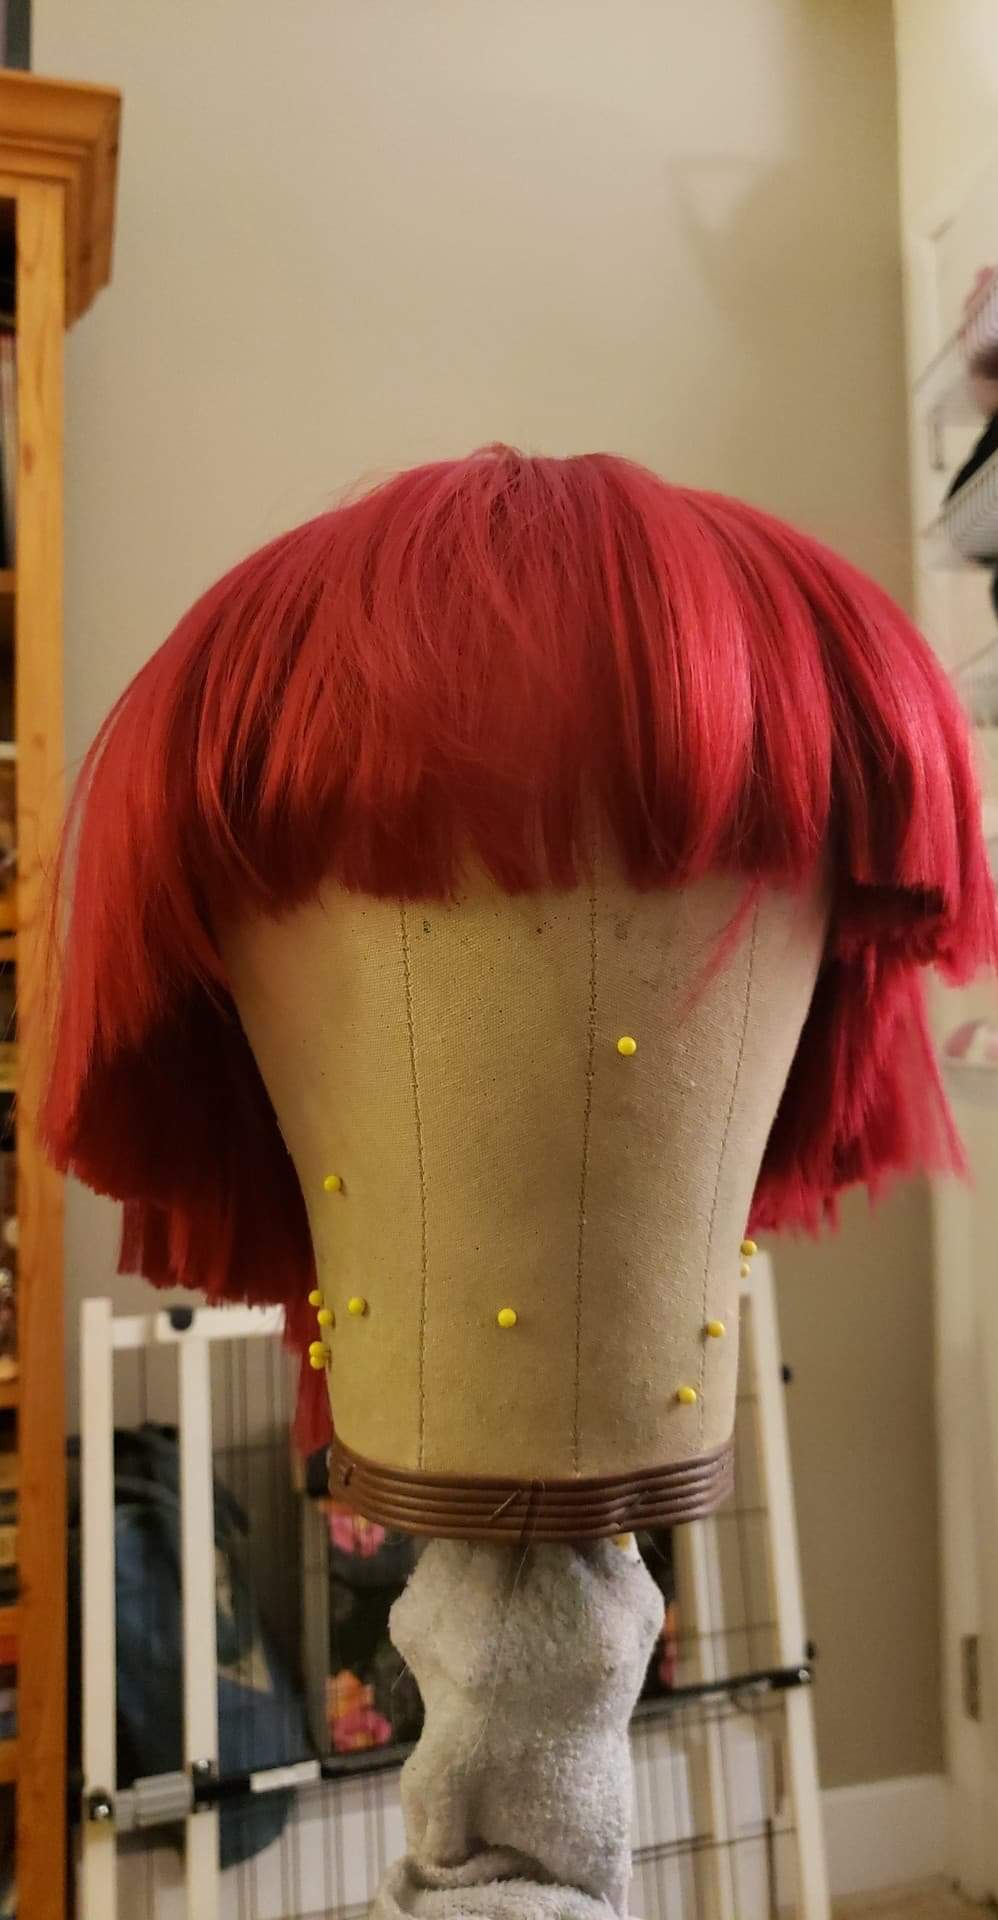
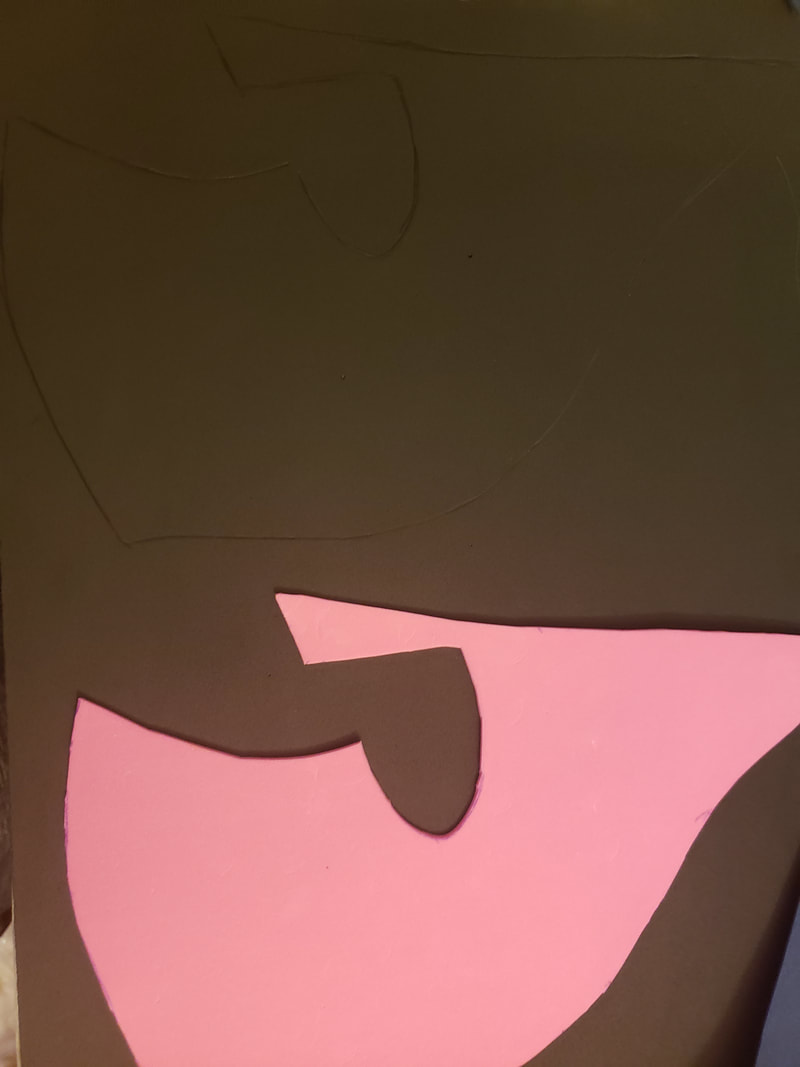
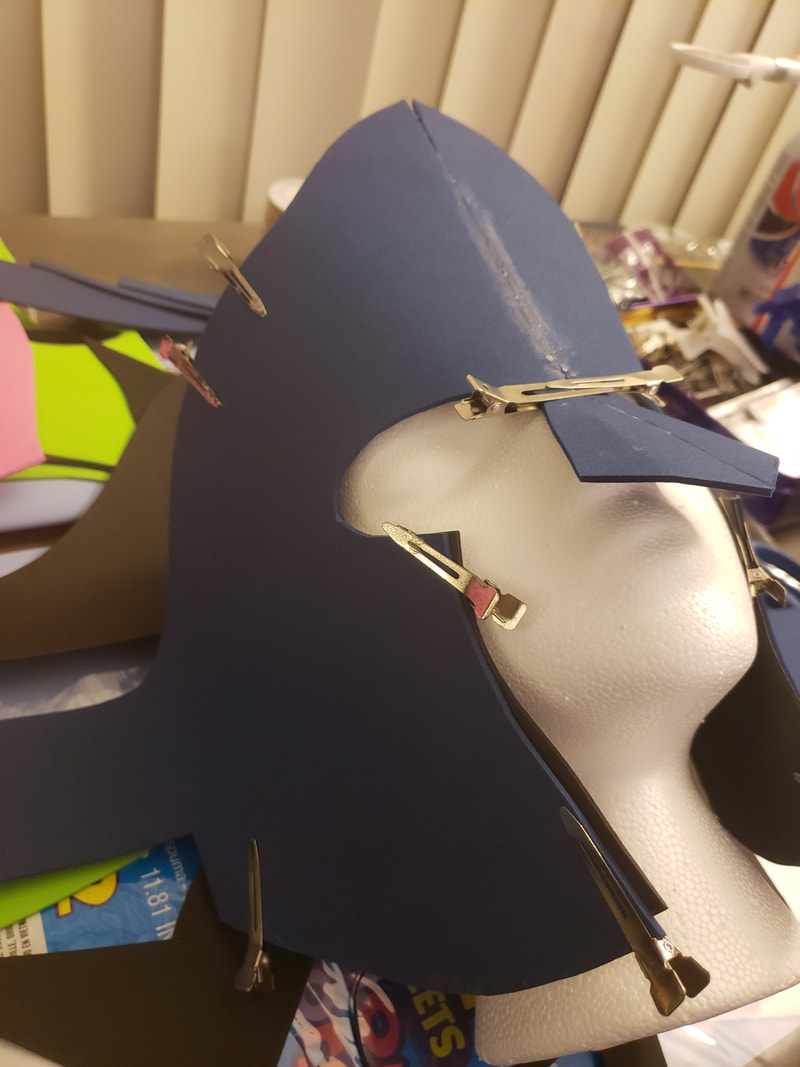
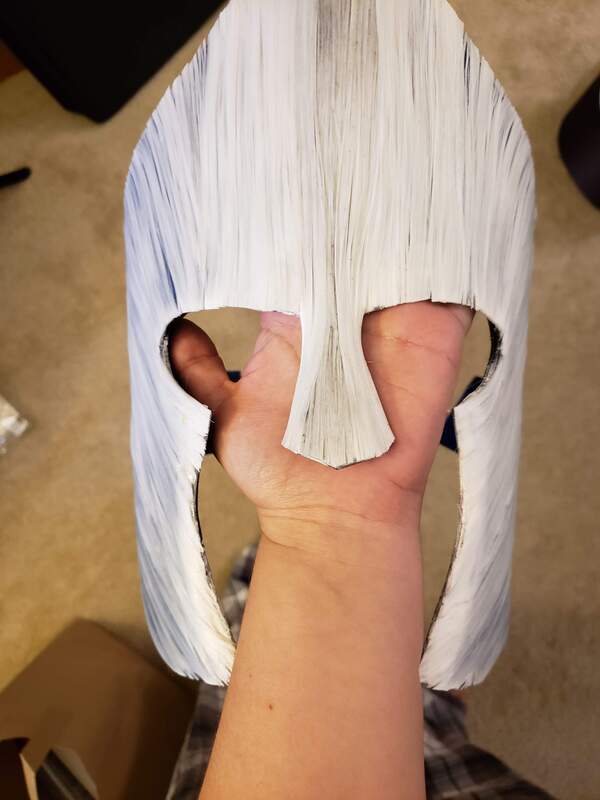
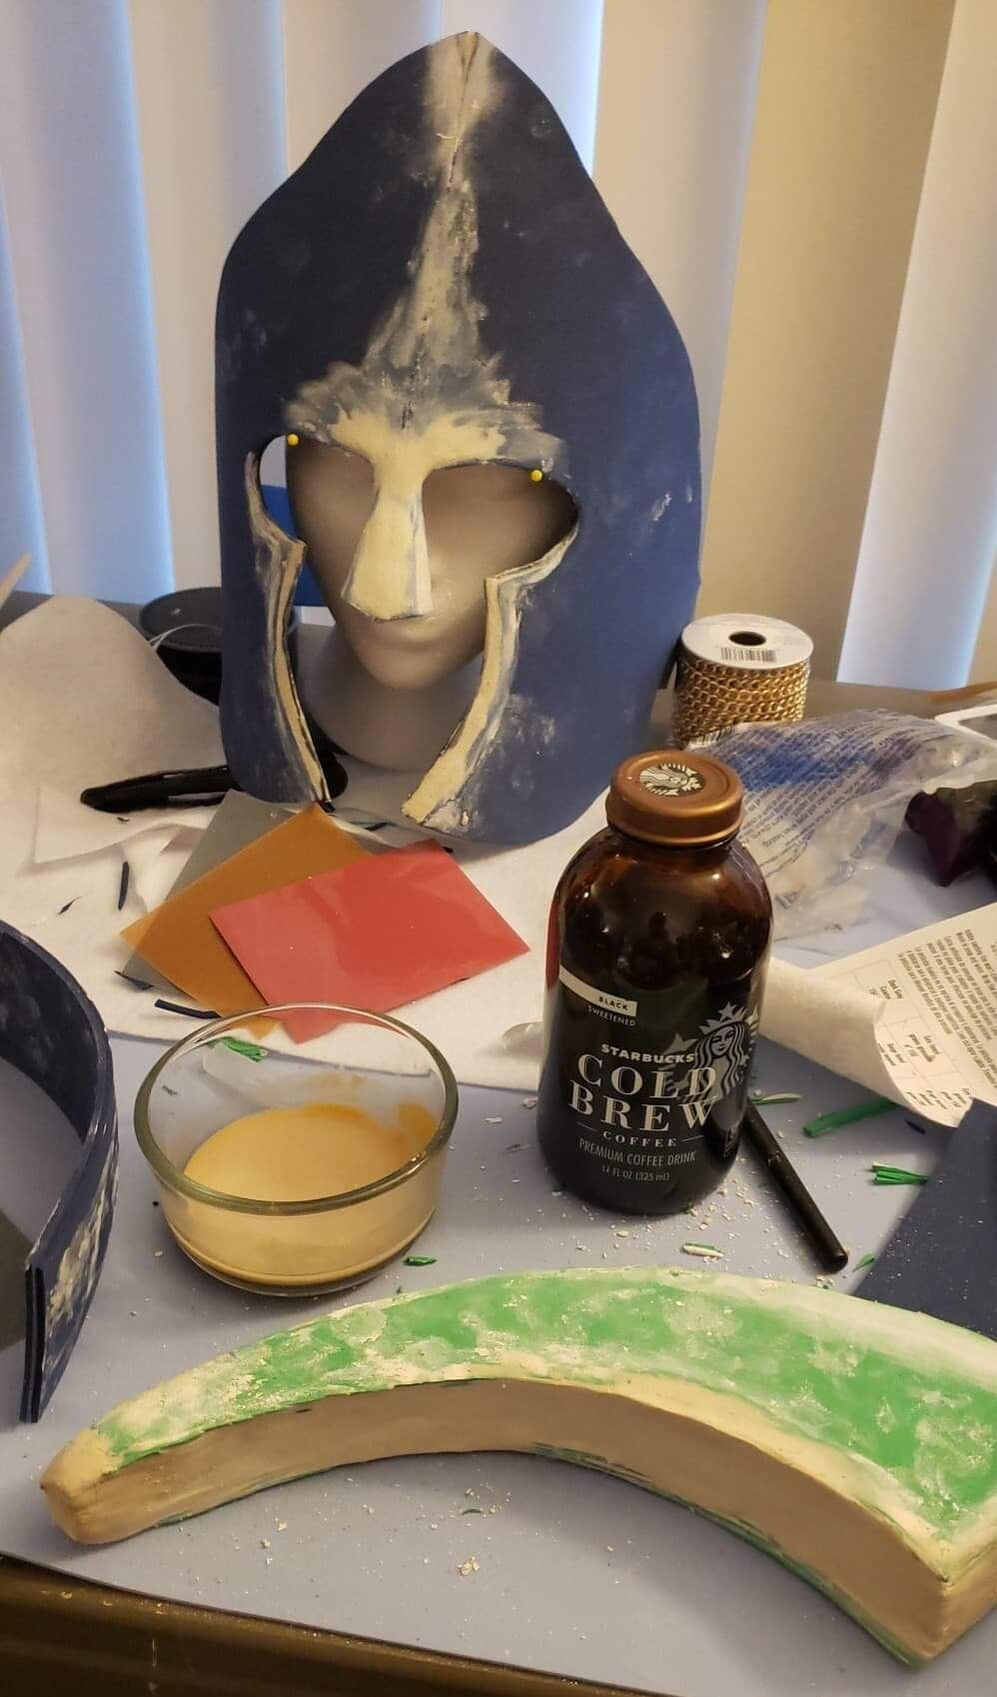
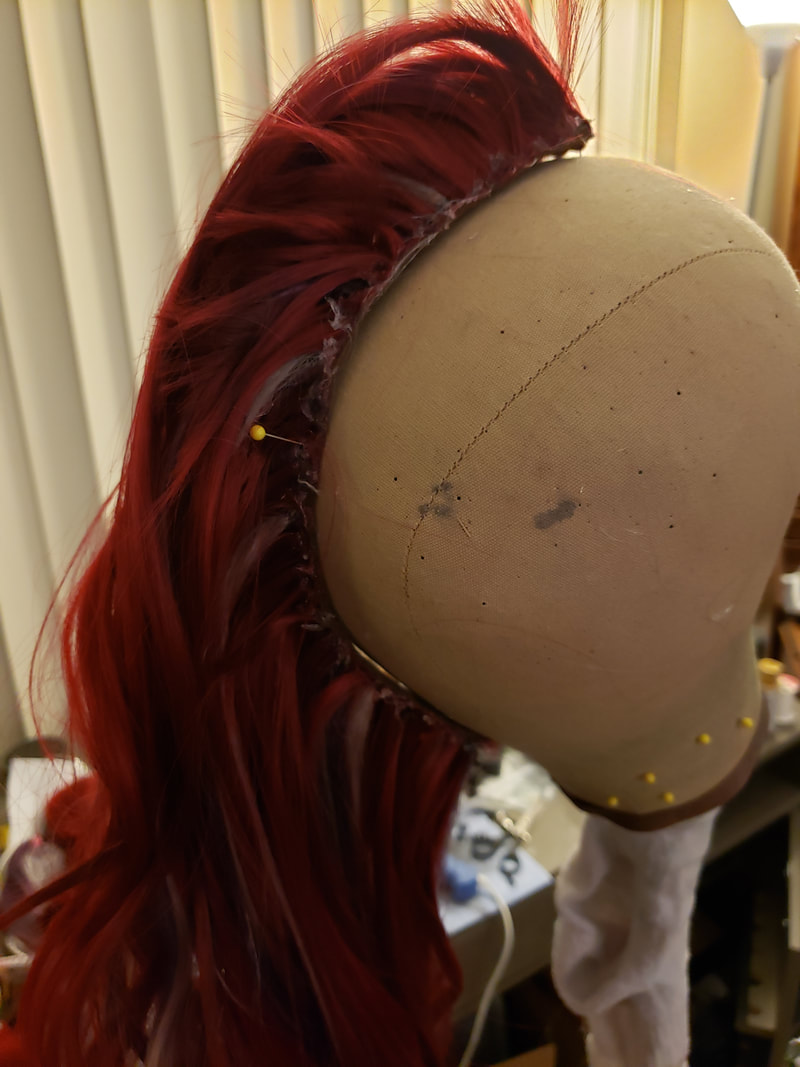
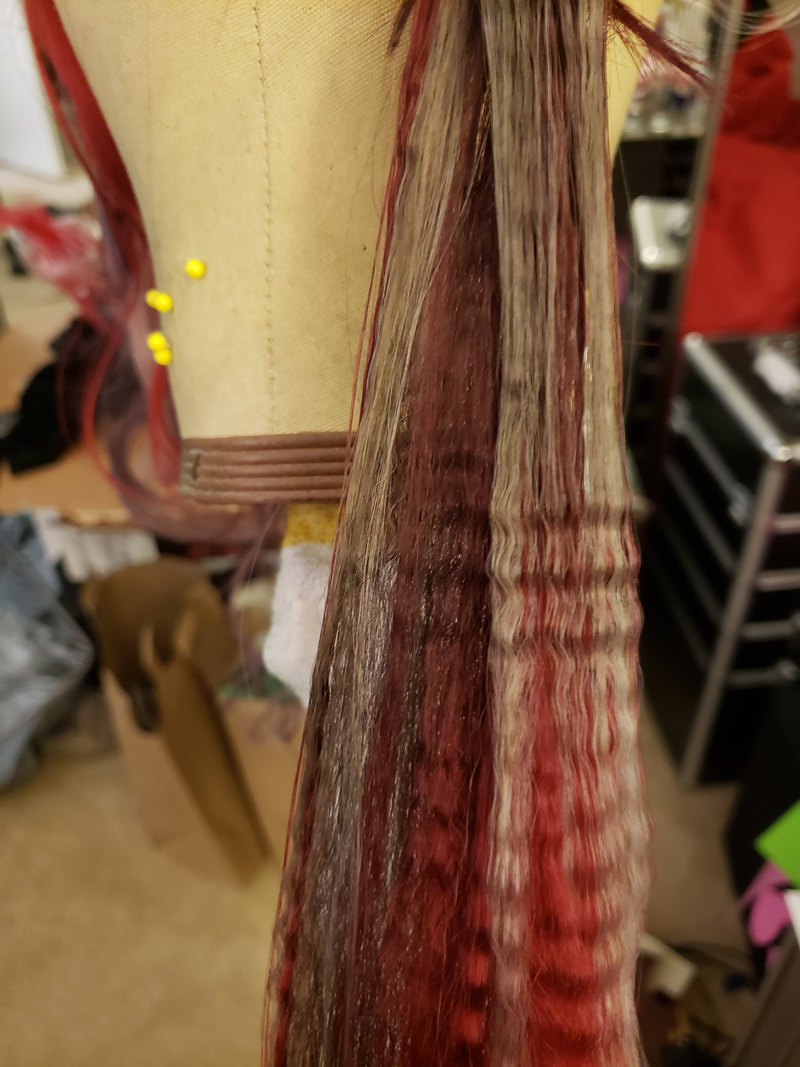
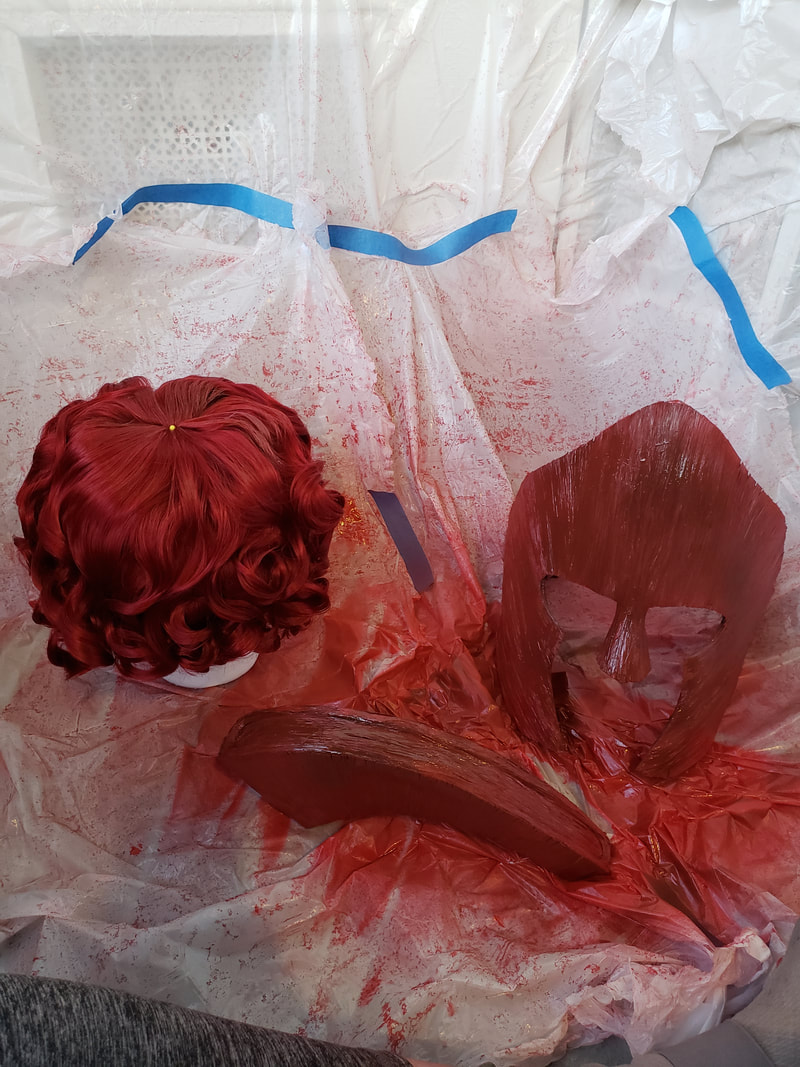
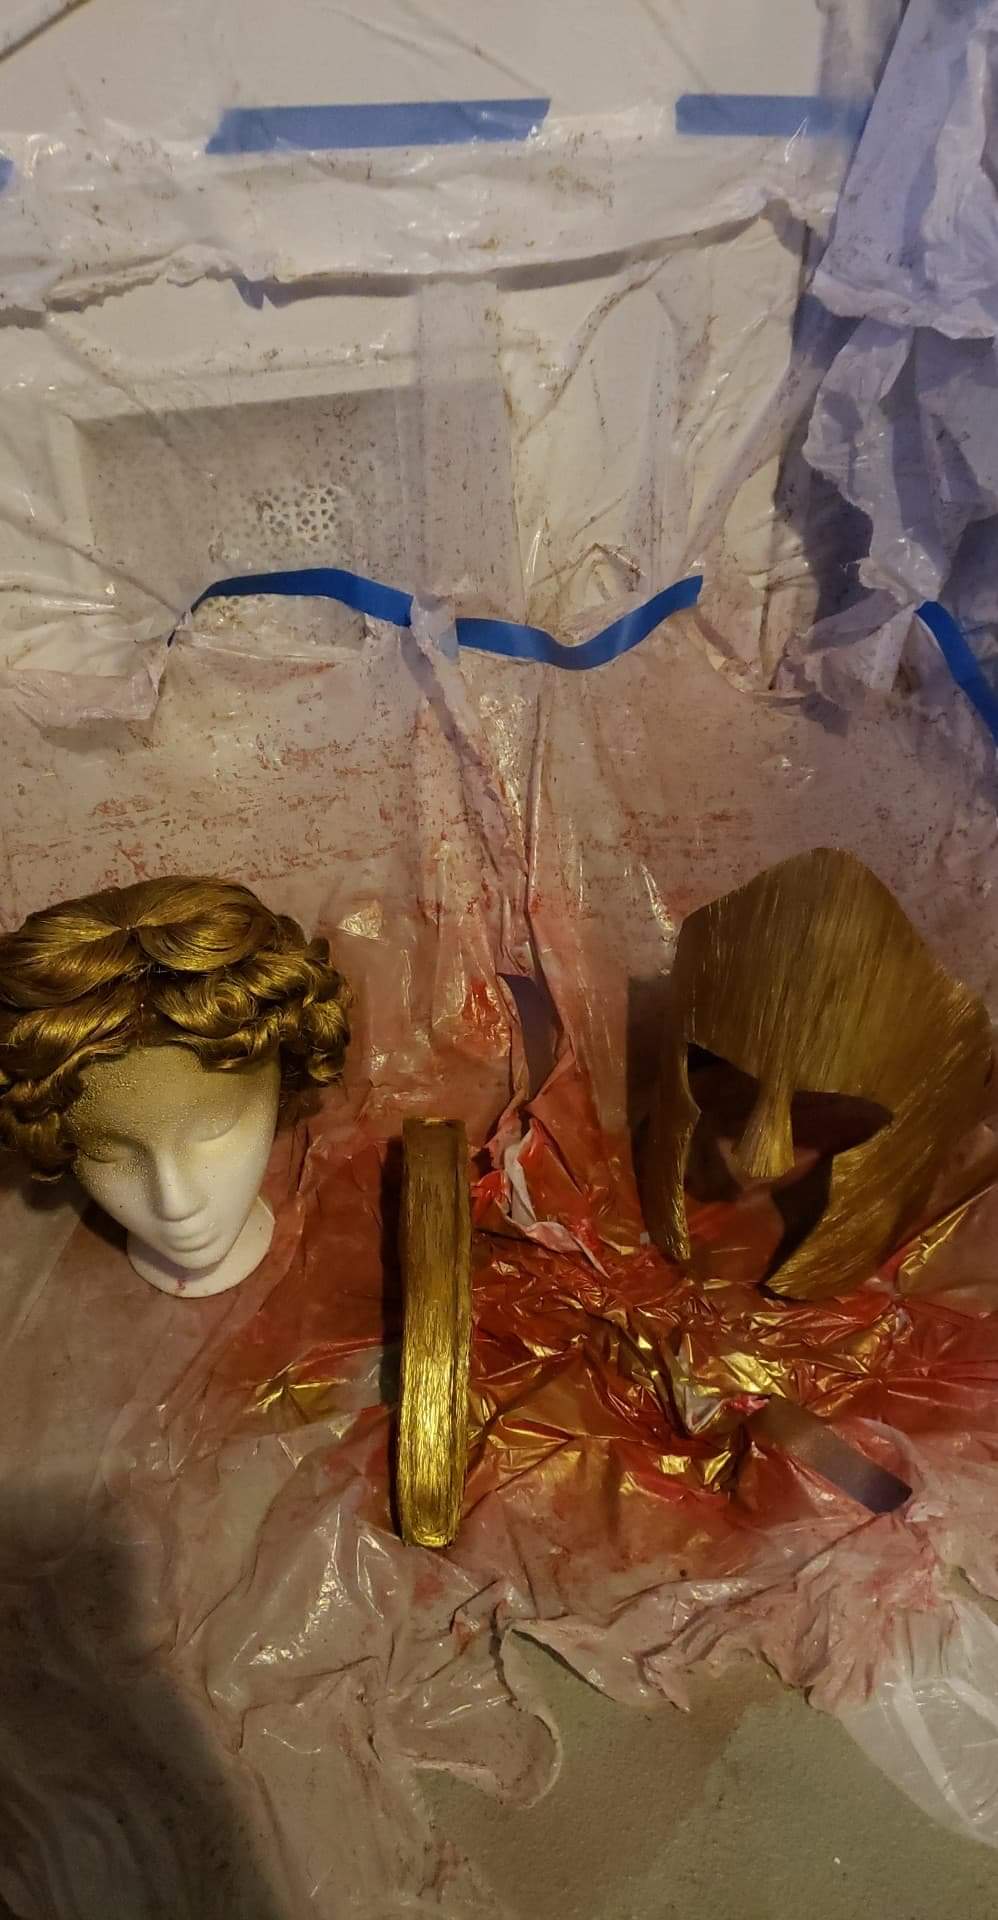
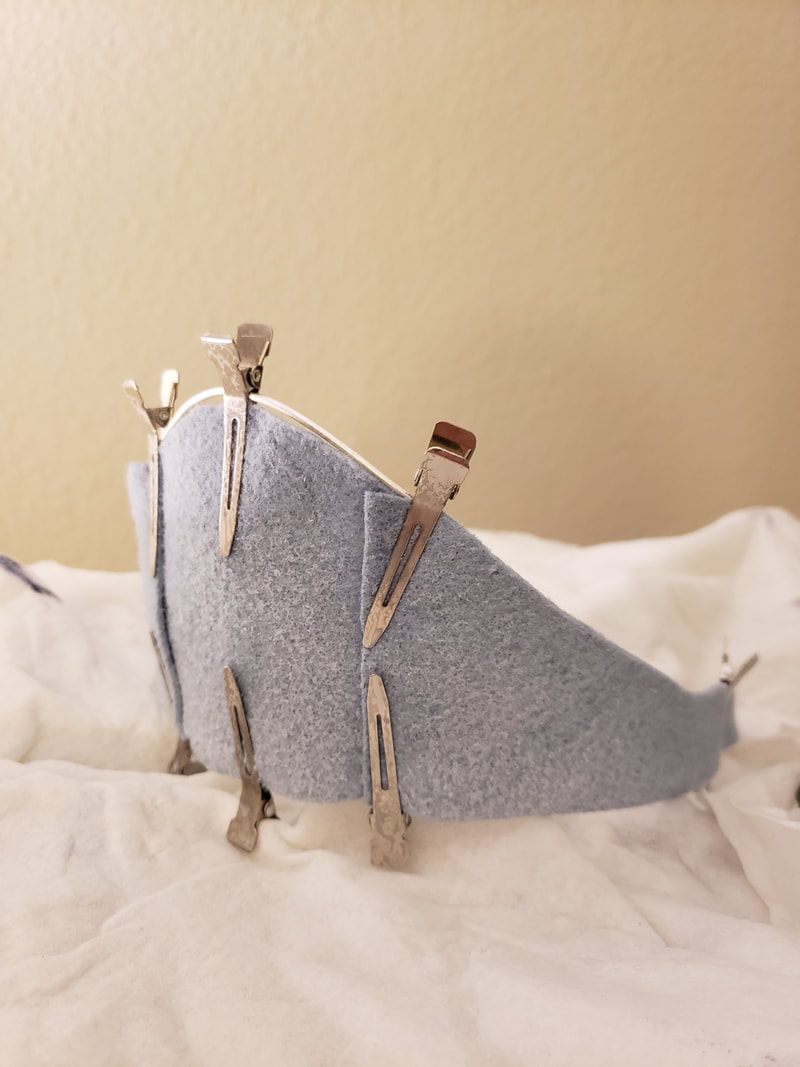
Inspiration: I am not sure what put the idea into my head, but my first concept of this project was centered around a silly idea of making a literal hair helmet. As the idea grew, I realized that I had not seen very many submissions to past Iron Wig rounds in which the face had been obscured. I felt making some kind of masked helmet would be new and if done right, exciting once people realized it was made entirely of hair. I set out to make something structured that was simultaneously regal and strong, and eventually landed on a design for a Spartan helmet. I mainly focused on the face plate and and the mohawk aspects of the Spartan’s helmet design and made the base of the helmet look more like hair typically found on an ancient Greek statue. As absurd as it may sound, I decided I wanted a hair design that looked like a helmet rather than a helmet made of hair. In order to meet the requirements of the challenge, I made the mowhawk and face plate removable. I wanted each stage to be a separate look as follows:
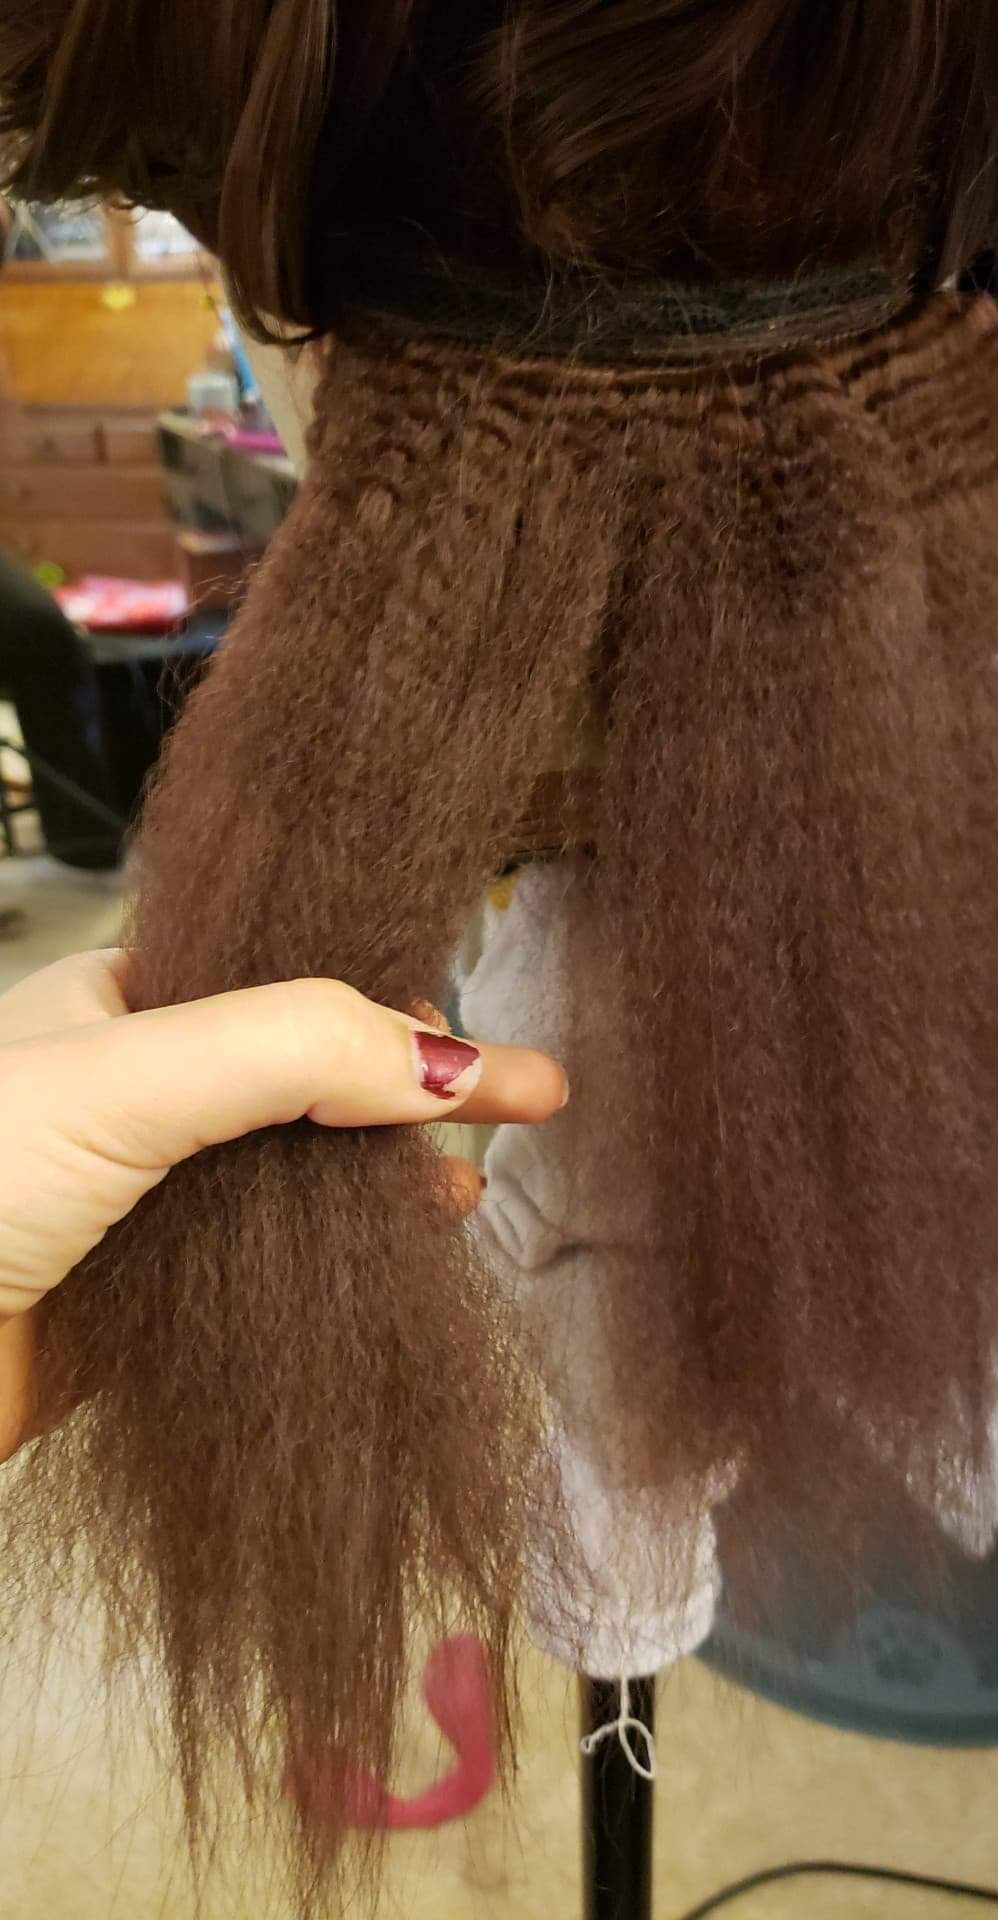
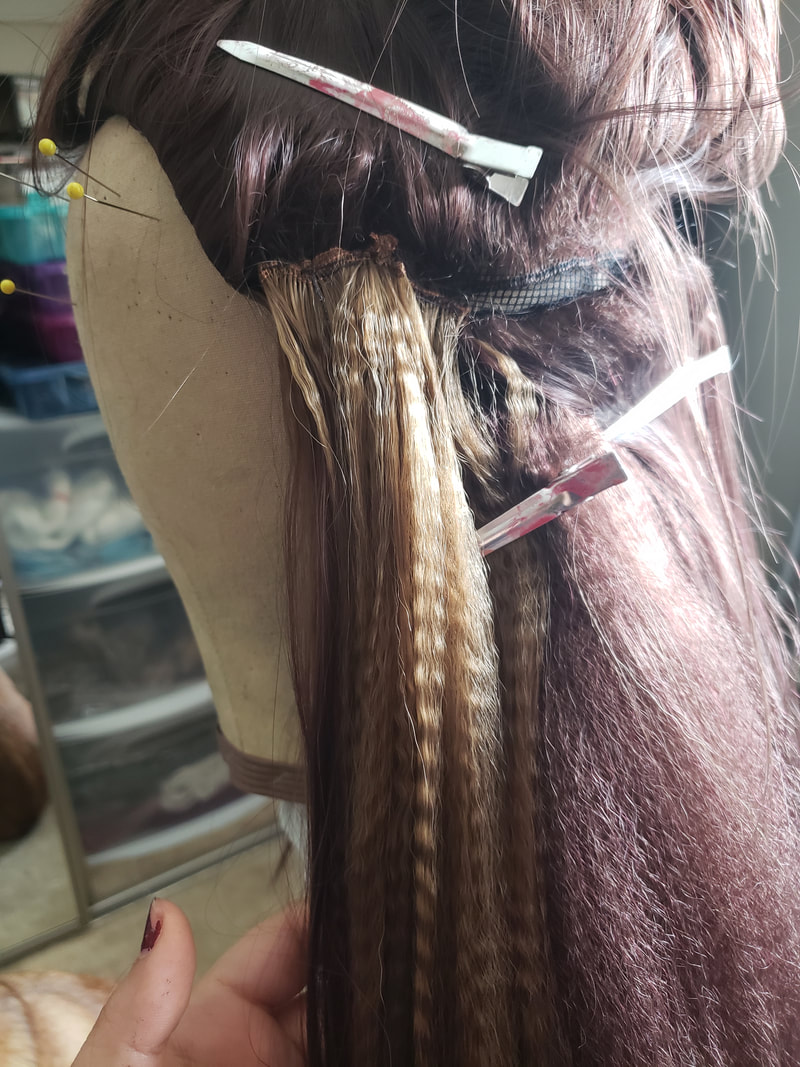
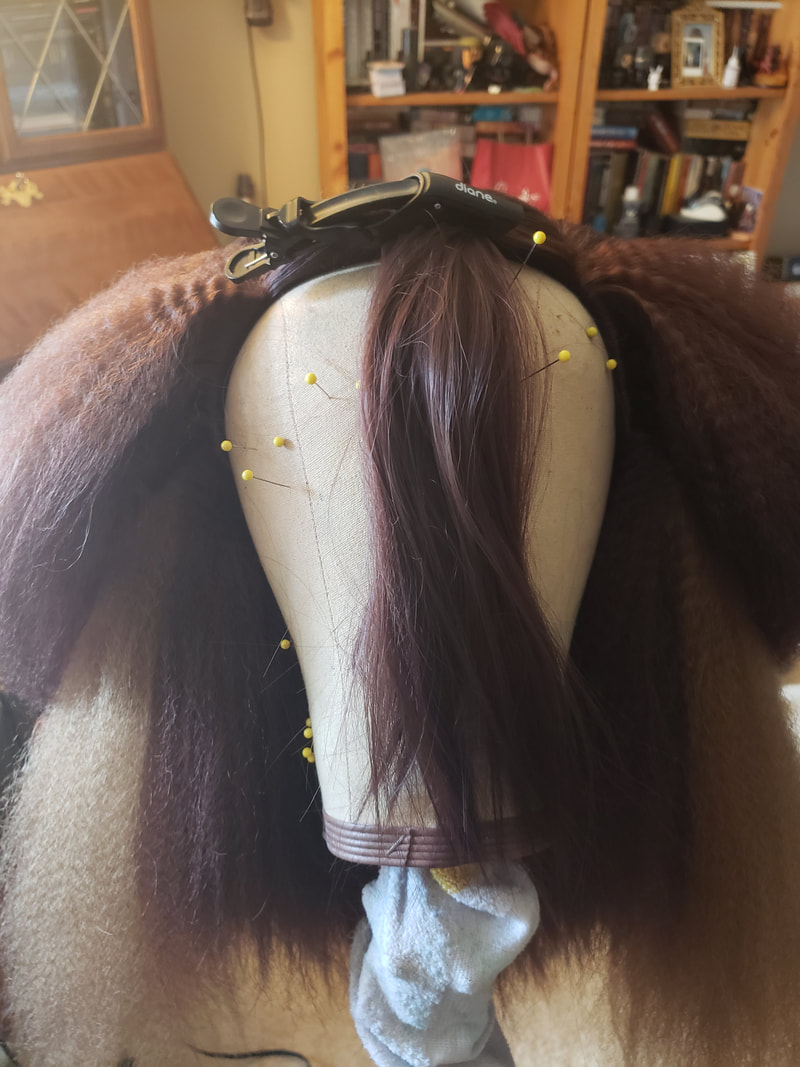
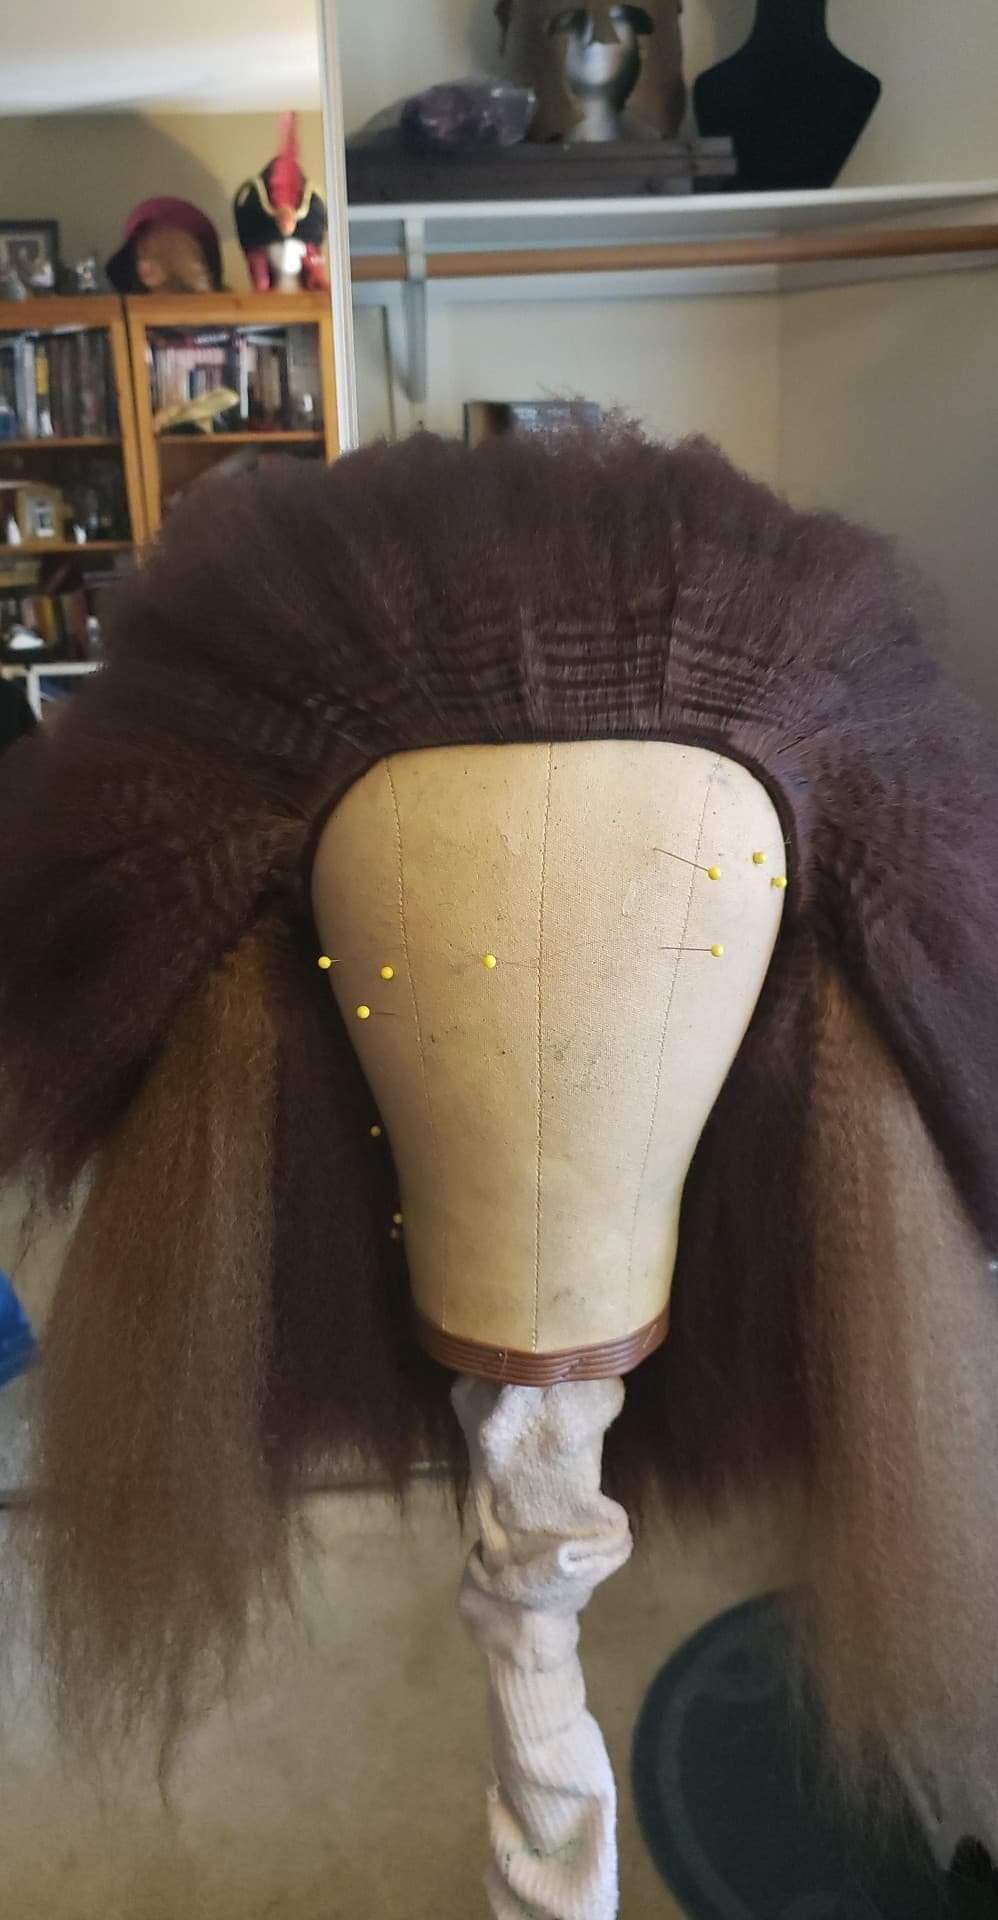
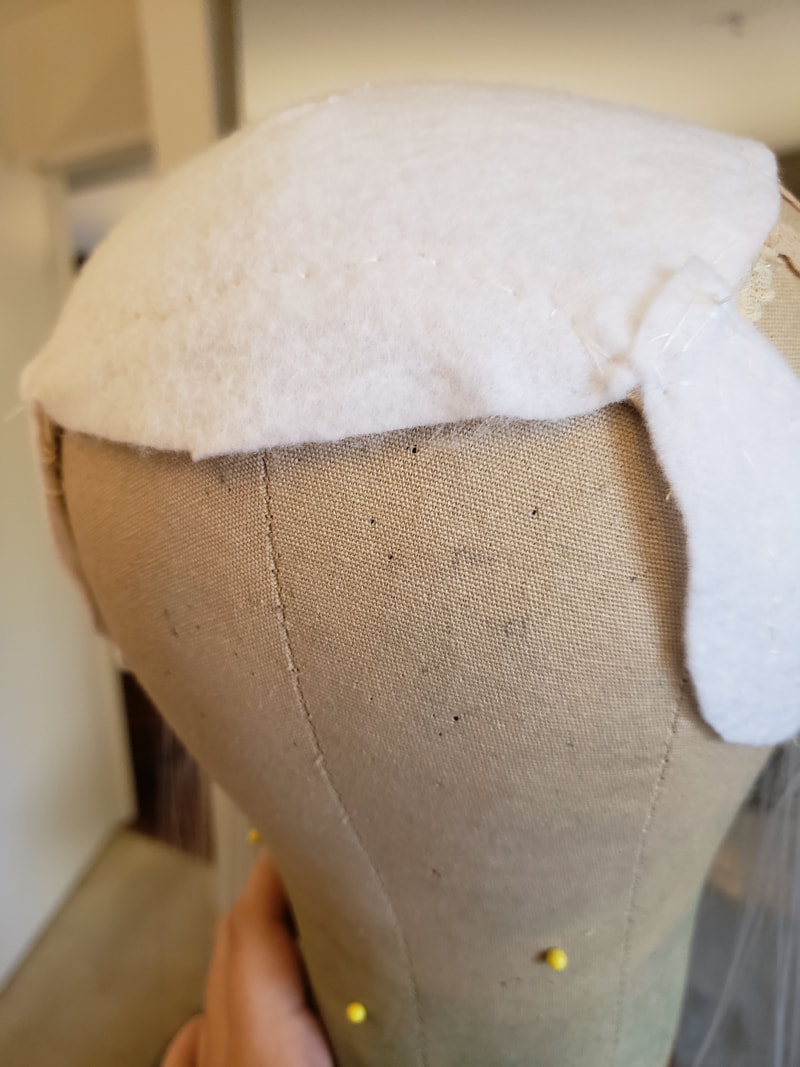
In the end, I only showed that the mohawk was removable as I did not like the look of the curly hair by itself. In retrospect, I'm not sure if this hurt or helped my final score. Process: Base Wig:
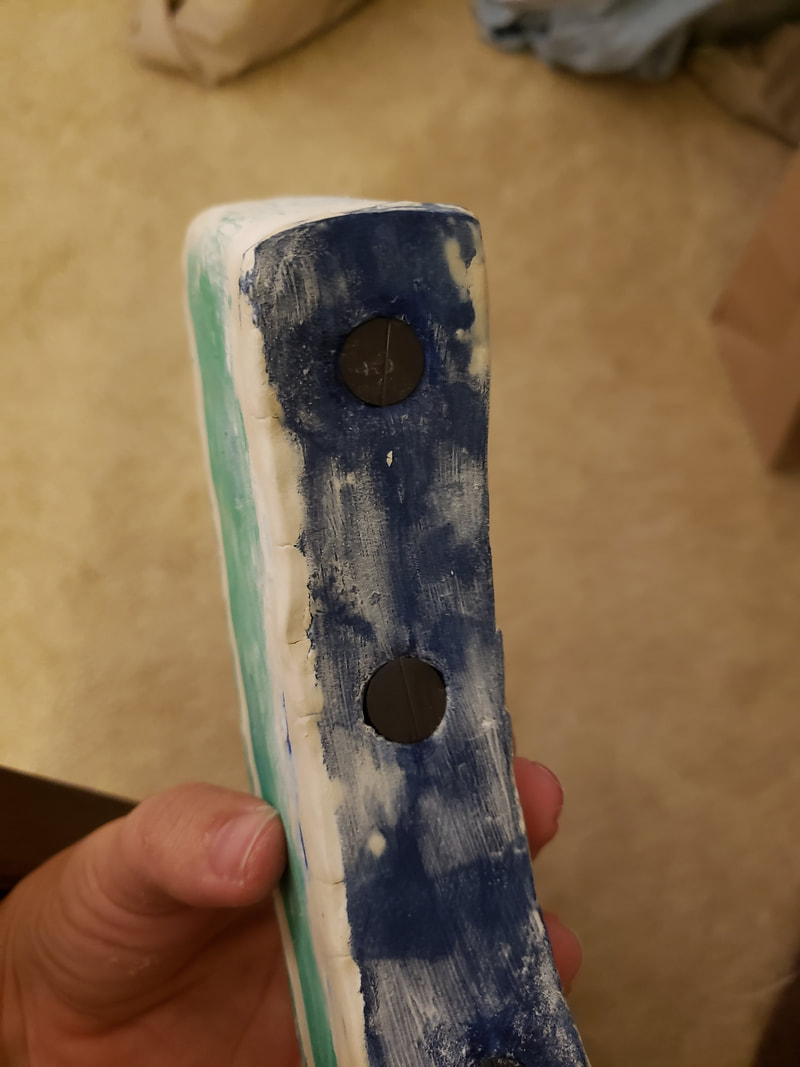
Face Plate:
Results: I did better this round than the previous round! Each new round, I am not sure if I will actually win, but my goal is to at least beat my previous score. I managed to accomplish this, place higher, and do better in the Cleanliness section which was my ultimate goal. While I would like to win, and I am trying my hardest to, I also know that I will get more out of this competition if I make it more about improving my own skills and less about beating my competition. Links:
Here is the promised link to the rules. You can see the scores here. Here is the promised product list:
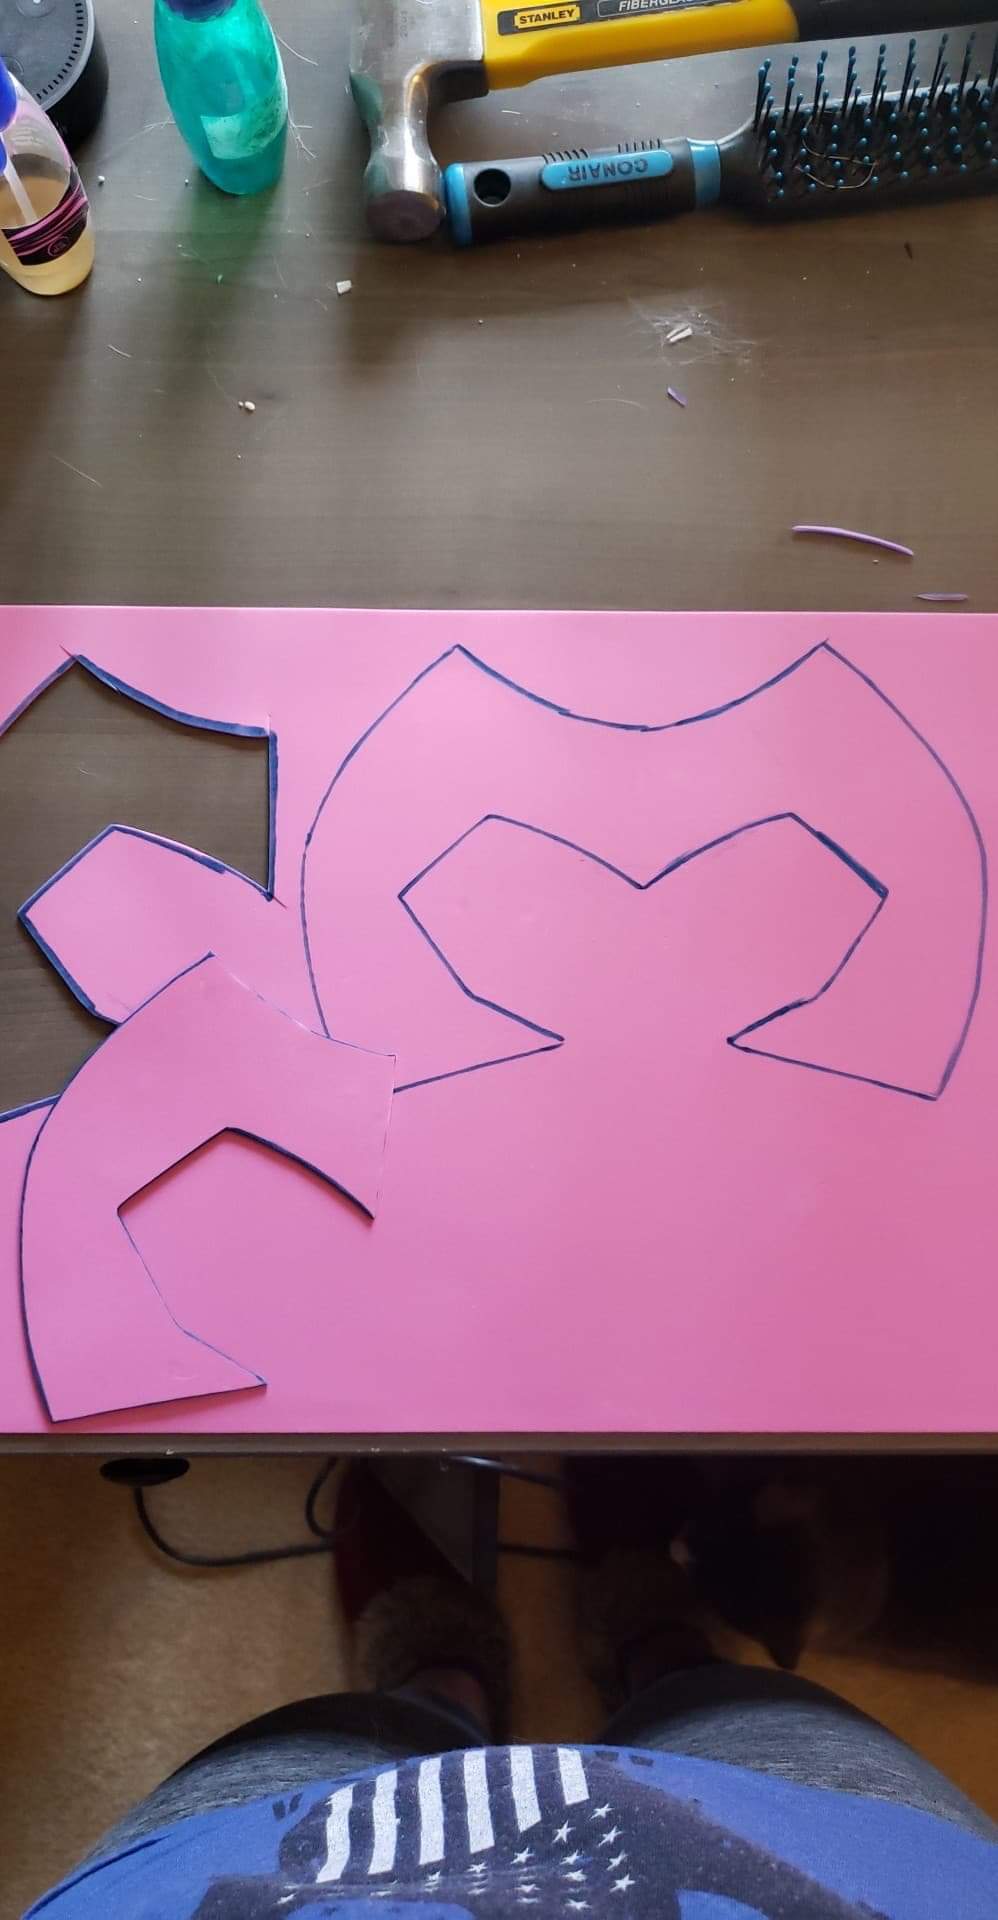
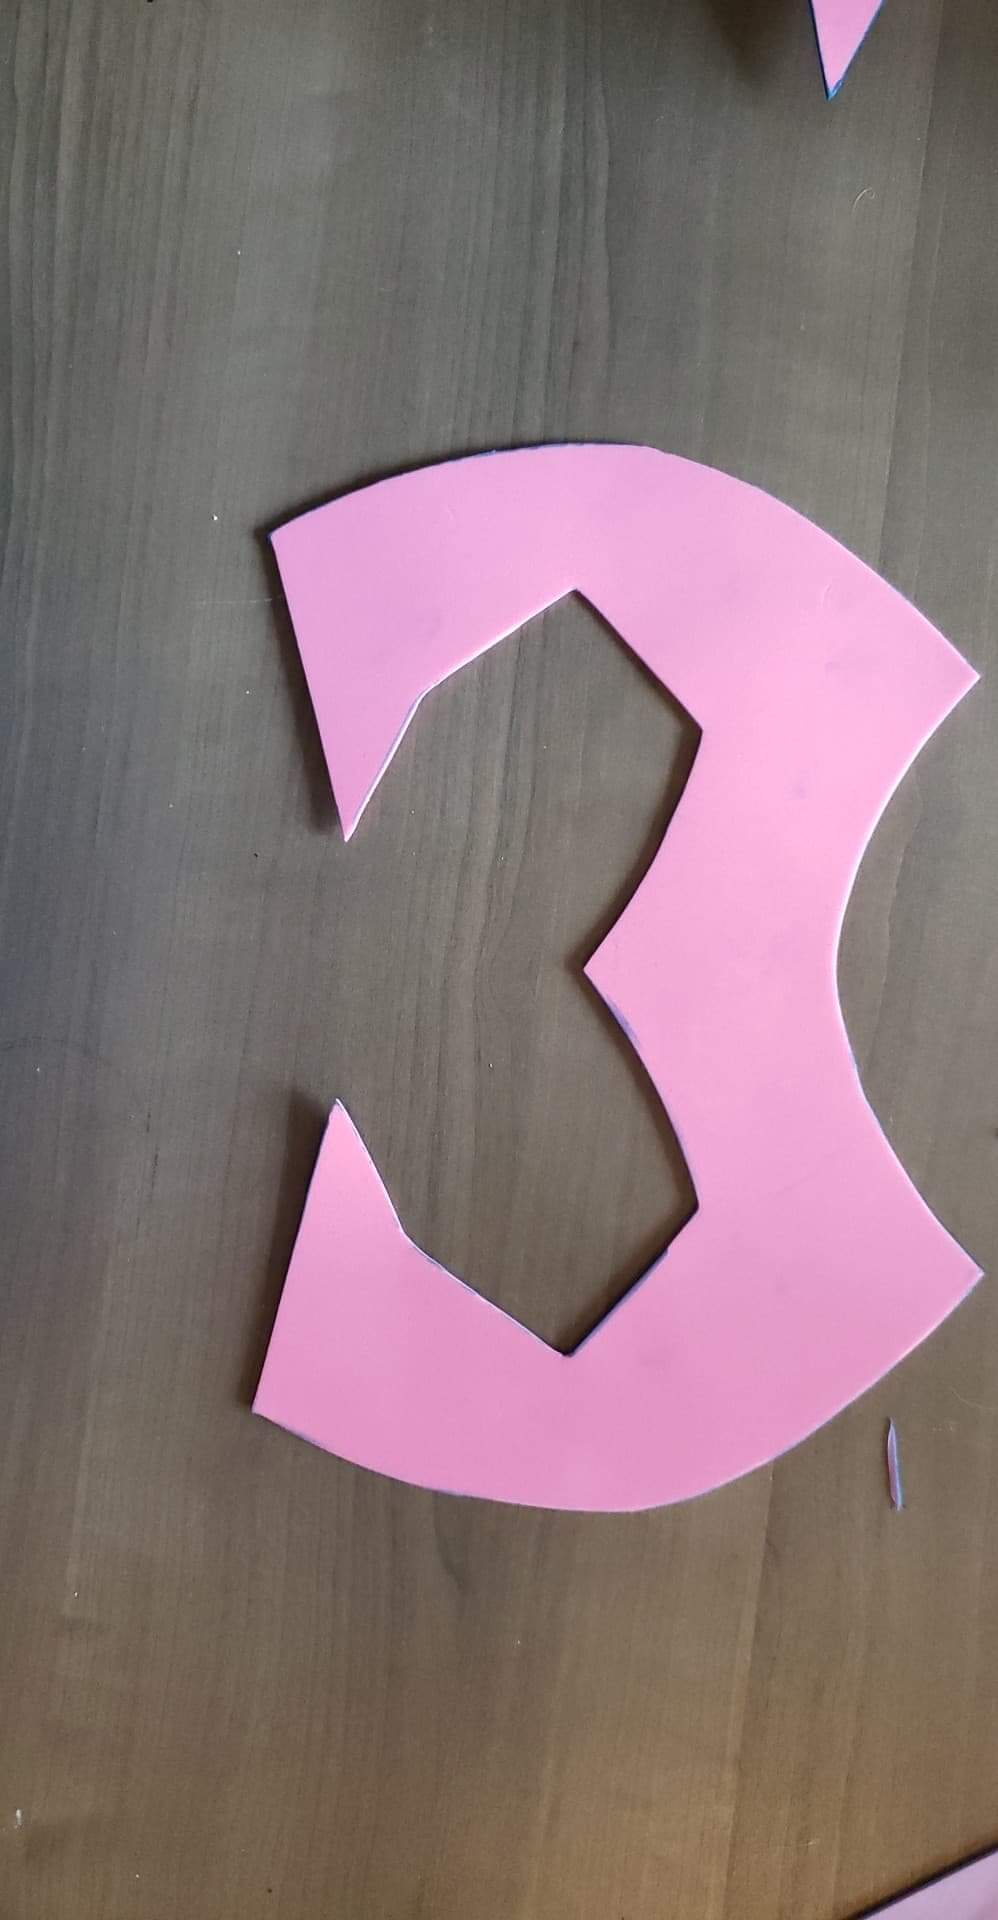
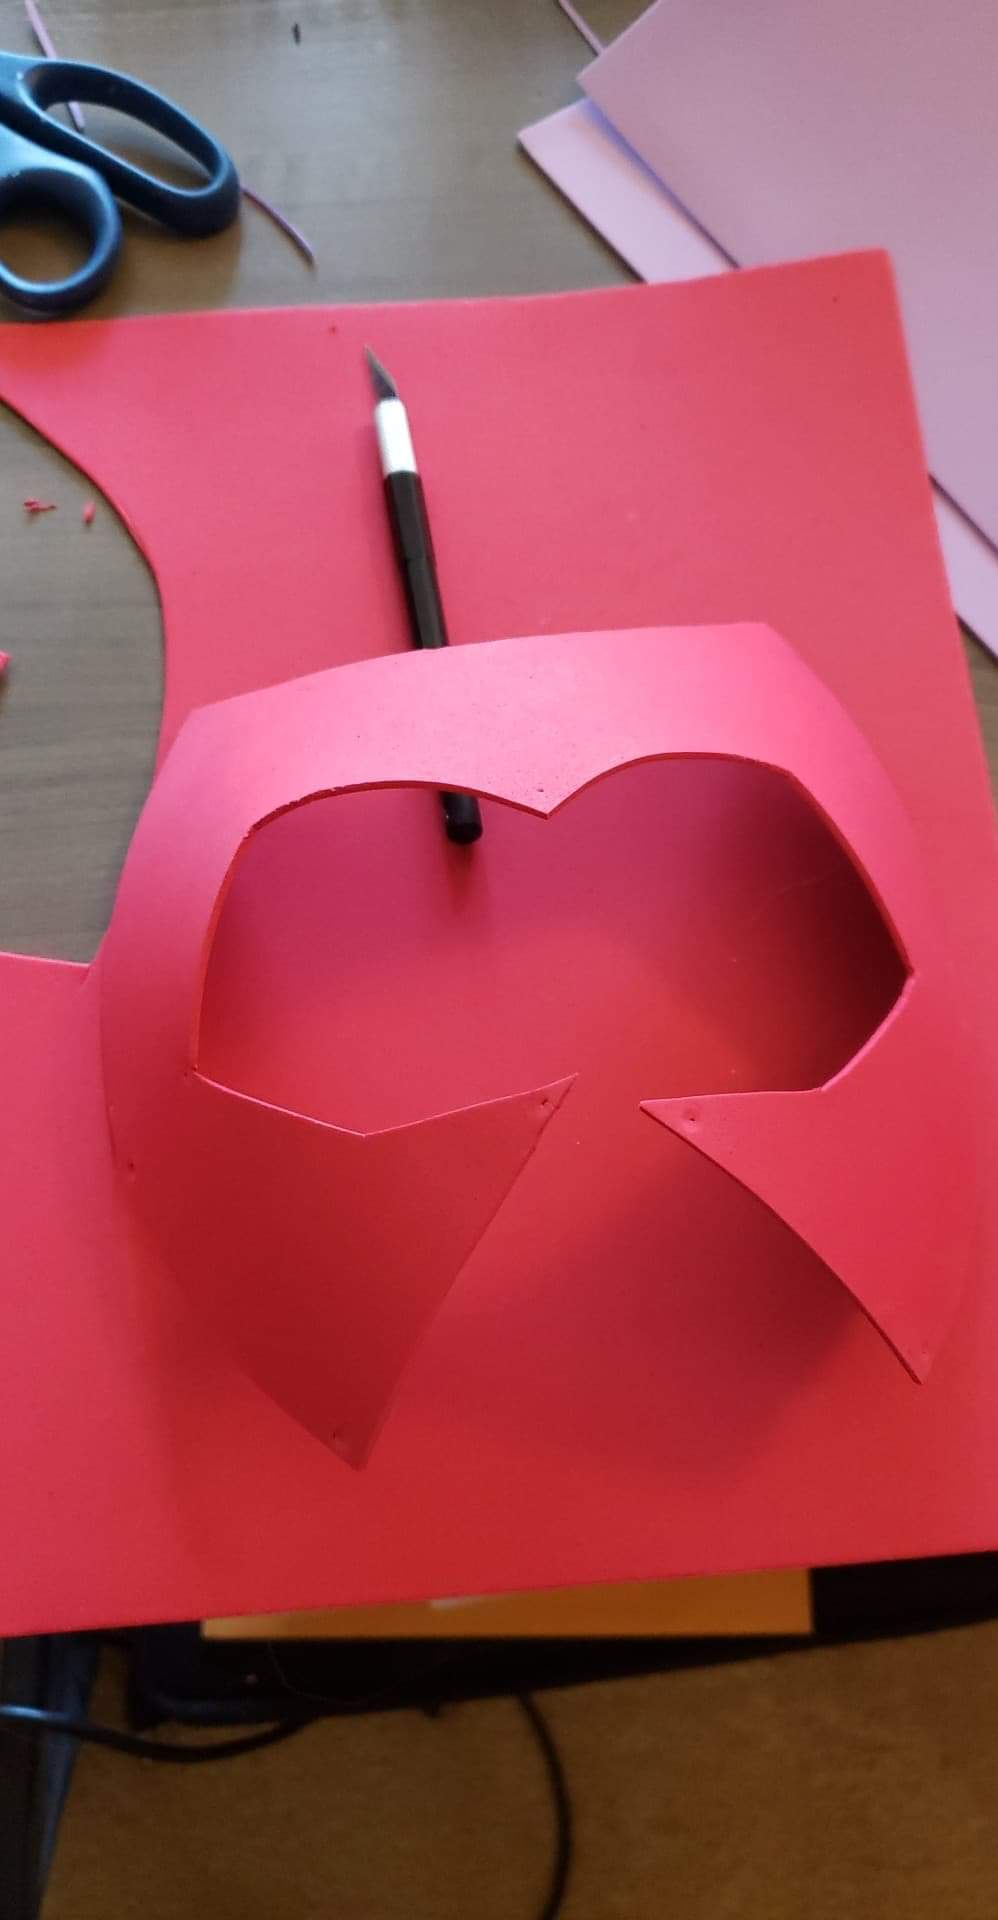
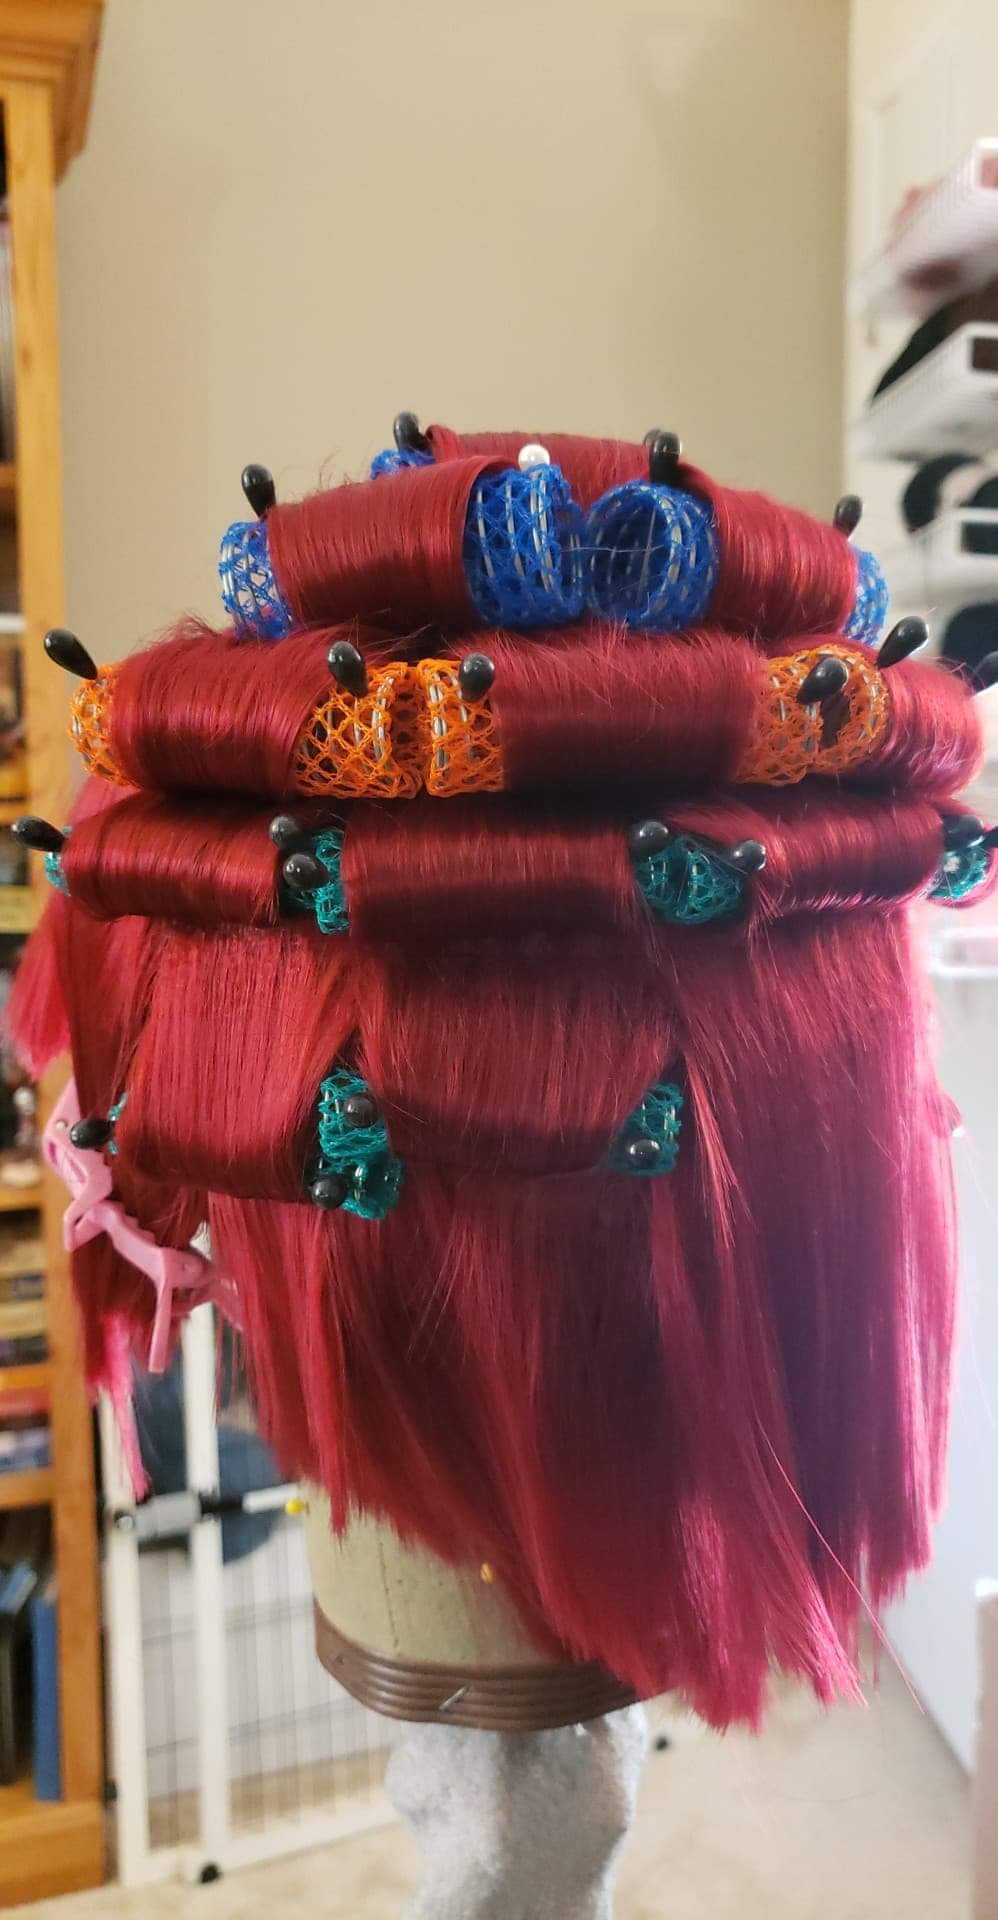
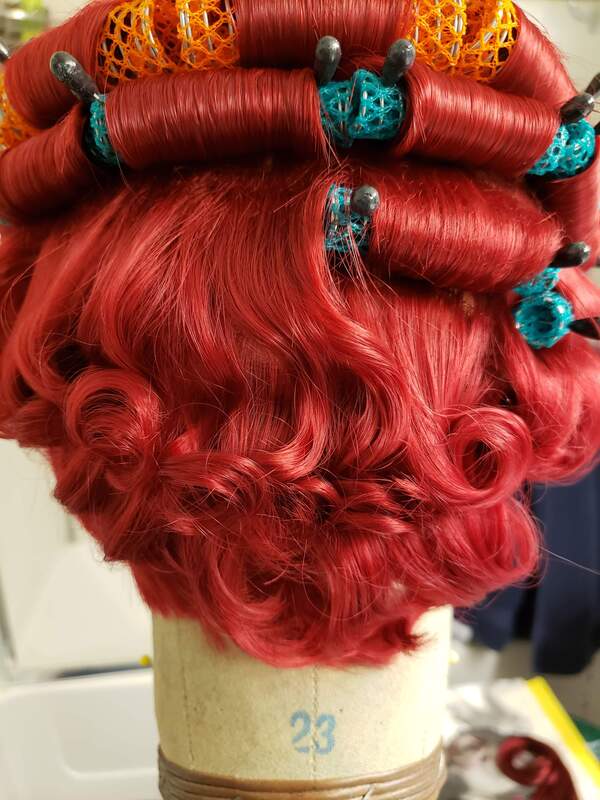
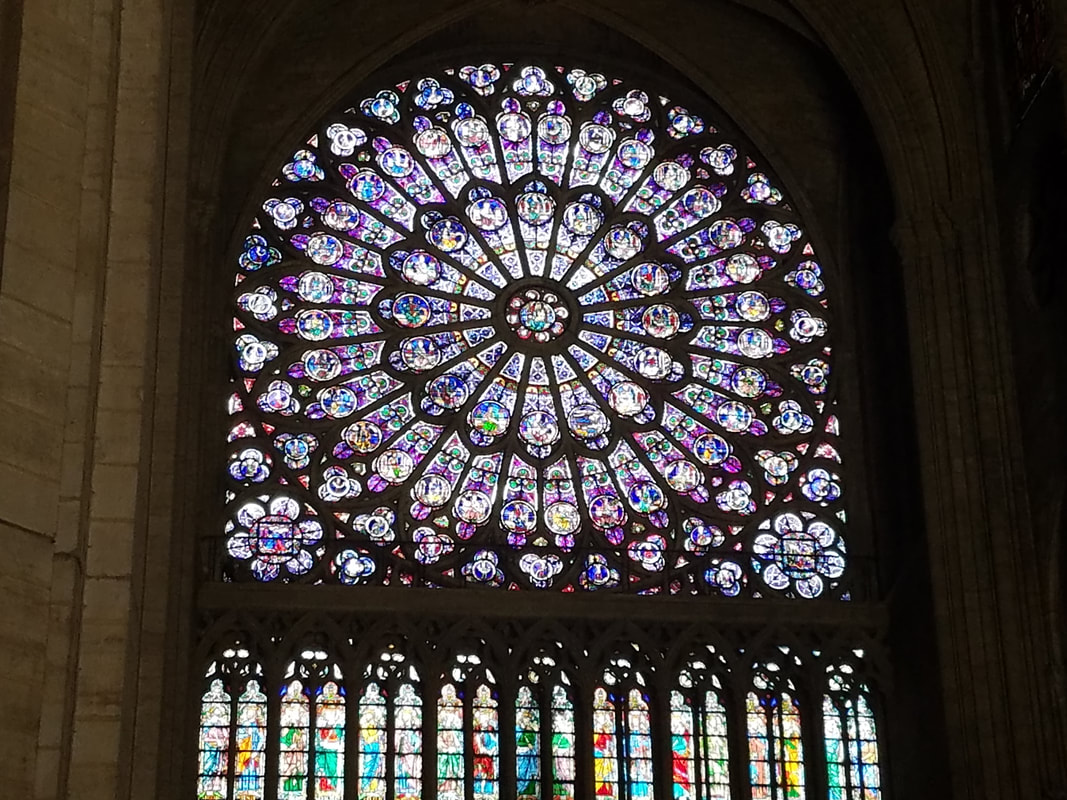
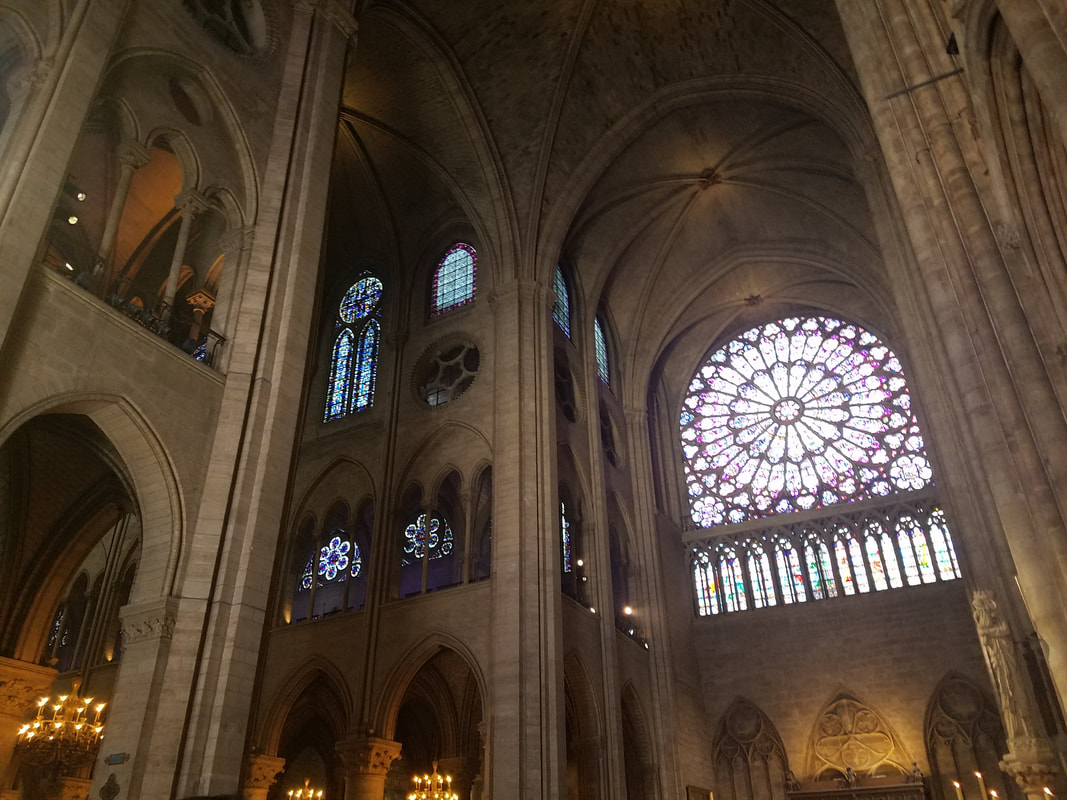
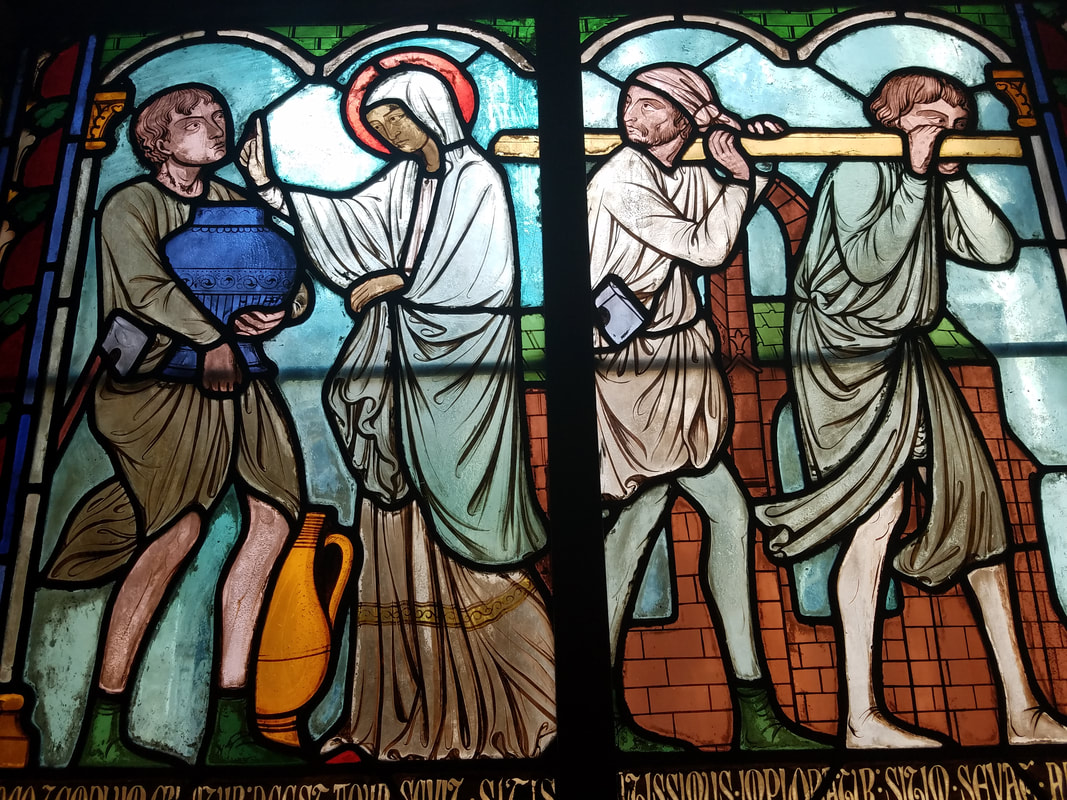
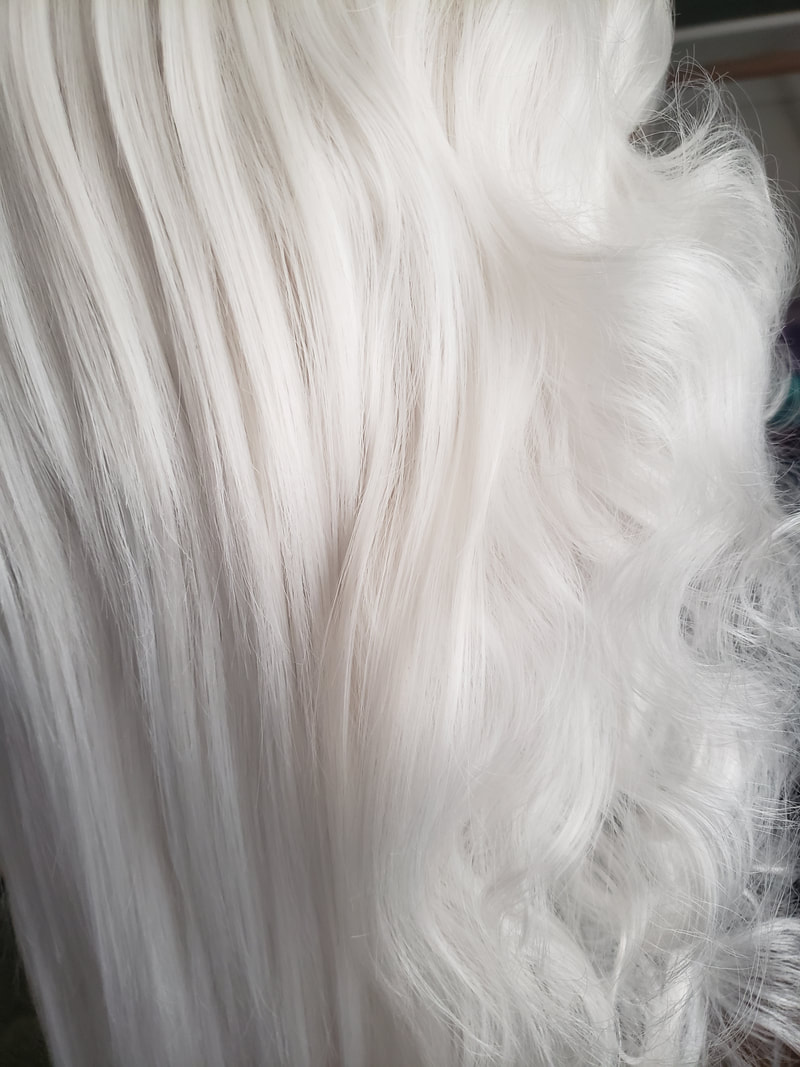
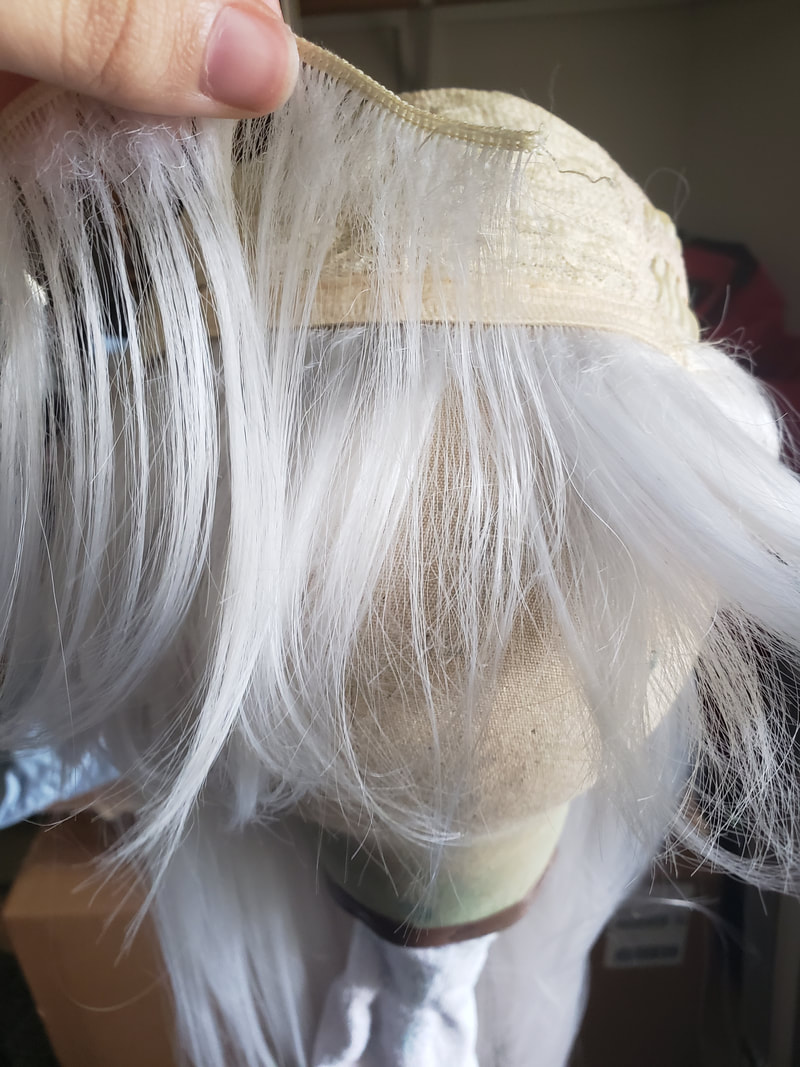
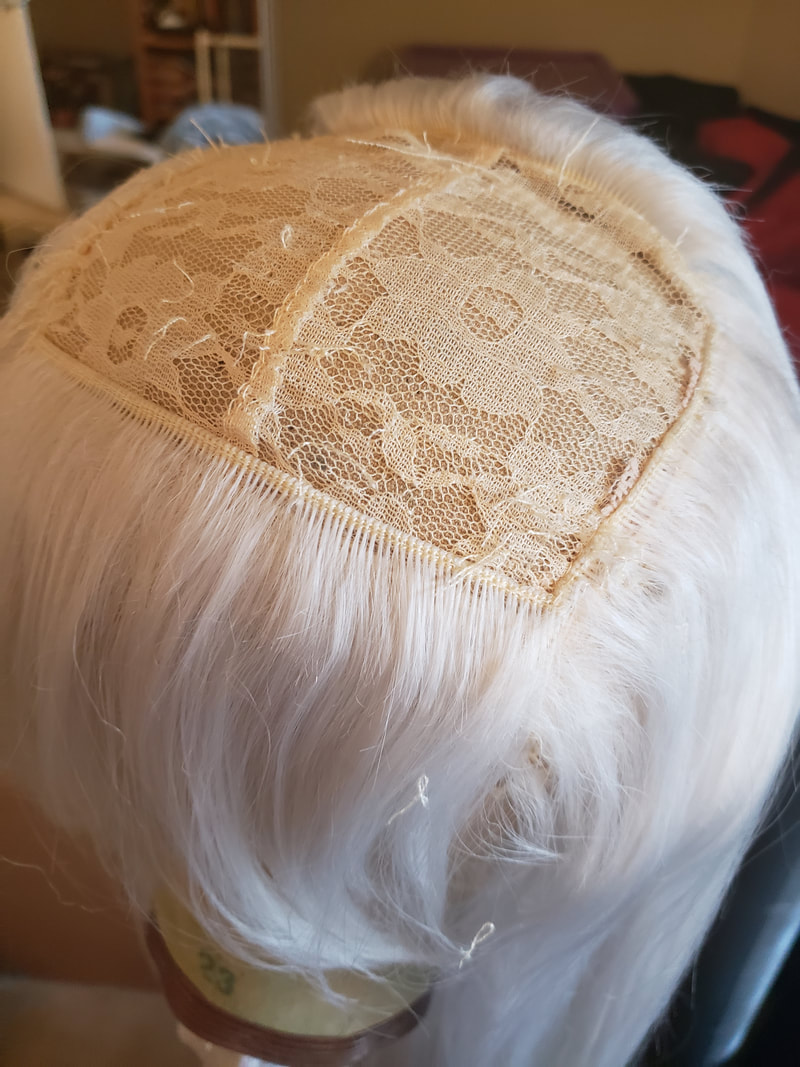
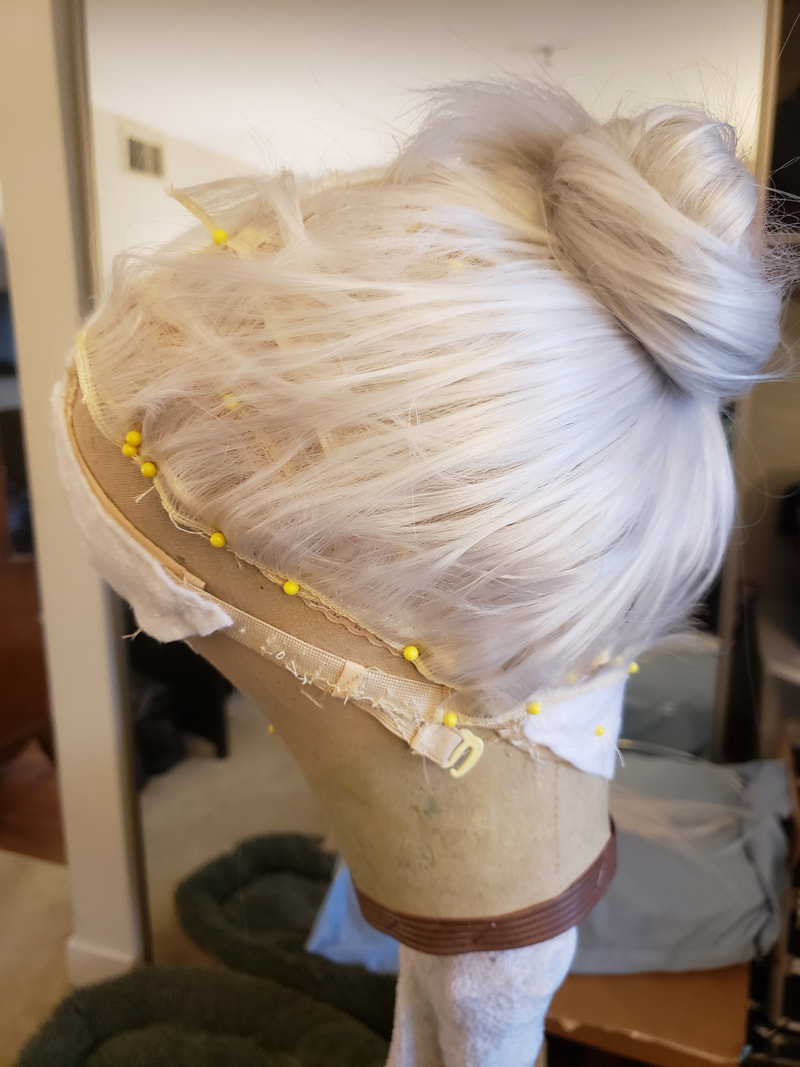
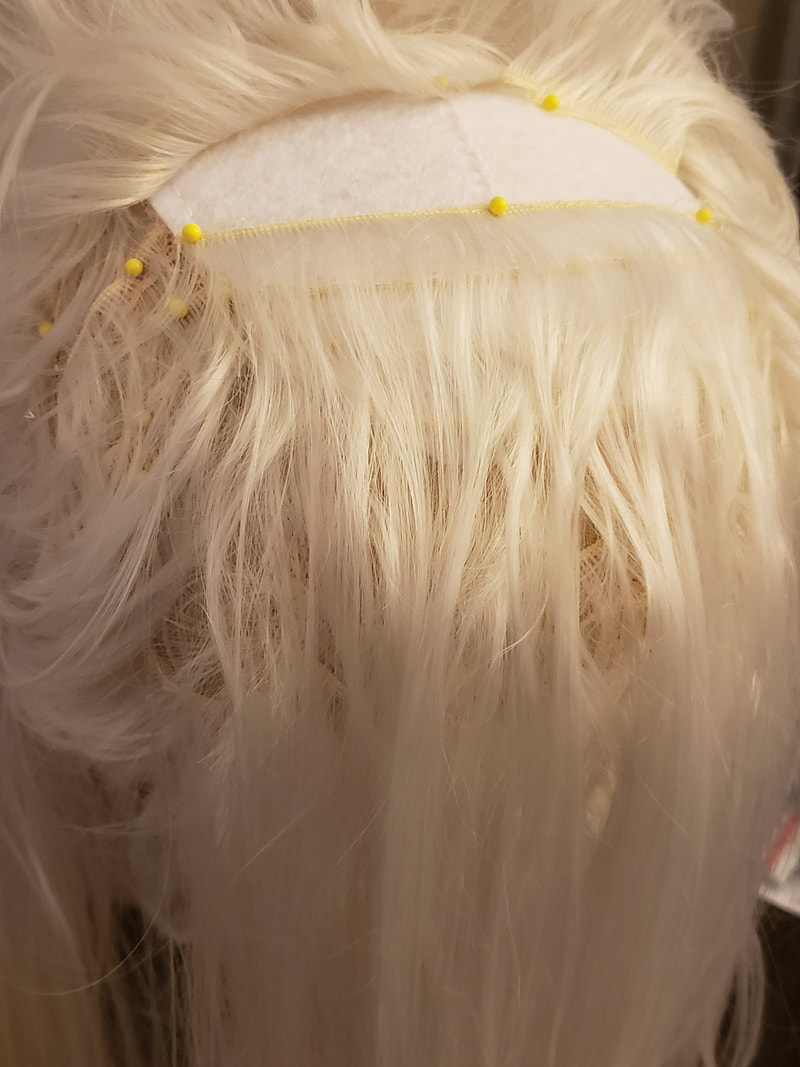
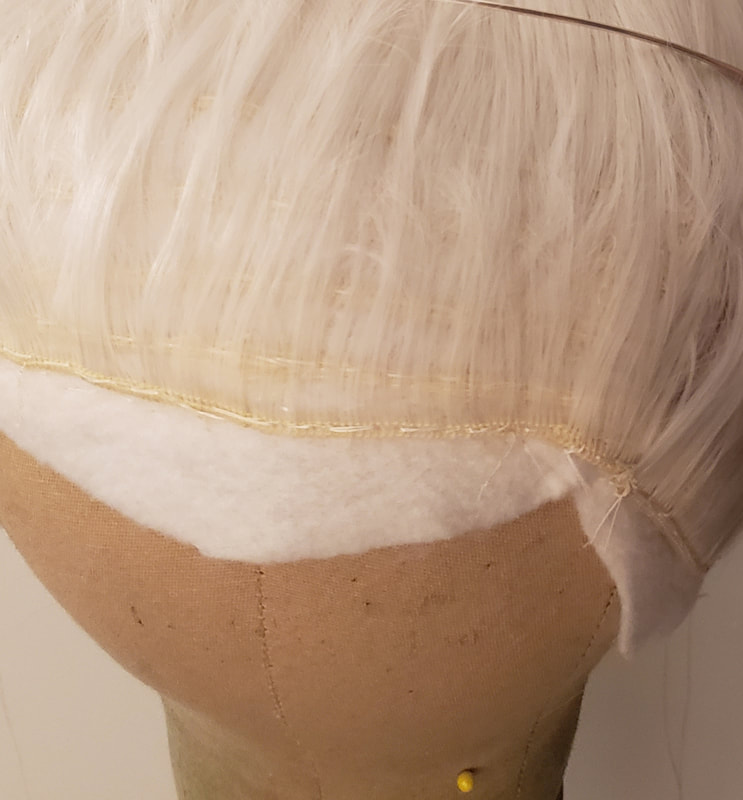
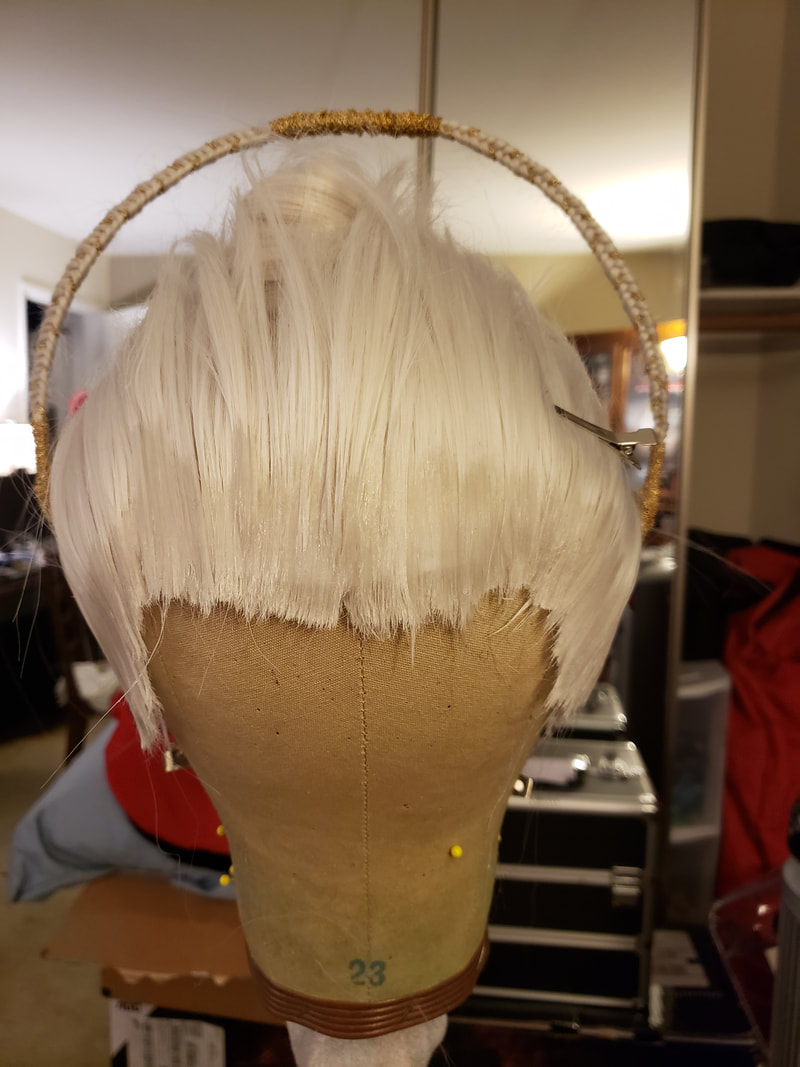
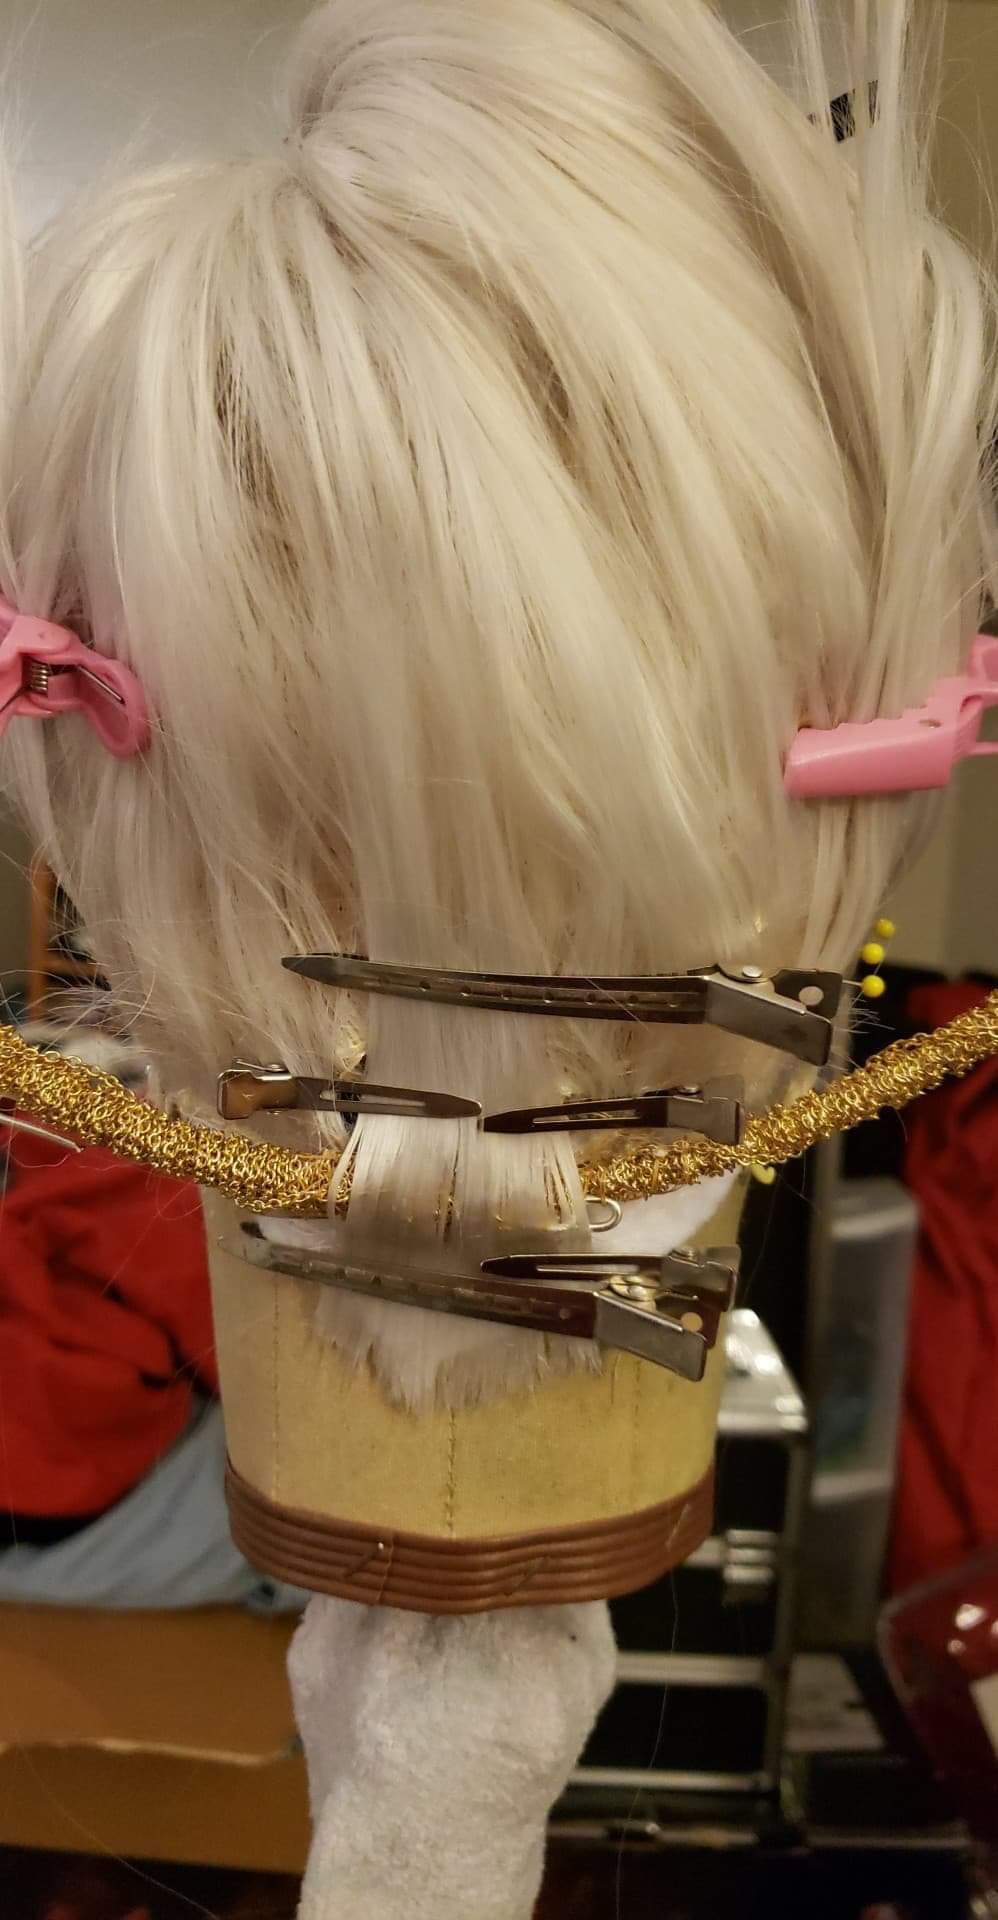
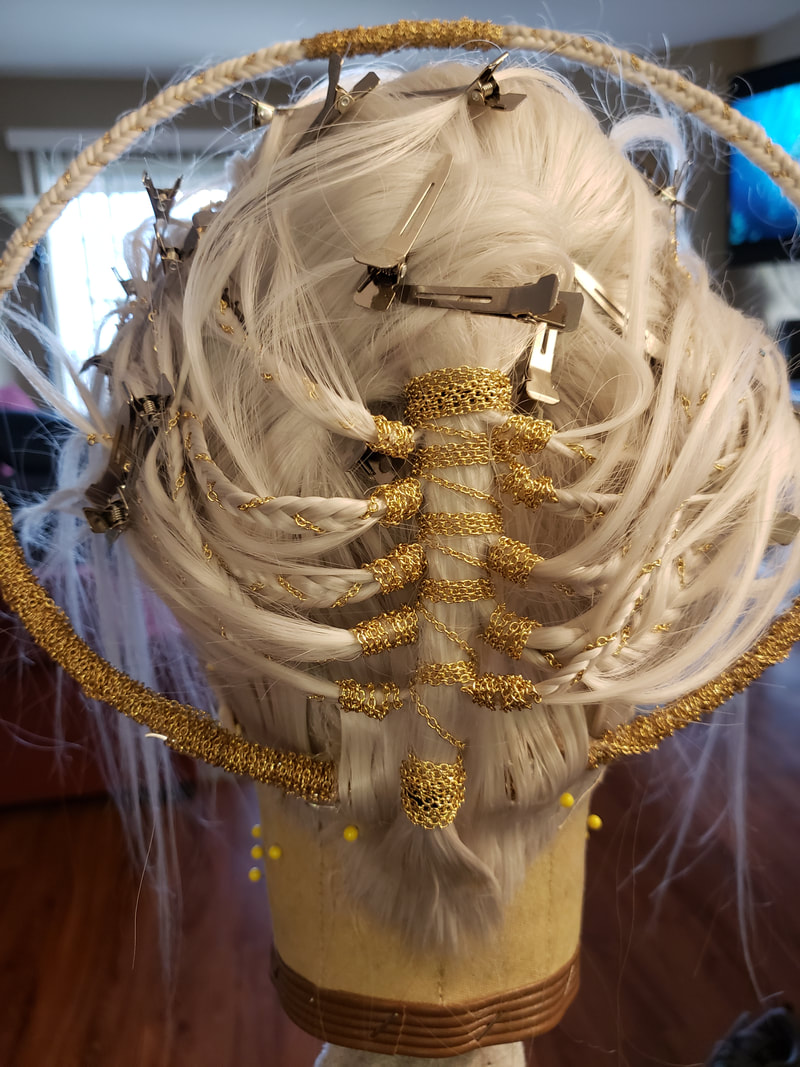
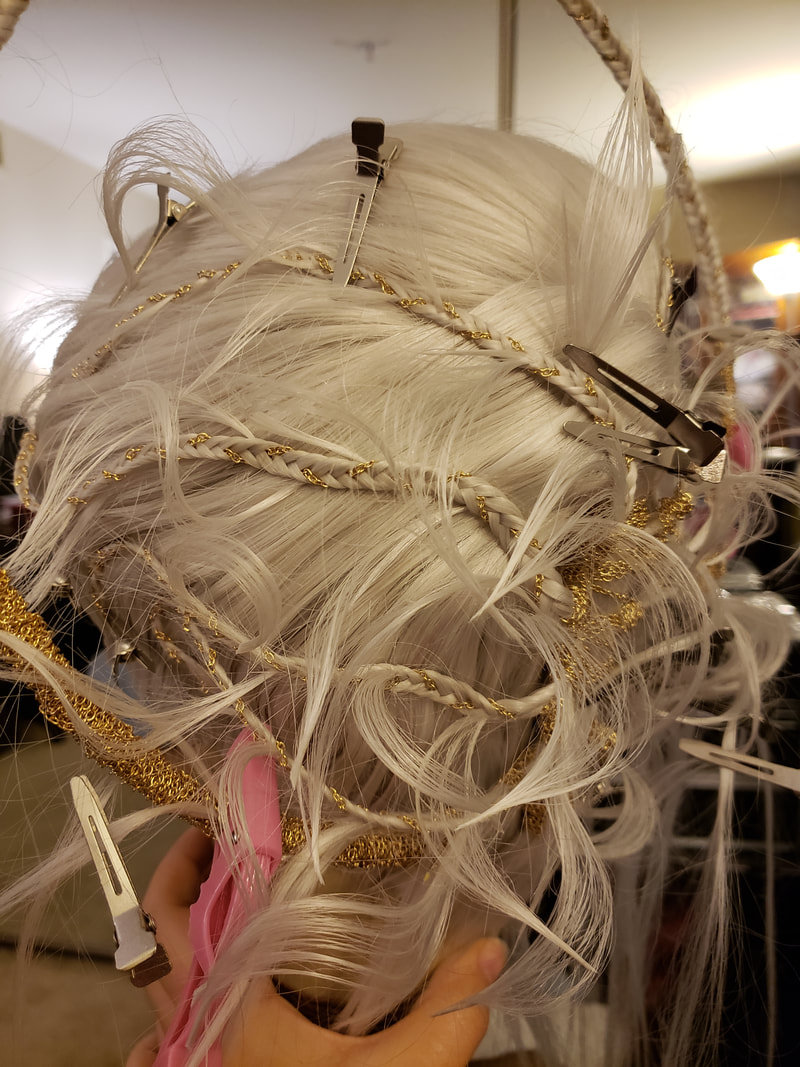
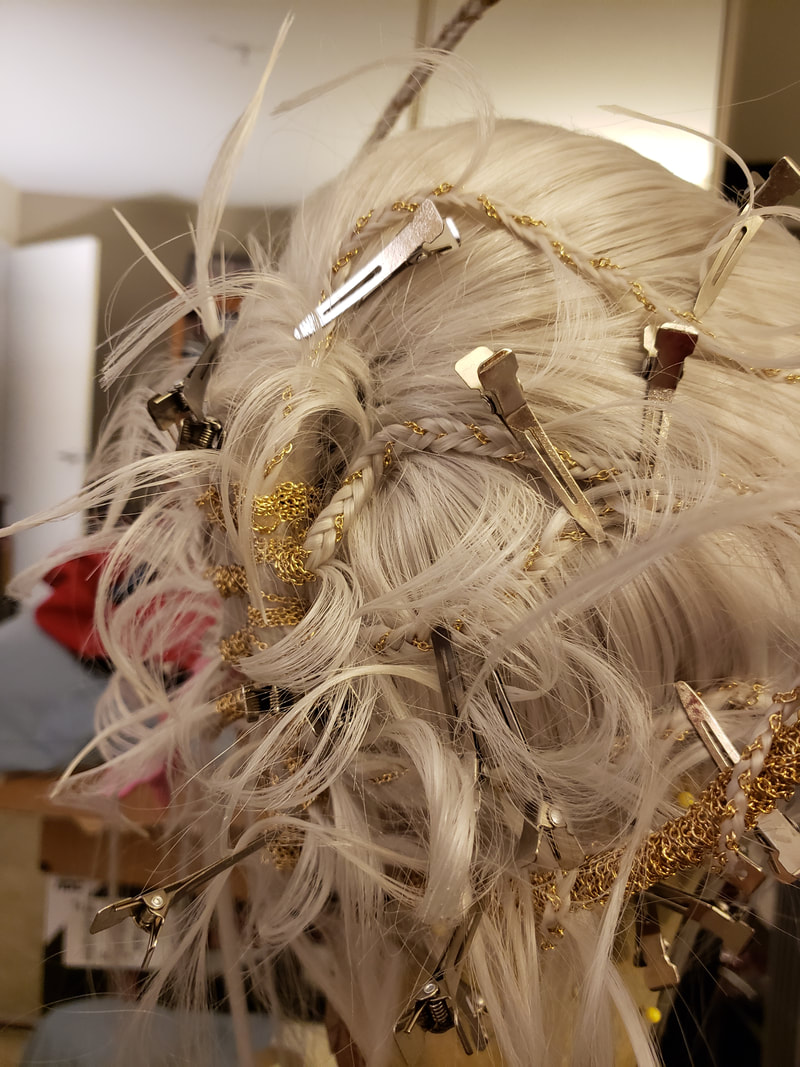
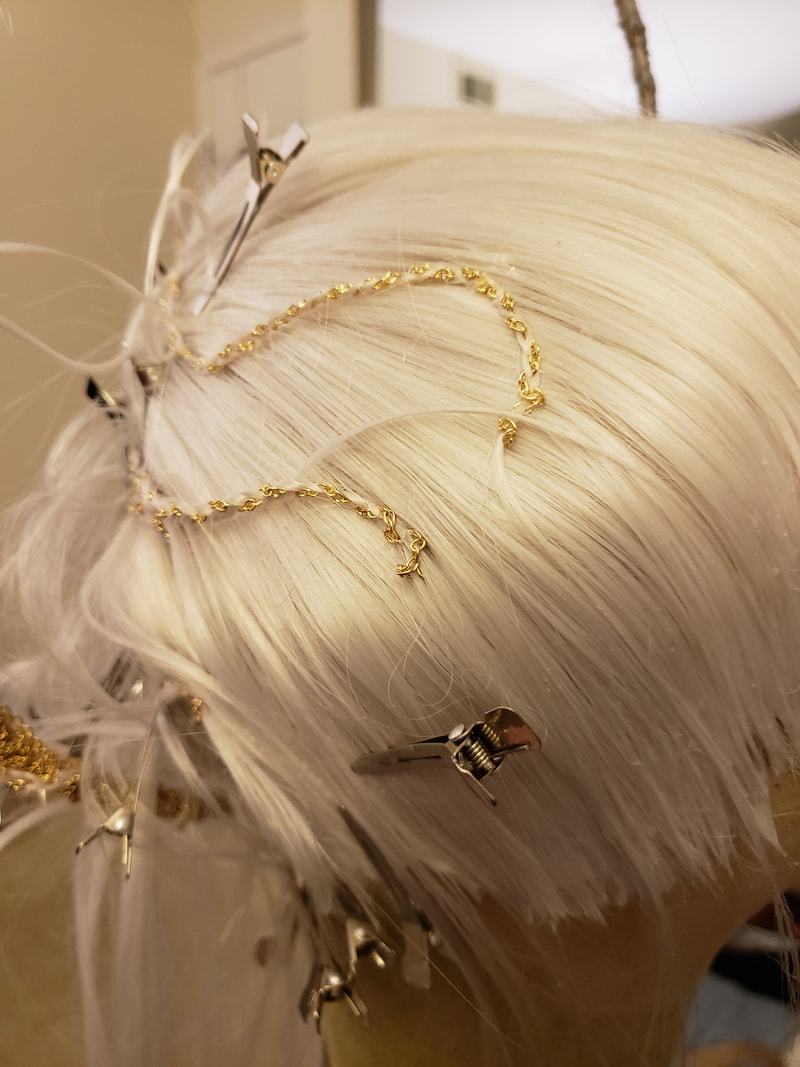
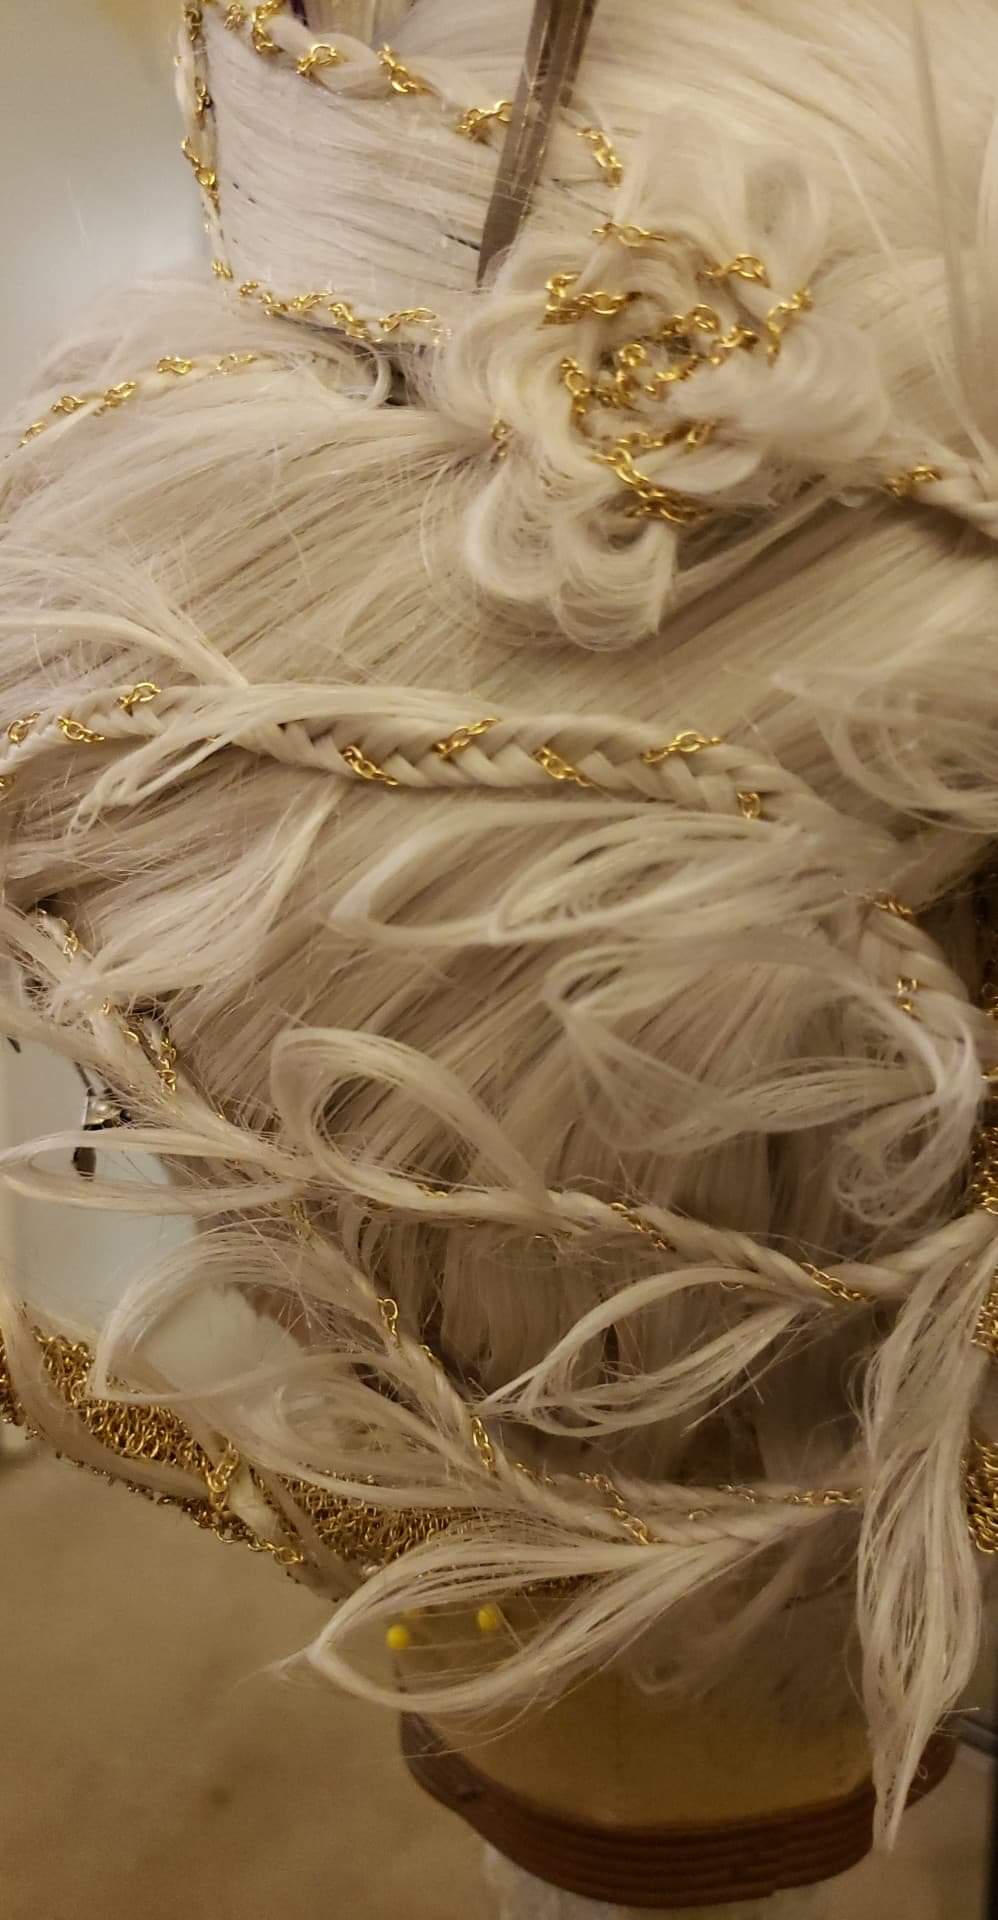
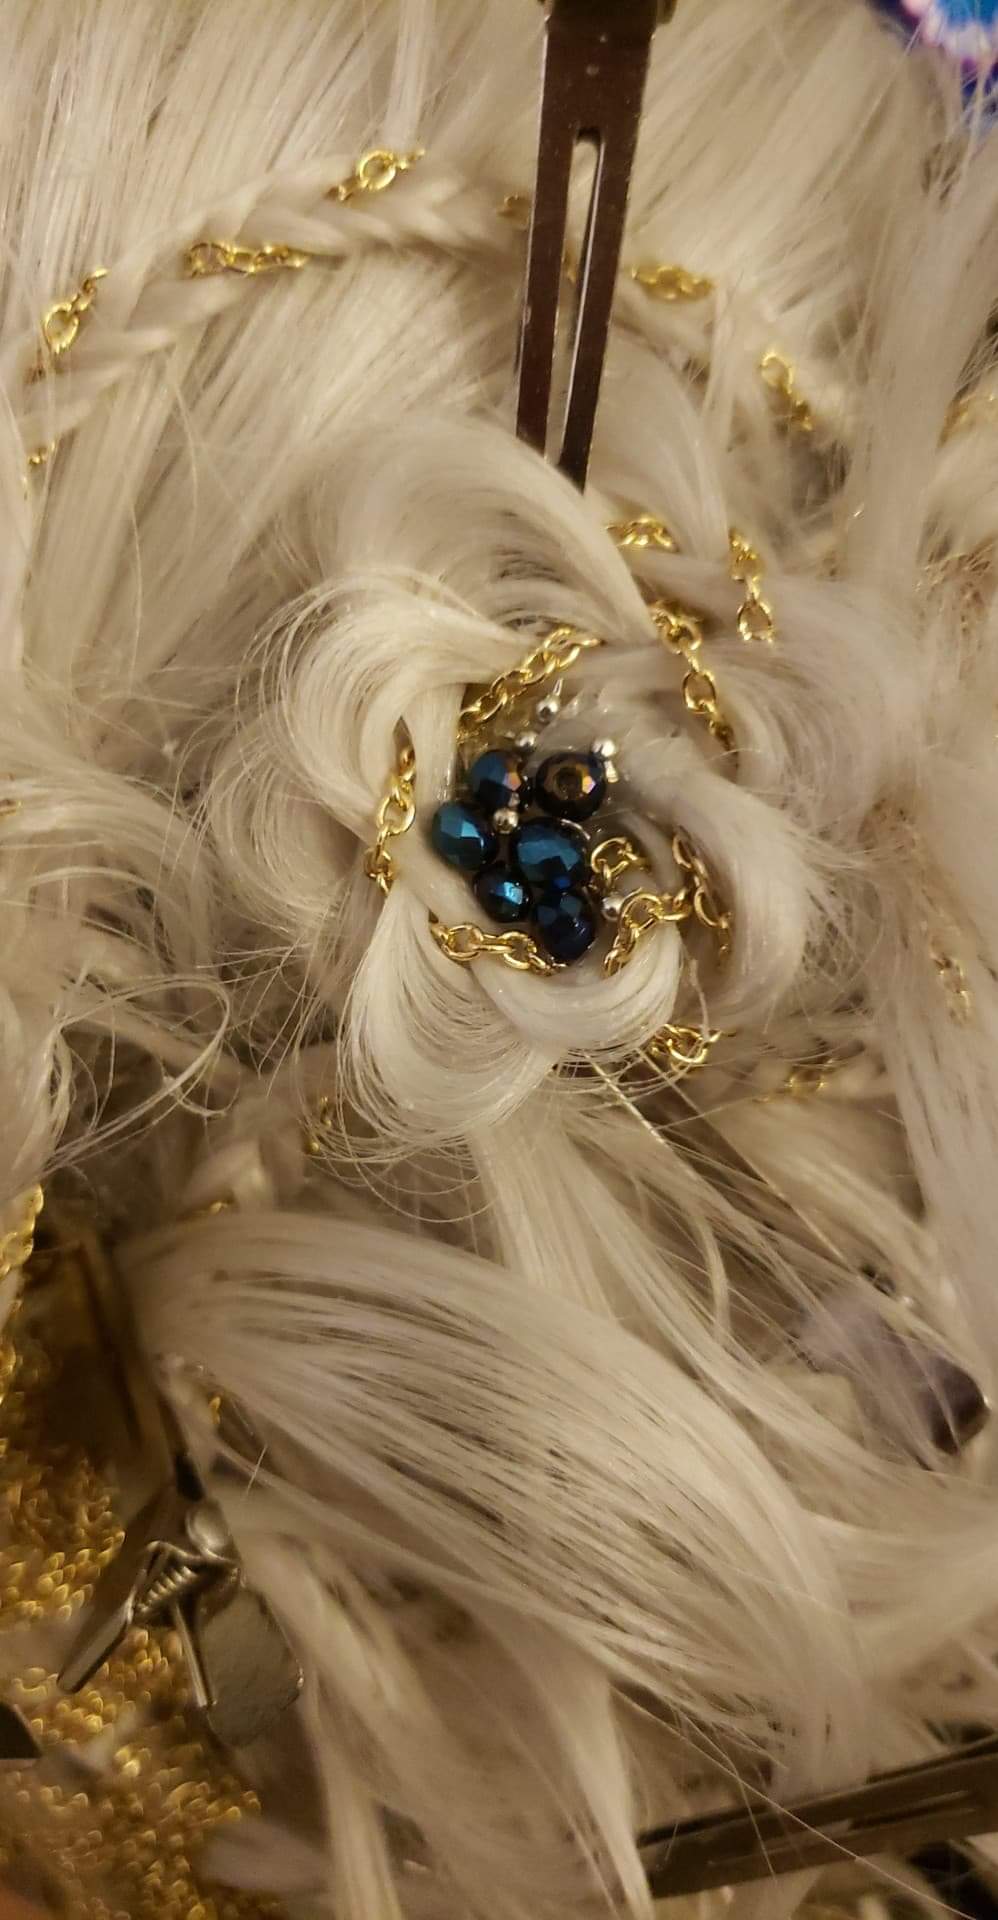
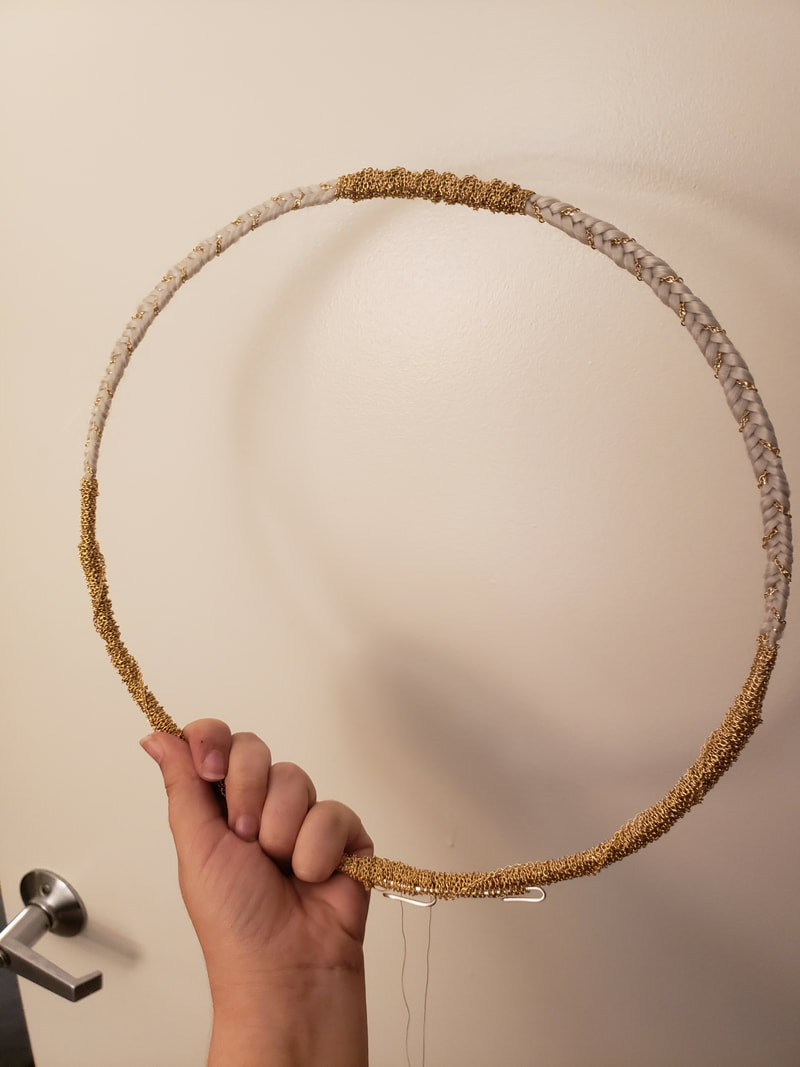
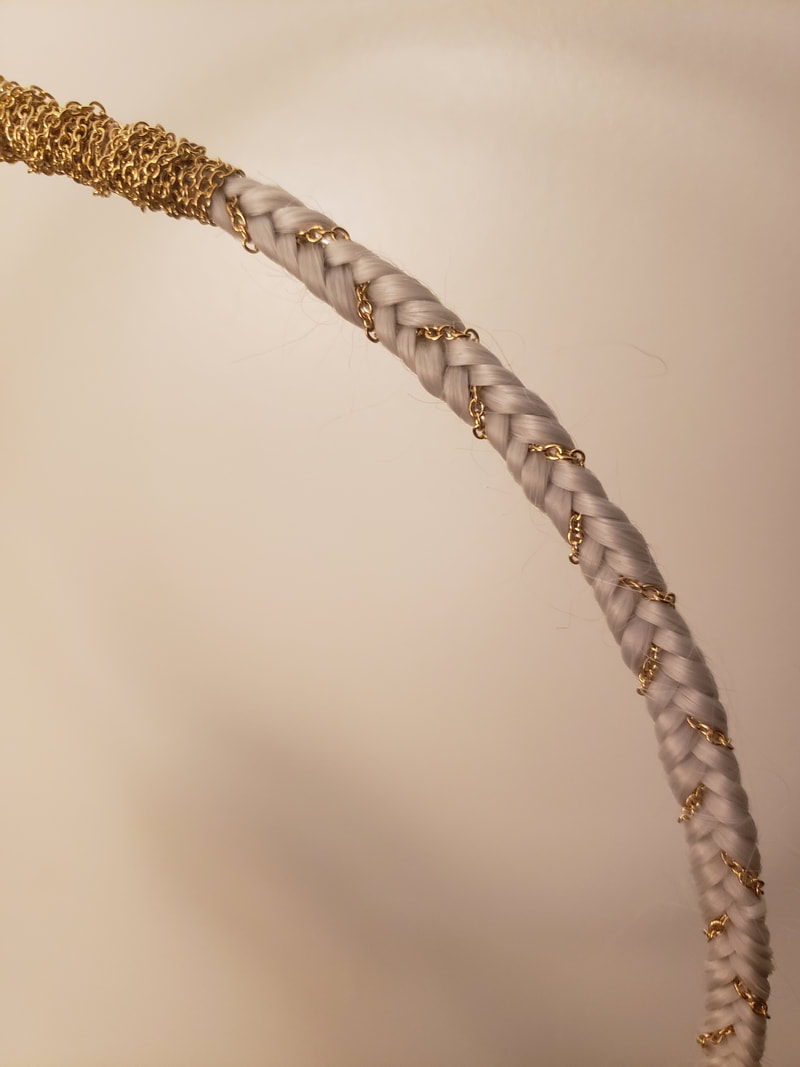
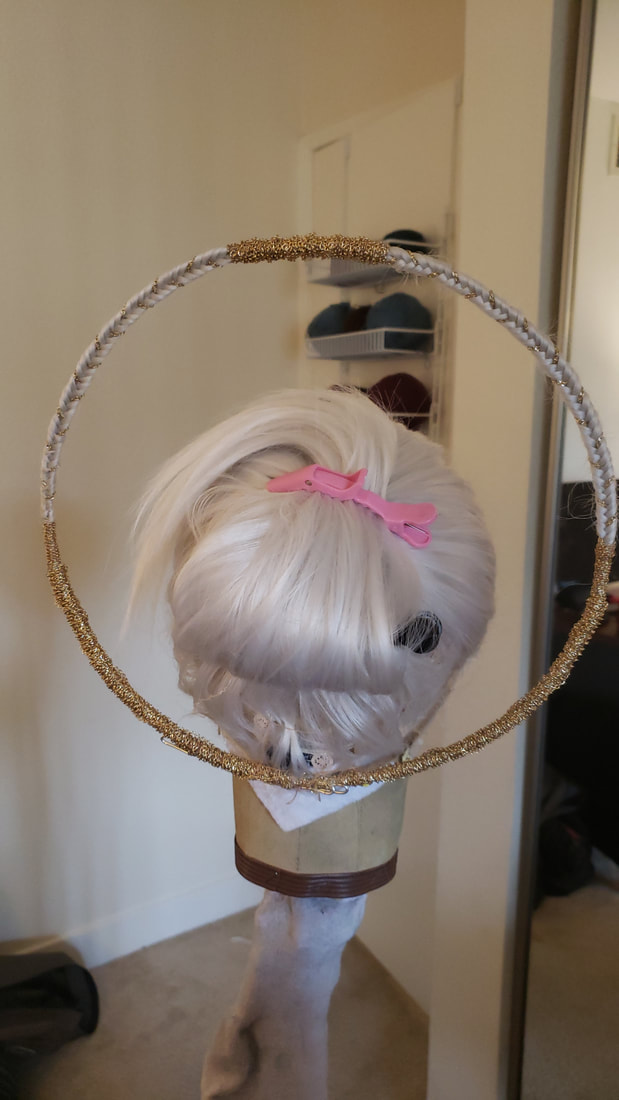
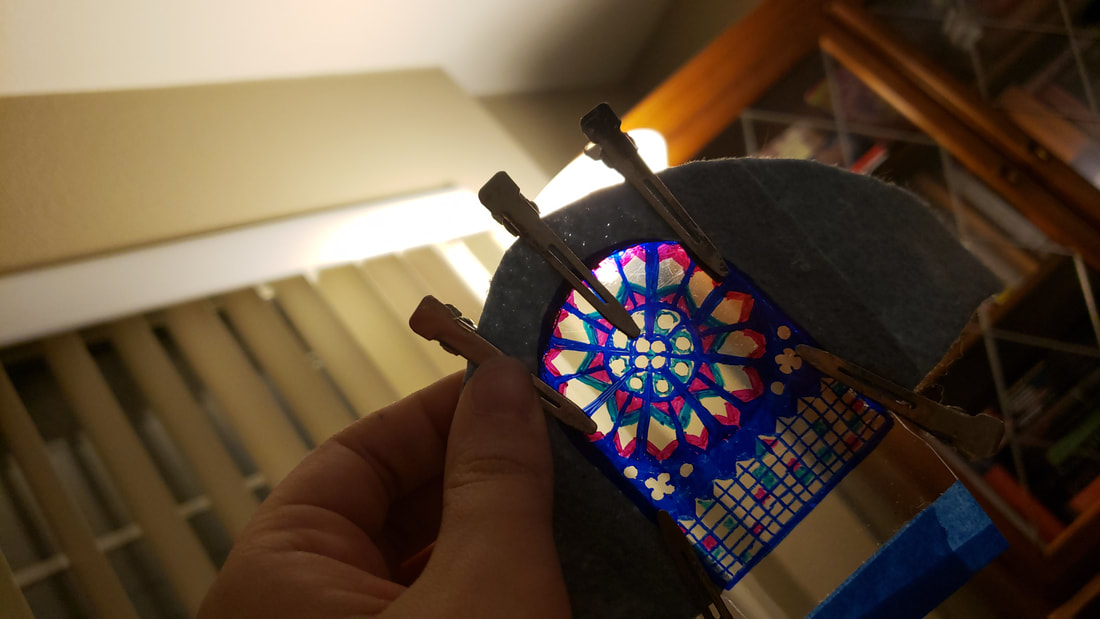
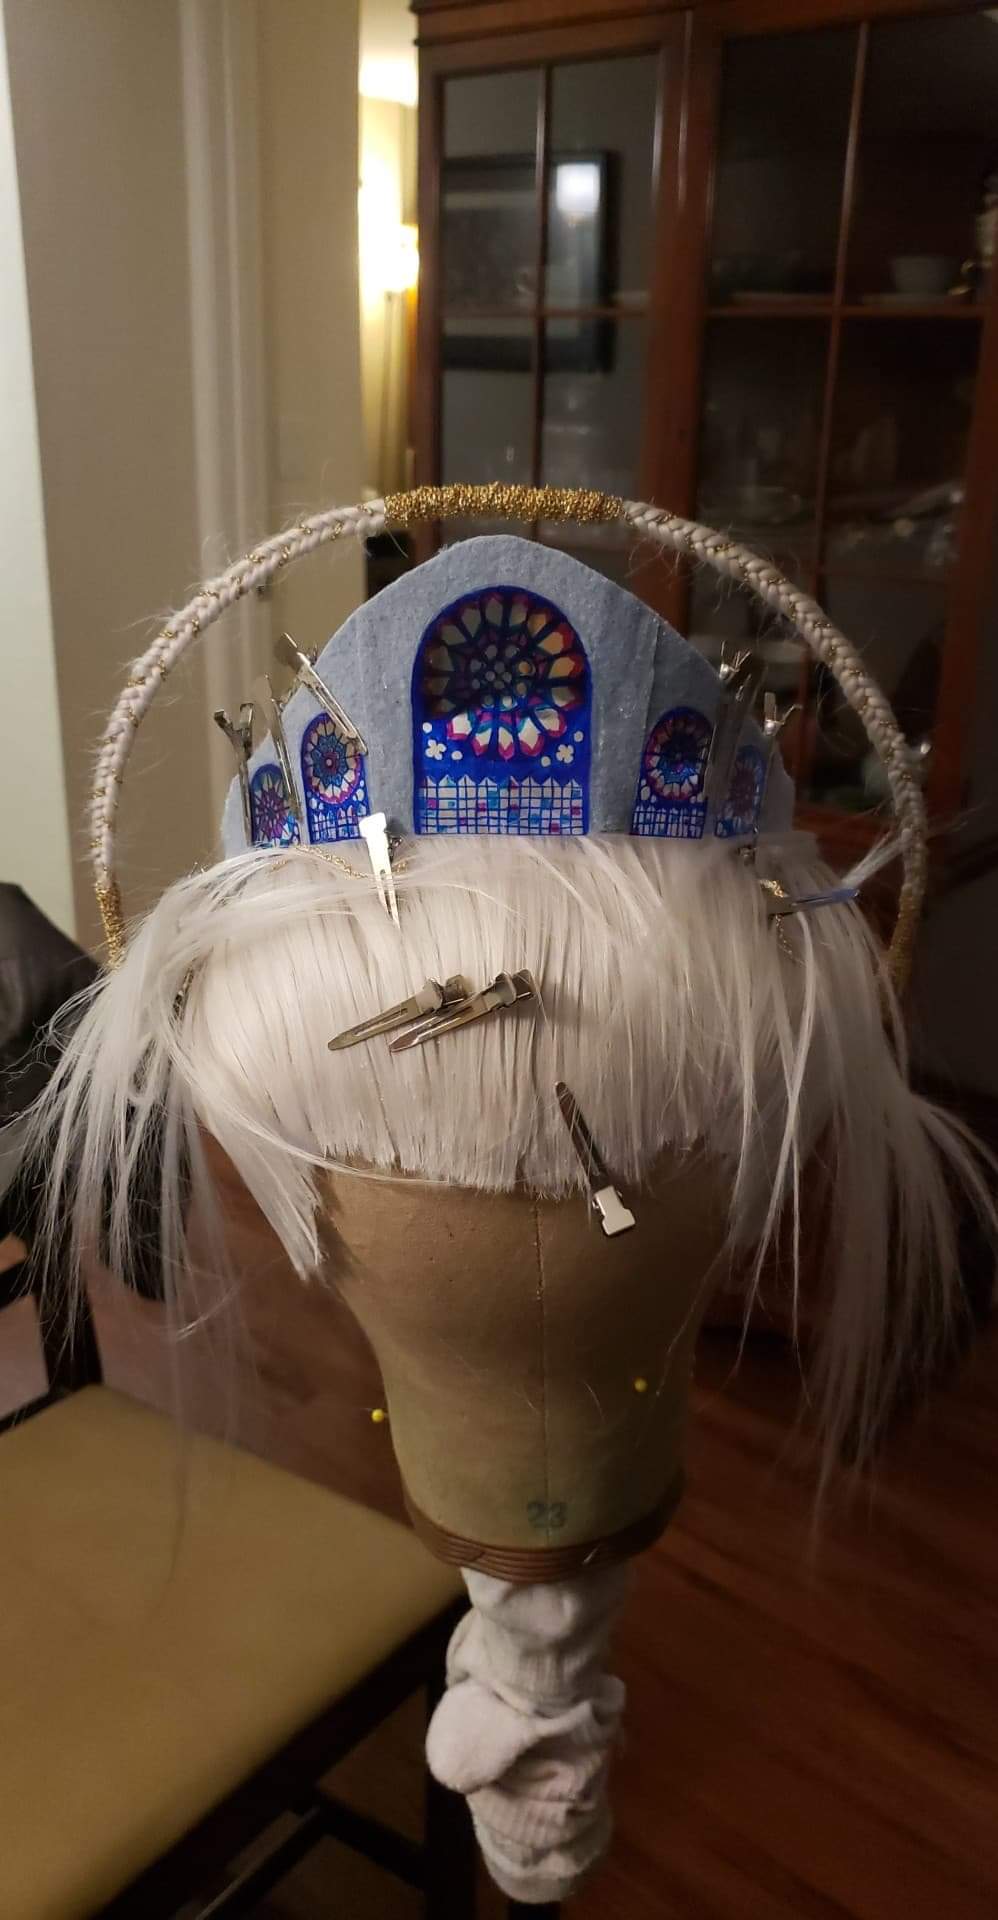
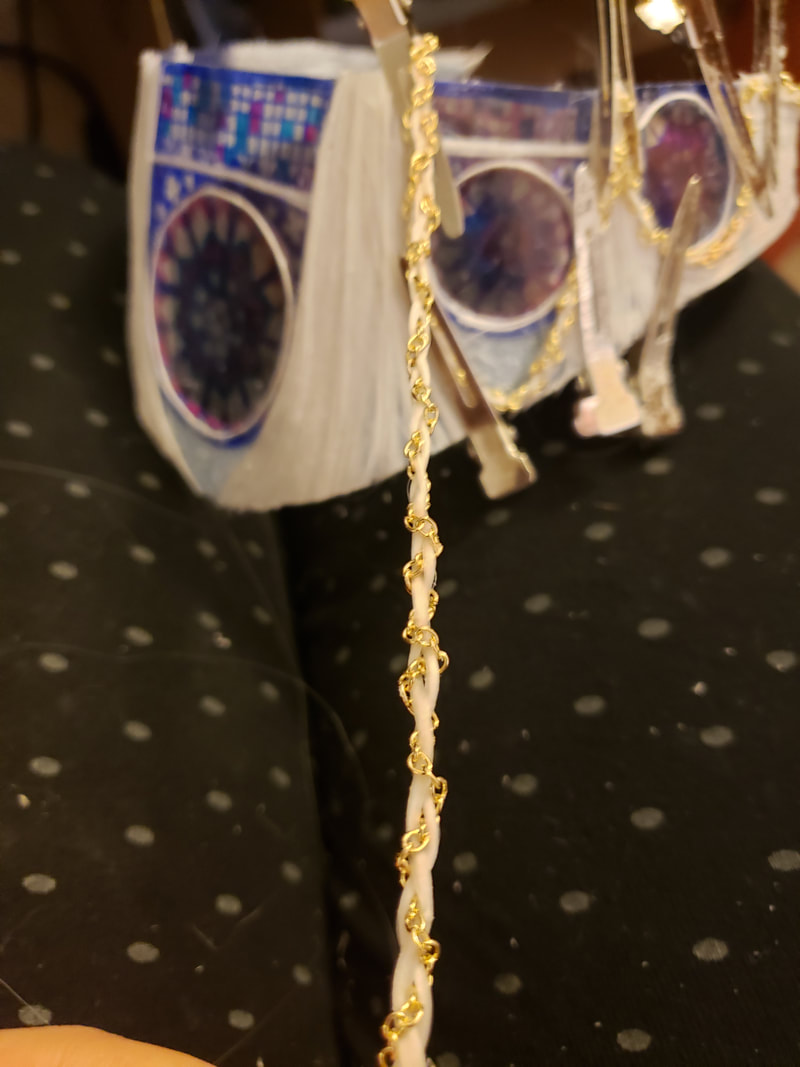
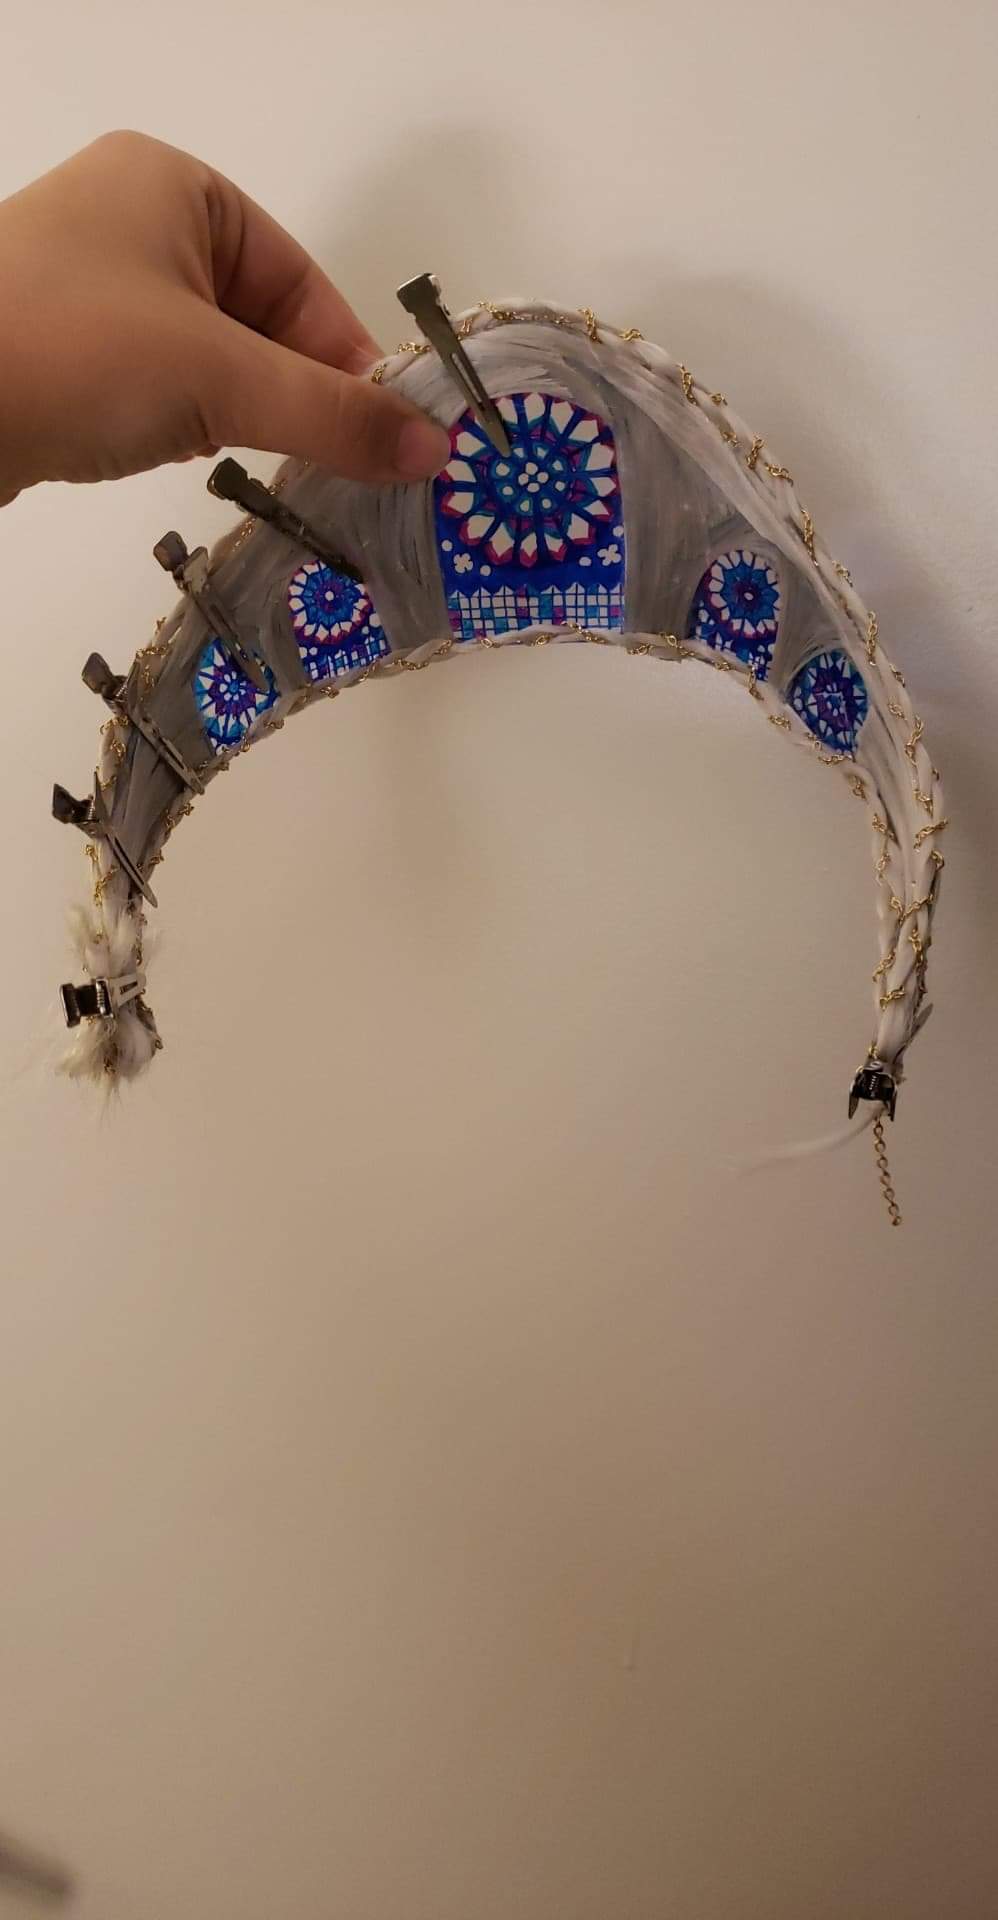
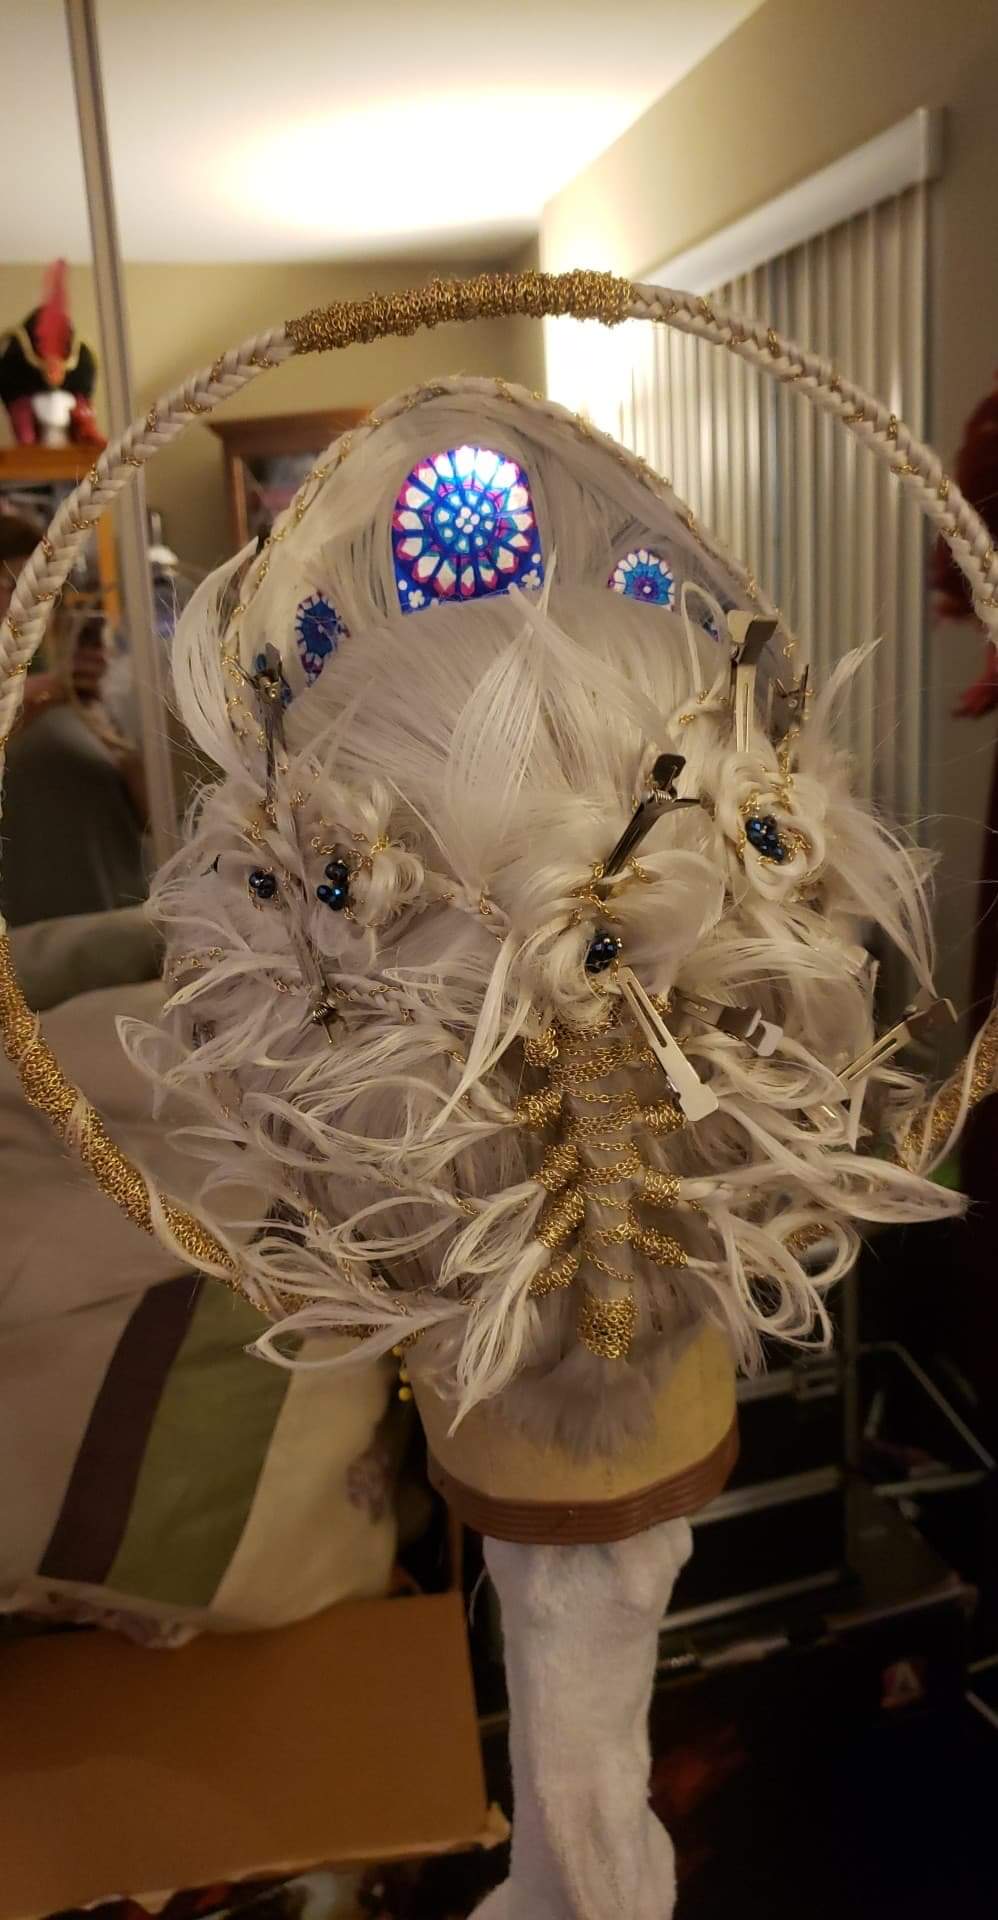
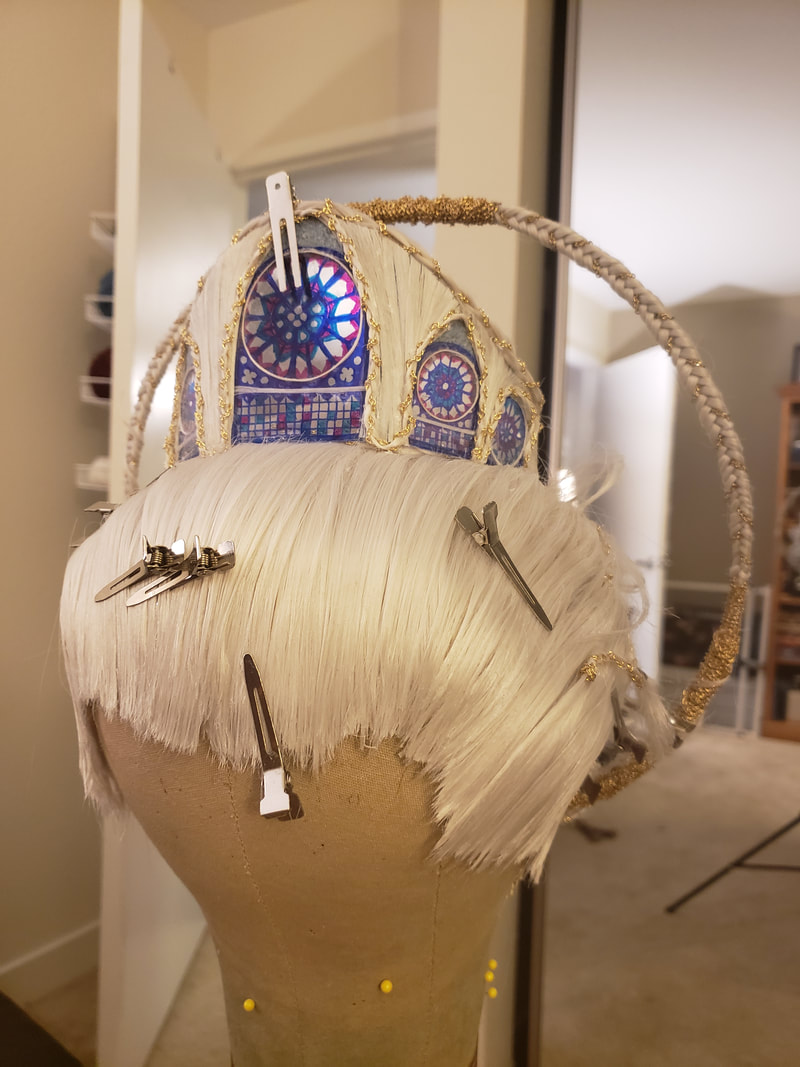
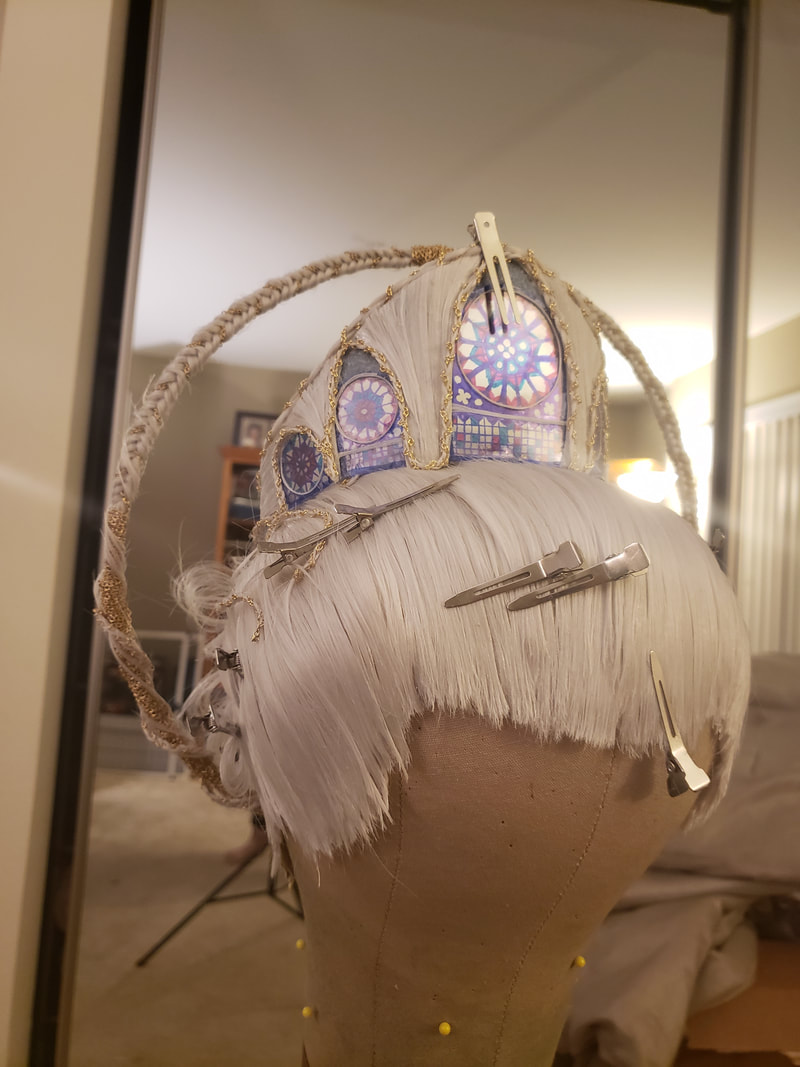
Inspiration: I was inspired by the French Gothic architecture of the Notre Dame and wanted to play this against modern alternative Gothic. My design started with a halo as seen in many Gothic depictions of religious figures. I then wanted to capture the vaulted ceilings of the cathedral which lead to my inclusion of the crown. From there, it seemed only natural to fill the crown with stained glass windows. I used the Rose Window as inspiration for the shape but ended up needing to create my own simplified design. An updo would allow for clean lines and a more regal presence. Process: Base Wig:
Results: You can see how I did here. In short, I didn't win the round, but I didn't lose either! The round definitely set the bar for the rest of the competition. Check out the other contestants too. They are all incredible artists and I am lucky to be creating art with them.
|
AuthorArda Wigs' Iron Wig 2020 3rd Place Winner with wiggy ideas to share. Want to know more? Check out the About Emily page or get in touch! Categories
All
Archives
May 2021
|


 RSS Feed