Menu
|
My idea came from hearing so many women say they are not sure what to do with their hair whether it be for work every day or to go to some kind of event like a wedding. I immediately thought about my mornings getting ready to go into the office (good times, right?) and how I would challenge myself to finish styling my hair in as little time as possible. I like to think I got pretty good at it. So fast forward to starting the YouTube channel, needing more content, and the continued refrain of so many women who might not be aware that good style does not need to take an eternity; this video series now seems like a no brainer.
I hope you enjoy the series and the breakdowns that I plan on accompanying each new episode. In all likelihood, these videos will not be enough to teach complete beginners how to make elegant styles in as little time as I do. My main purpose for this series is to show that with enough practice and patience, it's possible to do quite a bit in not much time at all. I hope to inspire others to challenge themselves, have fun, and create new hairstyles they can be proud of and show off in any setting or venue. Over the course of the series, I will aim to provide something for everyone. If you have any questions, I would love to know how I can be more informative on this topic! I also want to see your creations and inspirations that might be a result from watching this series.
1 Comment
Overview For this style, I used a pre-curled wig, but this style does not require curling your hair first. It might make it easier to make the rolls at the end, but I will demonstrate straight hair styles in other videos. I welcome trying this hairstyle on any and all hair textures and would love to see what you create! Not shown in the video is the time I spent detangling the hair. This wig tended to re-tangle no matter how much I brushed it out ahead of time, but some detangler or light use of hair oil should help prevent this for real hair. I did not really use a mirror for the majority of this style, but feel free to when trying this out for the first time and checking your work to make sure no ends or weird bits stick out. If you are totally new to braiding, you may want to start off with more simple versions of this hairstyle or simply practice braiding for awhile before attempting this style. Keep an eye out for future videos to see a range of styles for more experience levels. Here are the basic steps I will expand upon below covered in this episode:
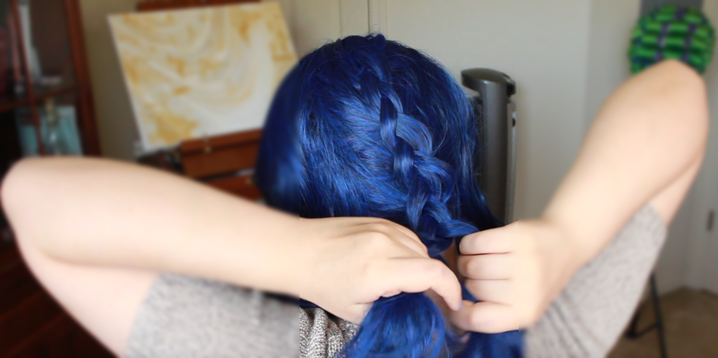
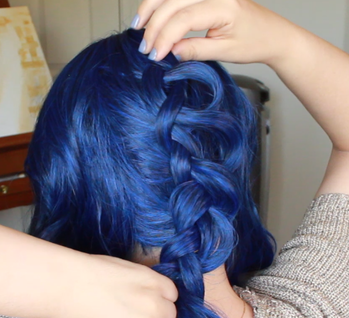
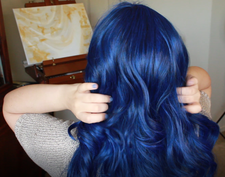 Step 1: Section your hair into 3 parts Every good hairstyle starts off with a plan, and sectioning is the best way to create a template for your plan. It helps you to stay organized and gives you a better idea for how much more you have left to do. It also helps prevent you from putting too much hair into your braid and not having enough to add more twists and rolls. Step 2: Dutch braid down the center of the middle section until the nape of your neck I never braid until the end of my hair if I do not have to since it uses time for something that might not even show. If you have never done a Dutch braid before, it is like a French braid but instead of bringing the outside sections in over the braid, you bring them in under the braid. The result is a braid that sits on top of the hair instead of being folded inside of it. If you have never done either a Dutch or French braid before, the principle is the same, after the first 3 sections are braided, add in additional hair before braiding each new section. Ideally, each added section should be about the same size. It takes some practice to get used to this style of braiding, especially on yourself. If you are totally new to braiding, starting off with a simpler style to practice may be your best option before moving on to something like this.
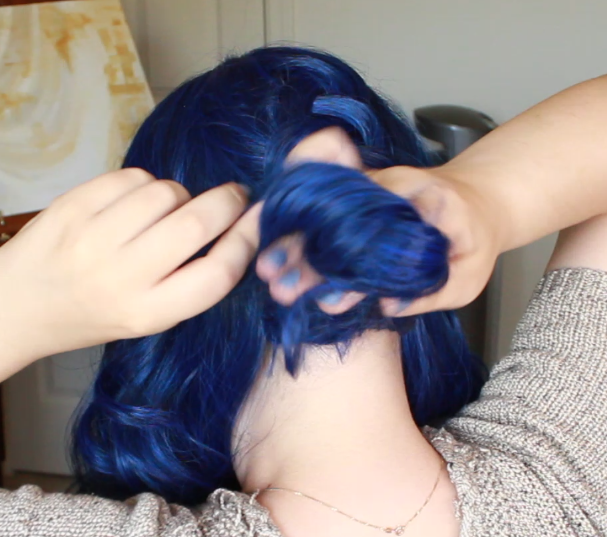
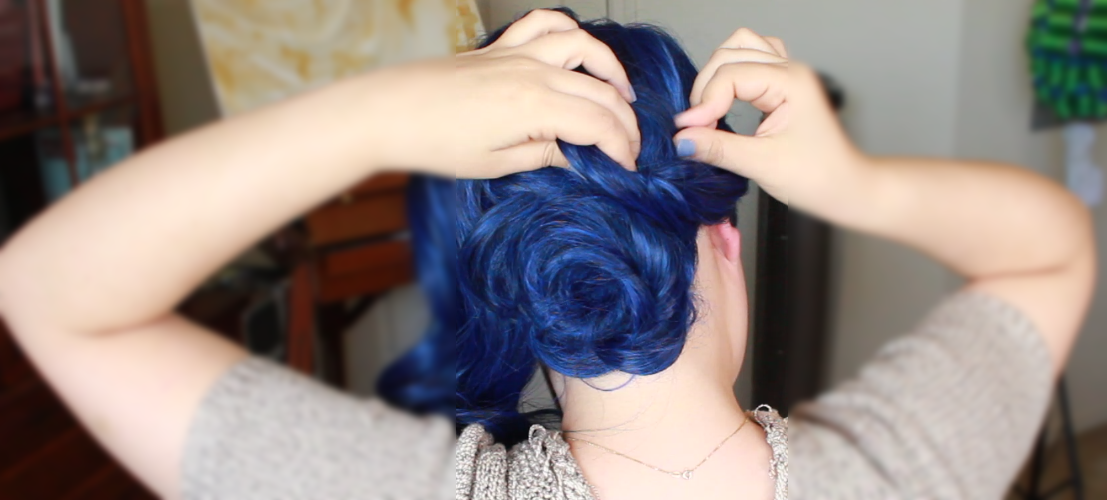
Step 4: Wrap the end of the braid around your fingers and pin just off center at the nape of your neck This part will look cleaner if your hair is completely detangled beforehand and will be easier to do with curled hair. If you do not have time to curl your whole head, consider just curling the ends. Again, it's not necessary, but might give a better look at the end. I choose to do off center looks for these kinds of quick styles since I feel like it's easier than trying to find and style to the exact center of my head. Asymmetry is in fashion anyway, so you may as well go for it and do it on purpose. Step 5: Individually, twist the left & right sections toward the center, wrap the ends around your fingers, and pin to either side of the braided section Each side is done on their own and again, we are not trying to achieve perfect symmetry, but it is important to twist toward the center of your head, away from your face. This will provide the best silhouette from the front. As with the middle section, wrapping the hair and pinning the roll to your head, would be easiest with curled and detangled hair but only the latter of this is totally necessary for a sleek look. That's all there is to it! Let me know if you have any questions or what other kinds of styles you might like to see.
I look forward to seeing the versions you create! Challenge: I will link rules and results at the bottom of this post. TL;DR: In this challenge, contestants were asked to create a tutorial, either written or in a video, that shows a styling technique as part of an overall style. I chose to showcase styling pinup rolls and created a classic pinup hair ‘do to show off the technique. This was one part of the overall Final Round, which had 3 parts total. The Materials: Links to products used will also be provided at the bottom of this post. Arda gave us a bunch of stuff for the final round and of that haul I chose to use the following for this tutorial:
Results:
In terms of score, I did okay. I was rather proud of myself though for making my first tutorial video and learning a lot for my future tutorials. I was also happy that I managed to keep the overall video less than 20 minutes as well as just focus in on the core of what I wanted to teach. |
AuthorArda Wigs' Iron Wig 2020 3rd Place Winner with wiggy ideas to share. Want to know more? Check out the About Emily page or get in touch! Categories
All
Archives
May 2021
|
Proudly powered by Weebly

 RSS Feed