STAR ROSE WIGS
Menu

Arda Iron Wig Round 1: Freestyle Write Up

3/21/2020

0 Comments

 
Challenge: 
First, if you have not read the rules for the first round of Iron Wig 2020, you can find them here.
​
TL;DR: This round, as the name suggests, was a Freestyle round. Our design could be entirely unique but there were a few restrictions: we could not add more hair and we could not change the color of the hair in any way.

The Materials:
We were each provided the same wig style (a discontinued Victoria) but we each had a different color. Mine was in Arda's Silver color way.
Picture
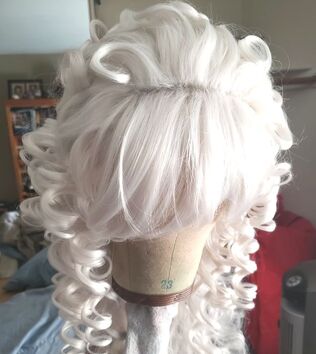
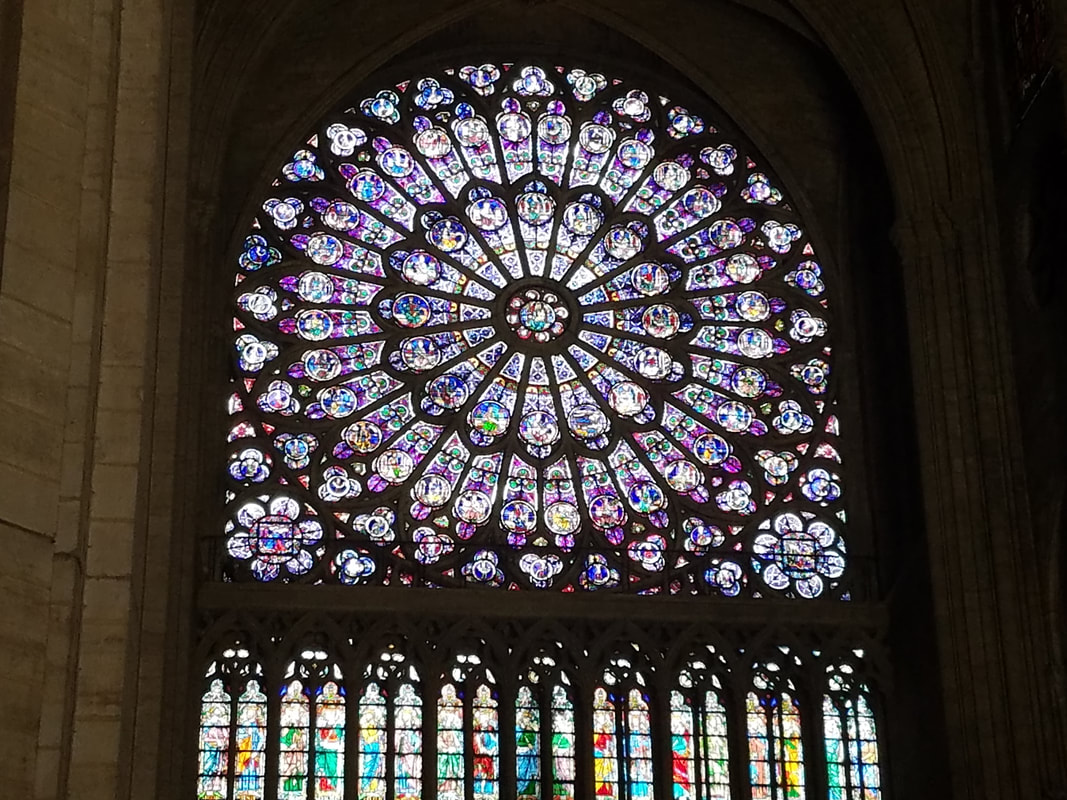
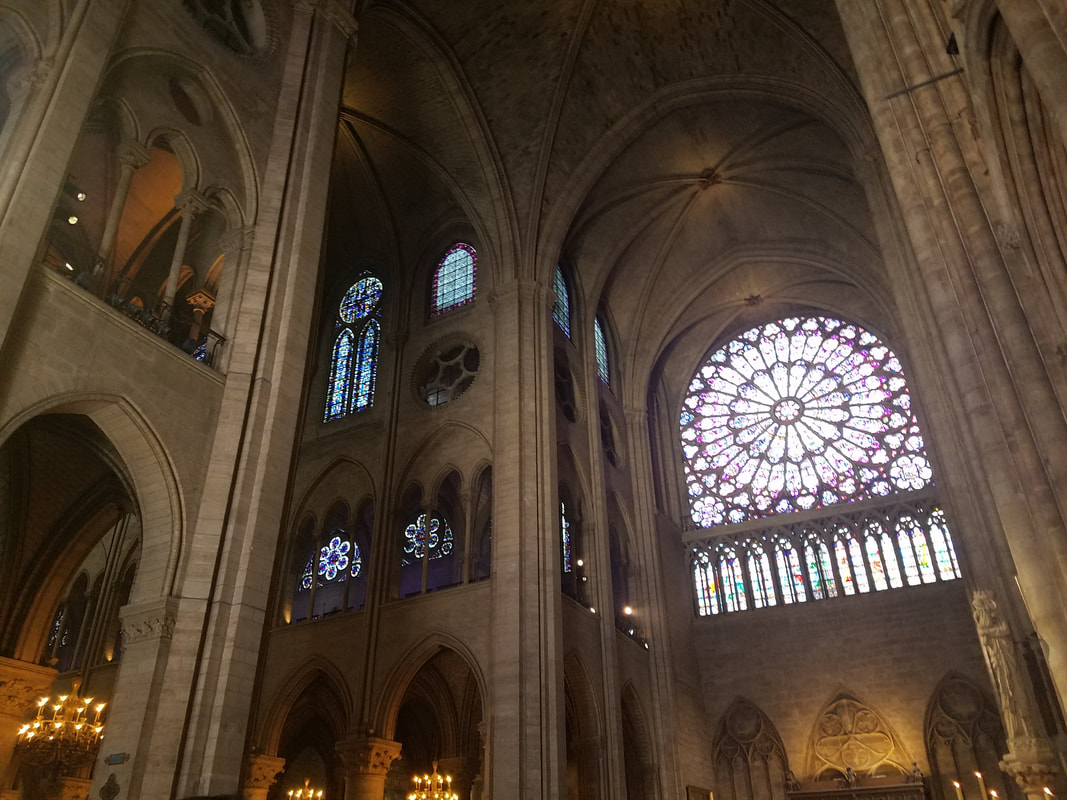
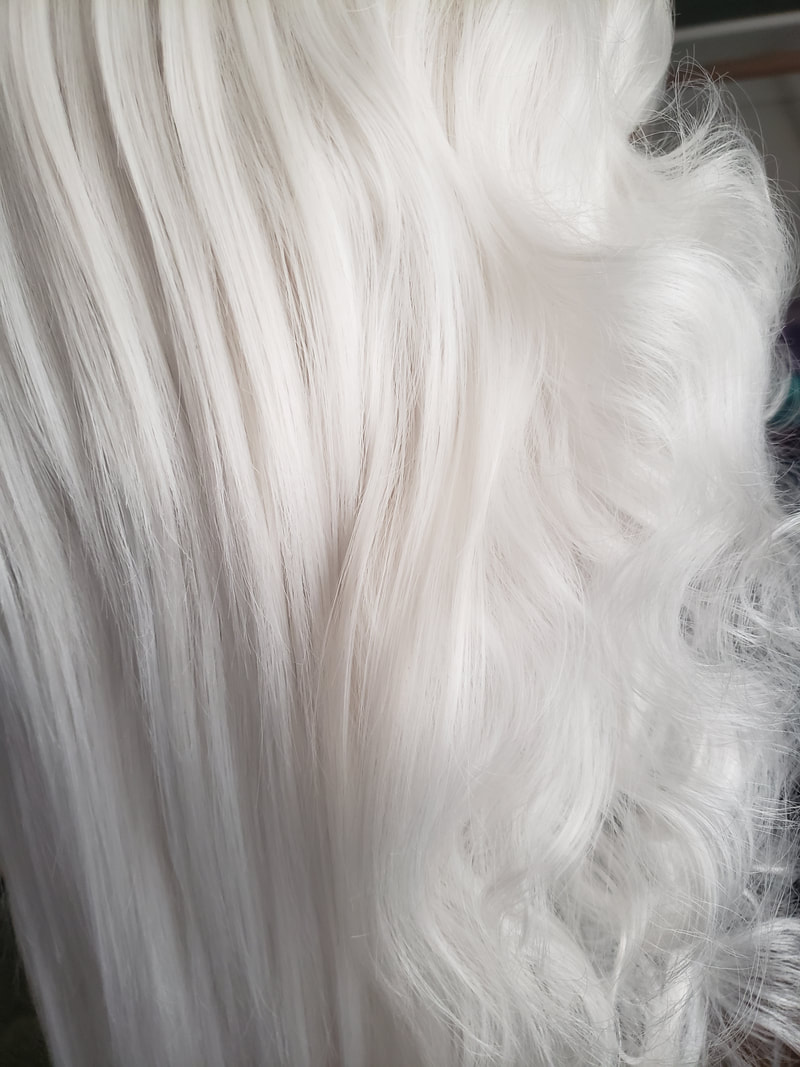
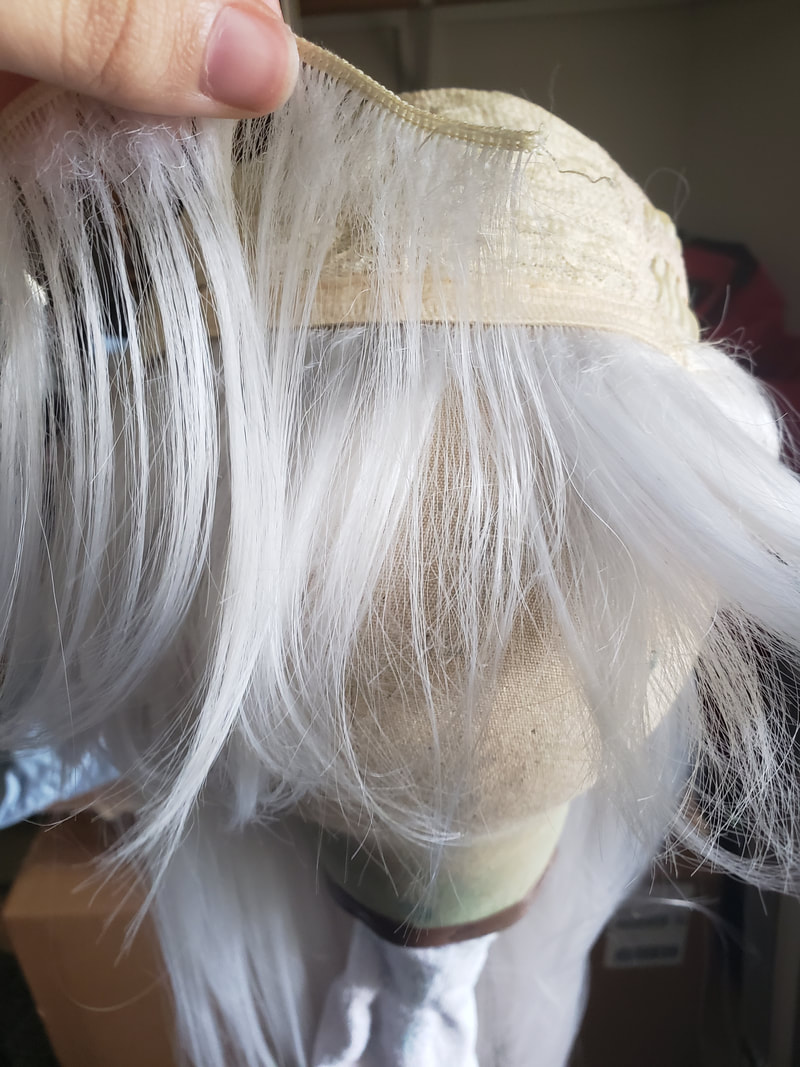
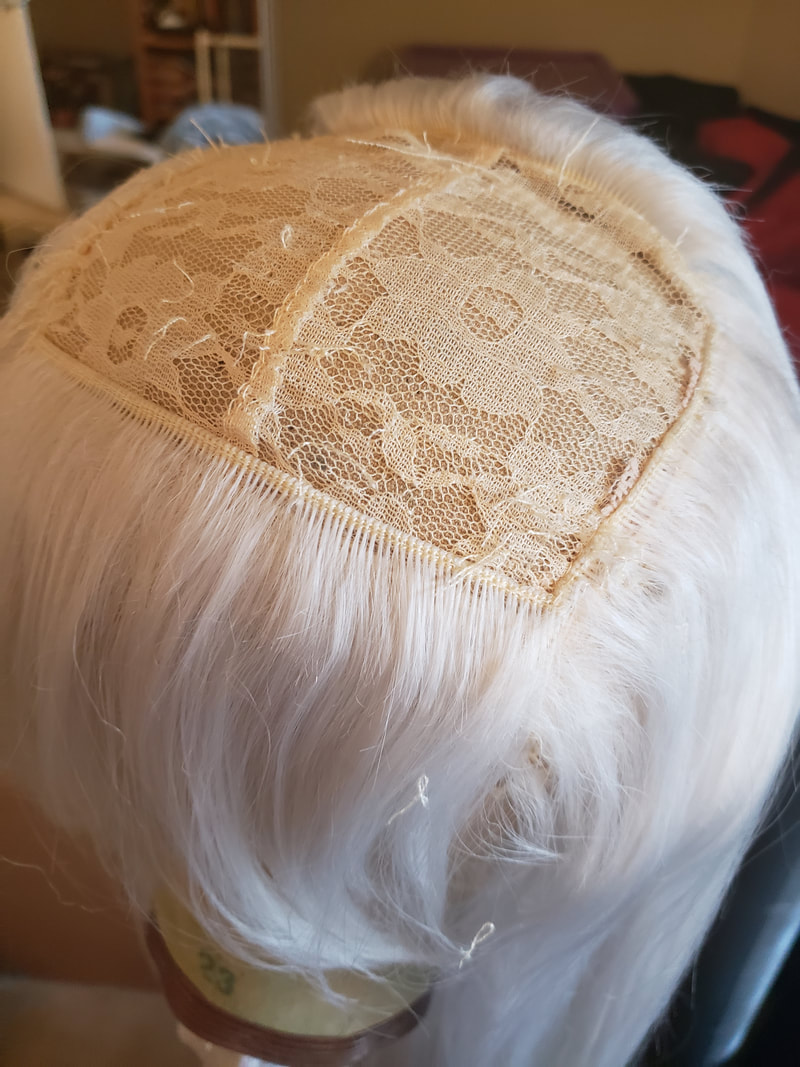
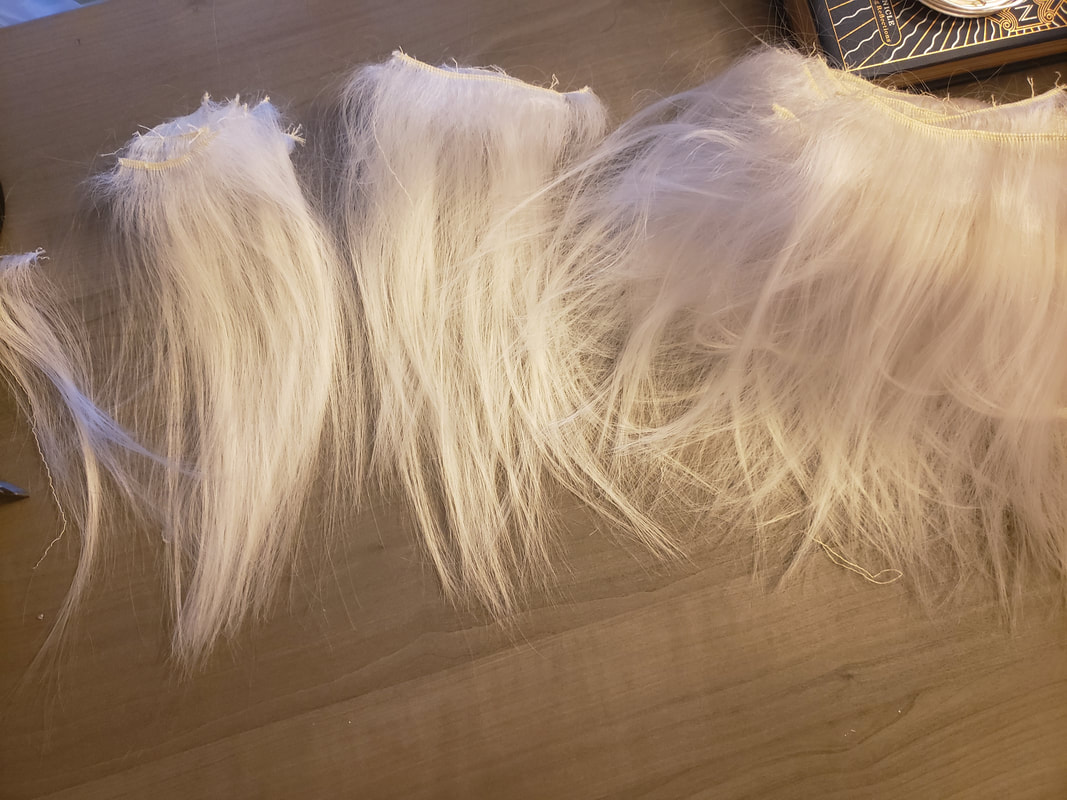
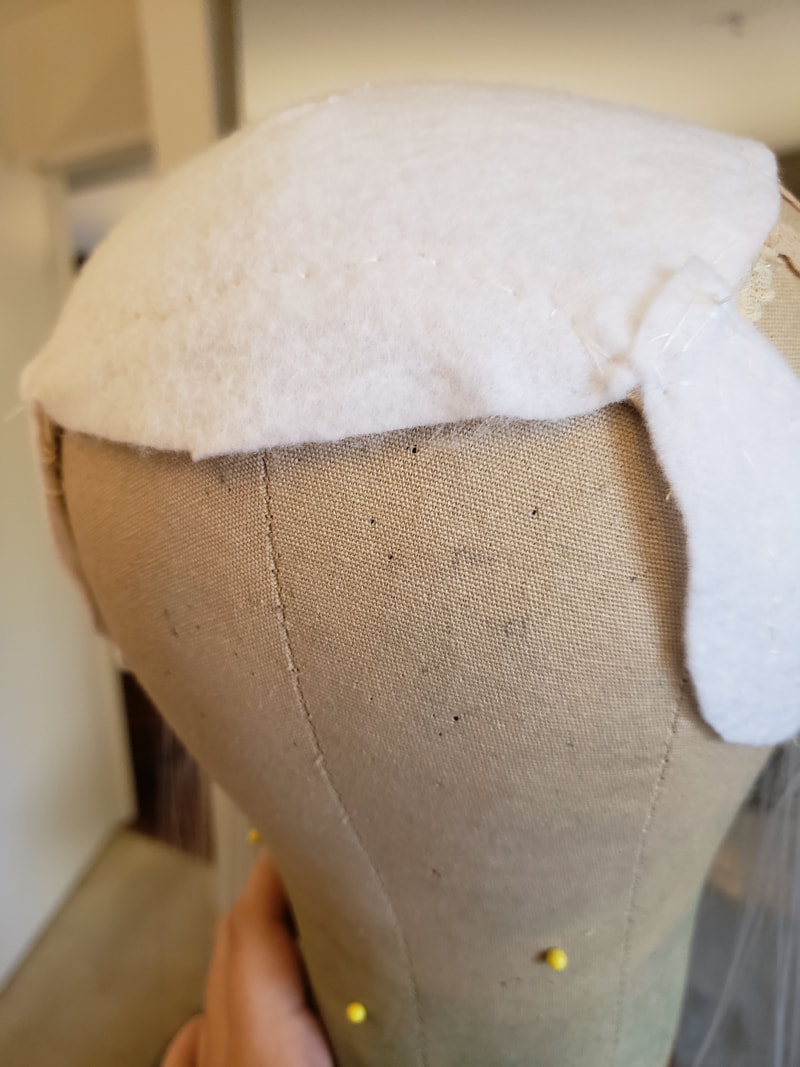
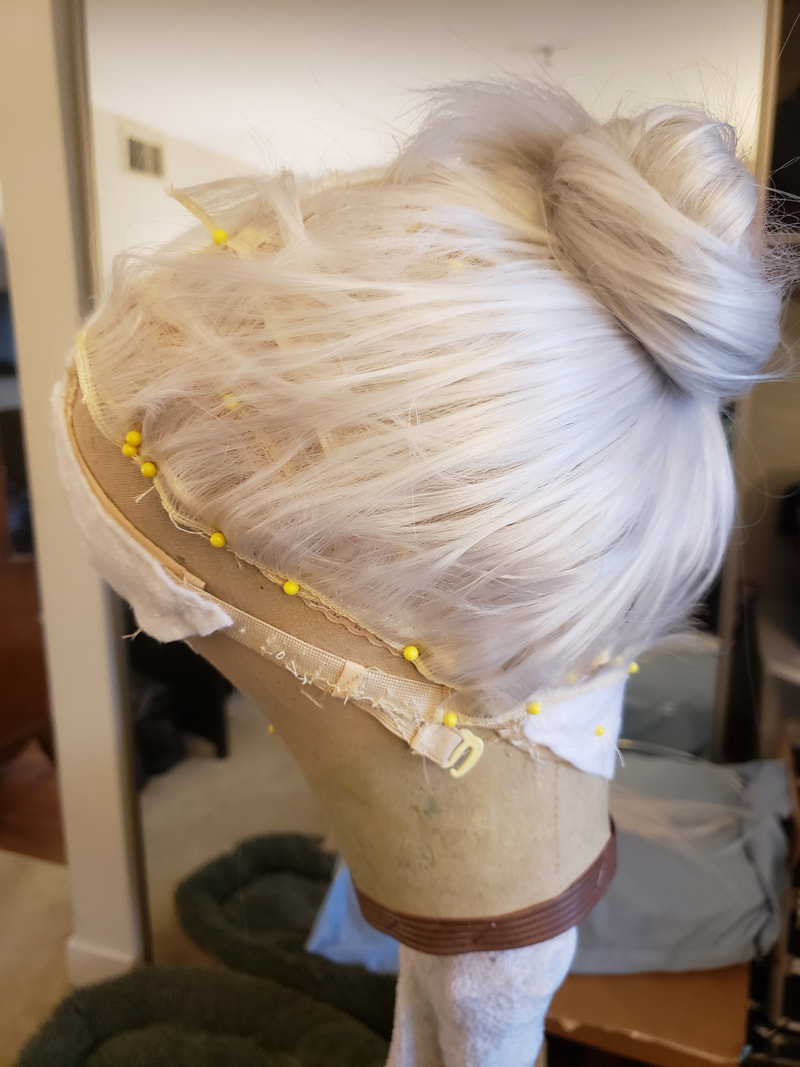
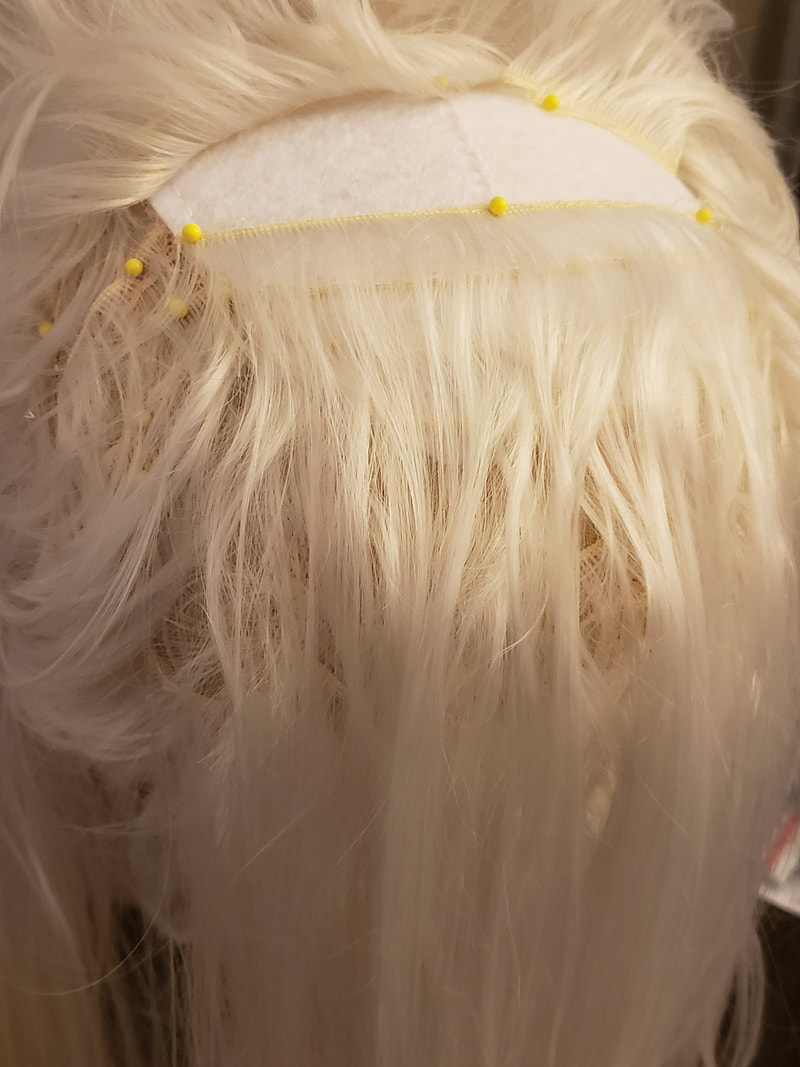
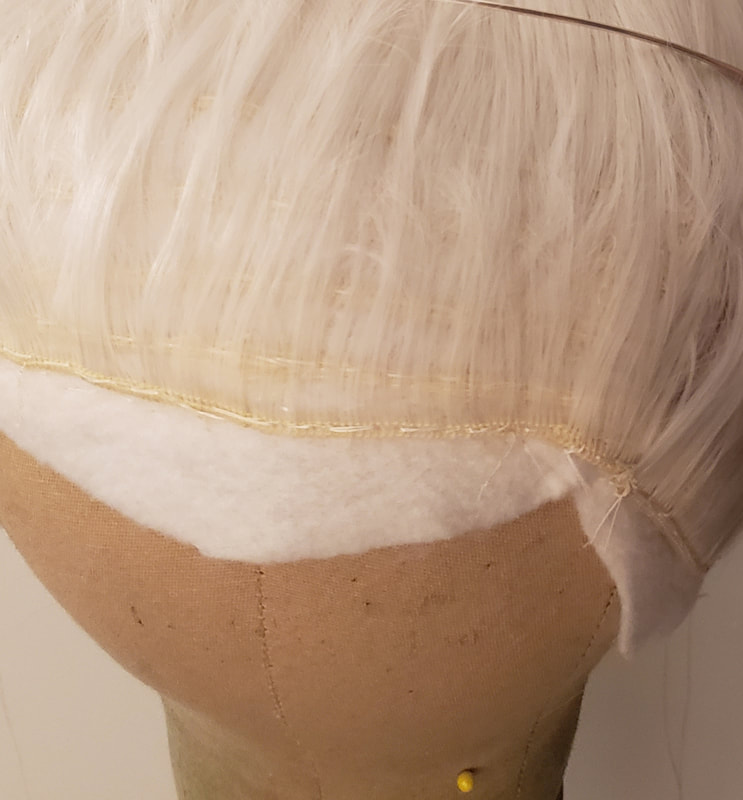
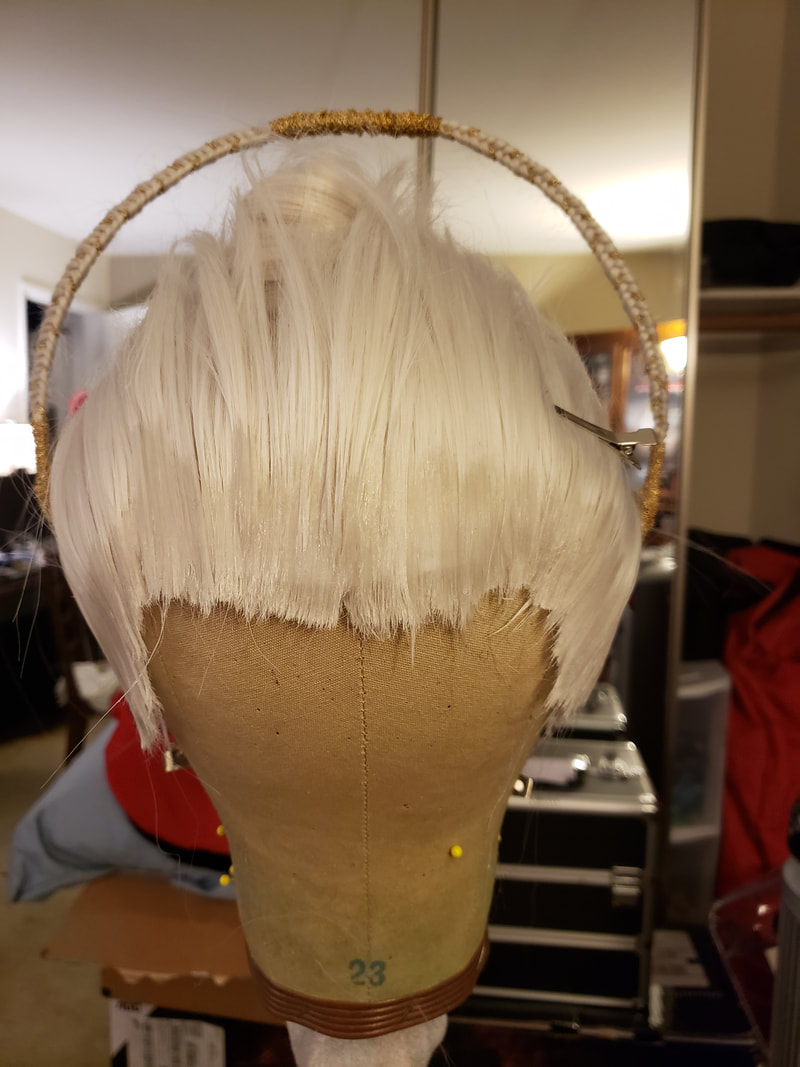
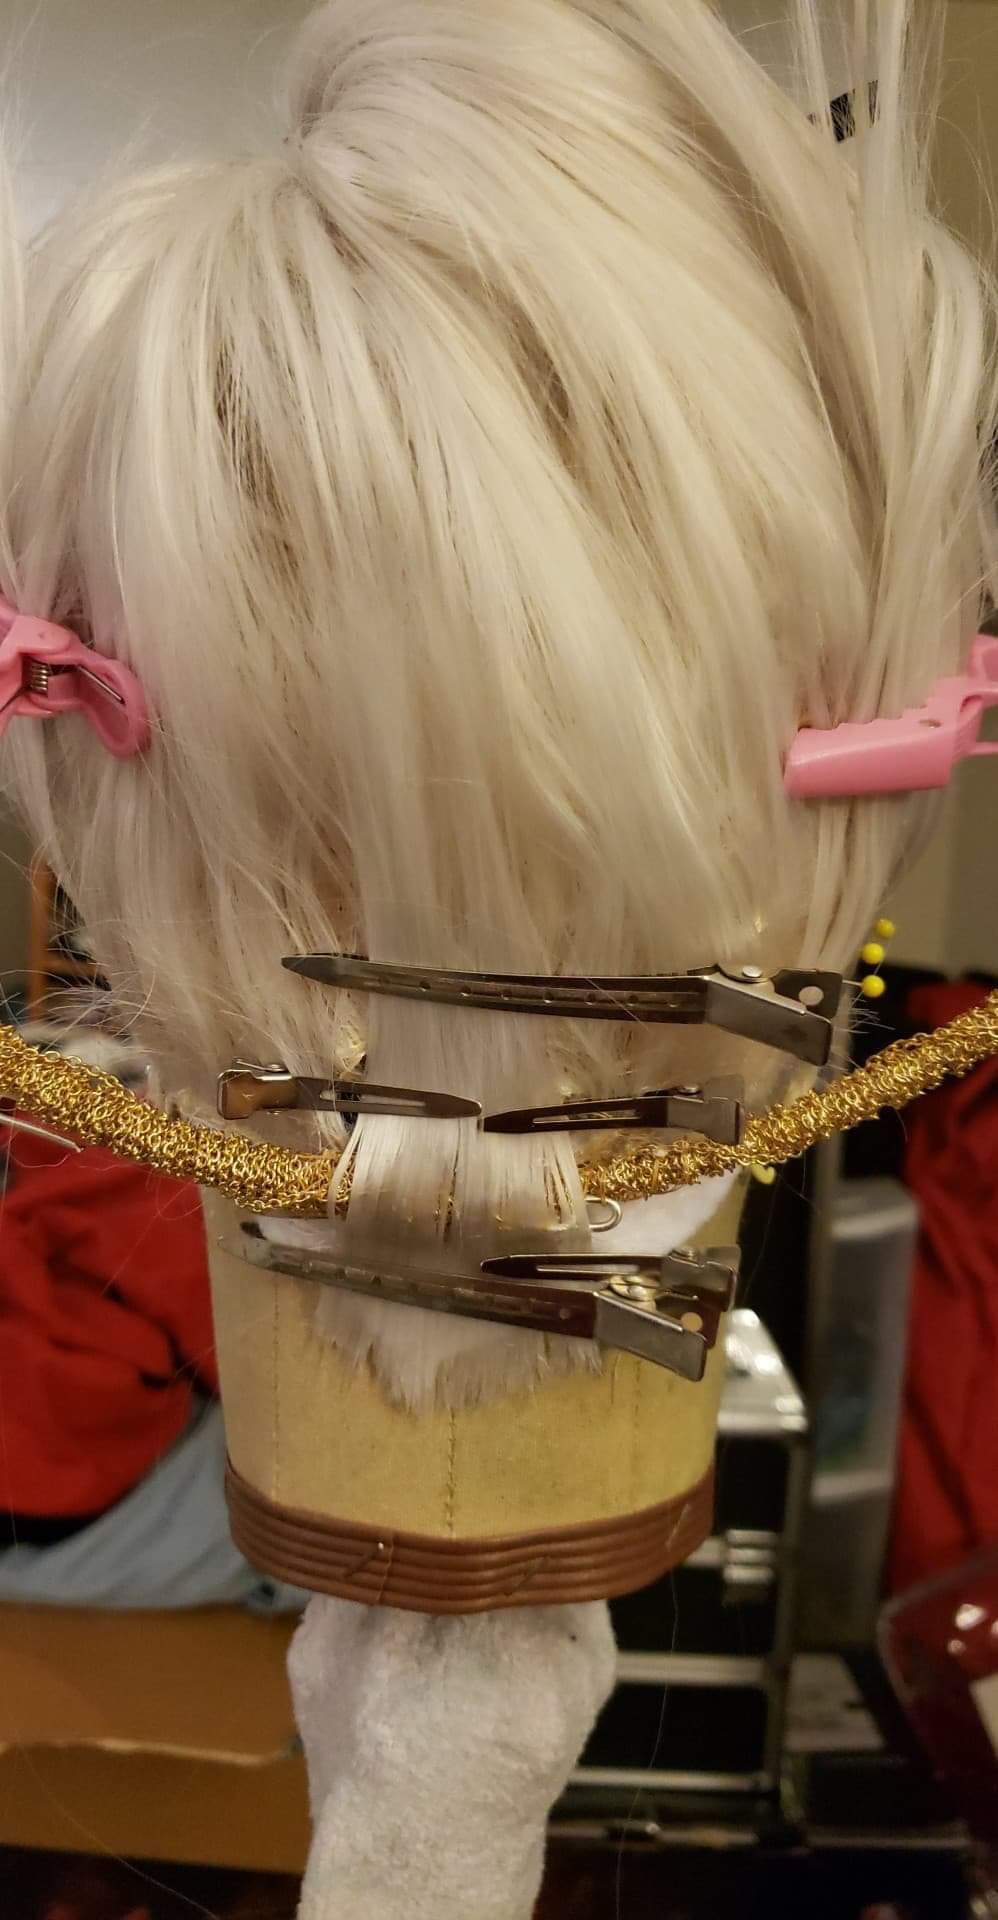
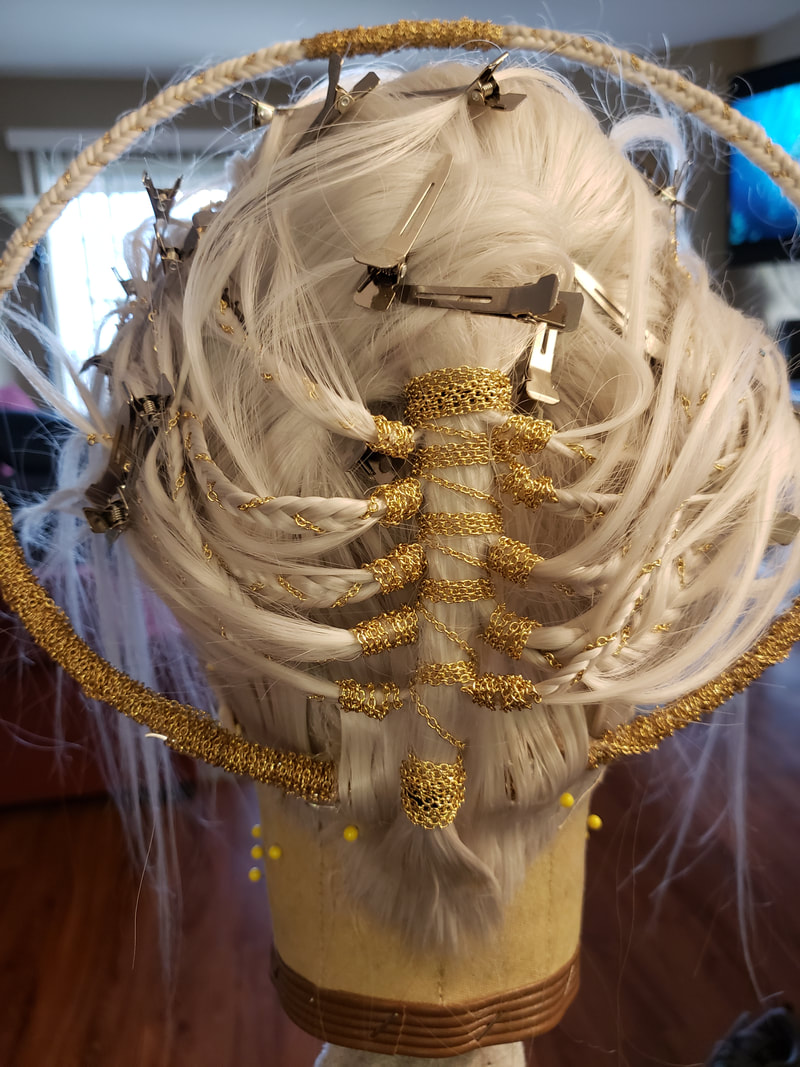
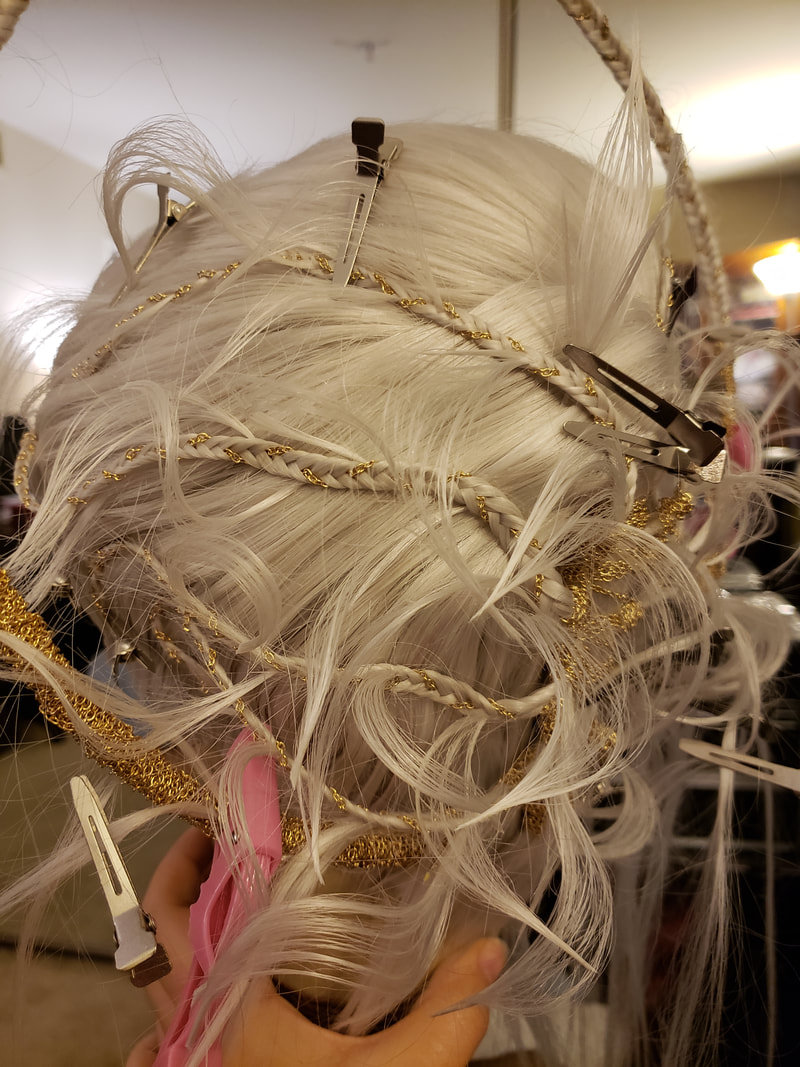
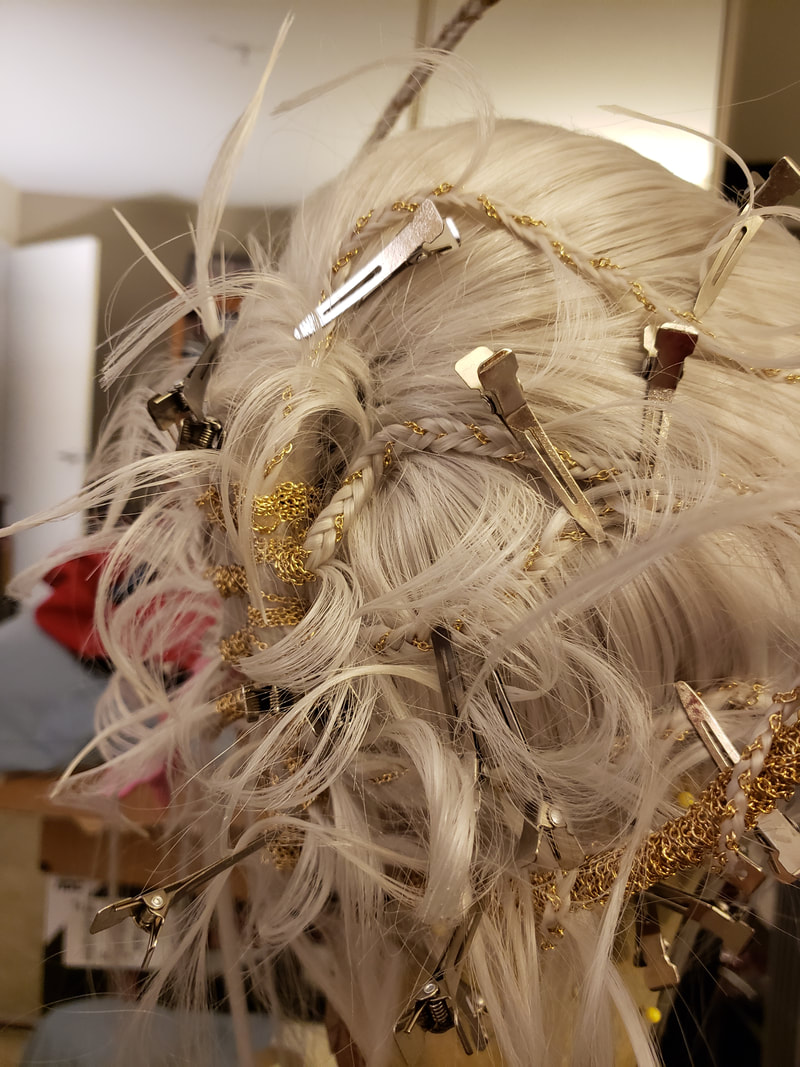
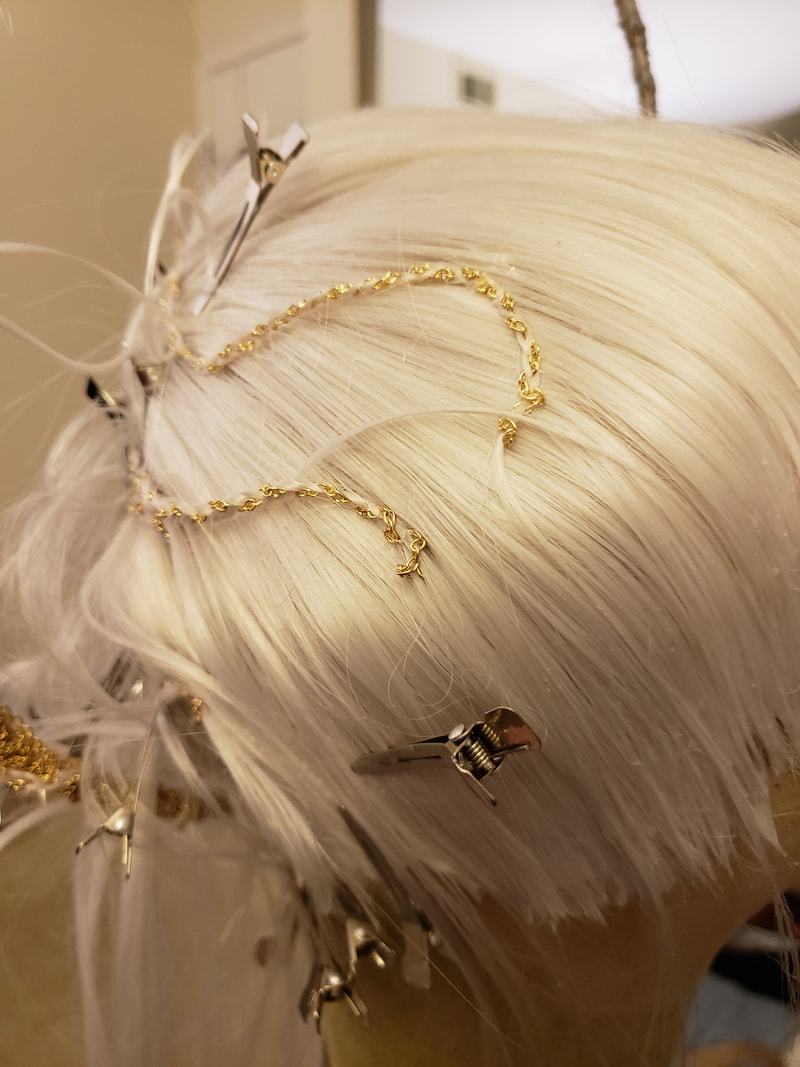
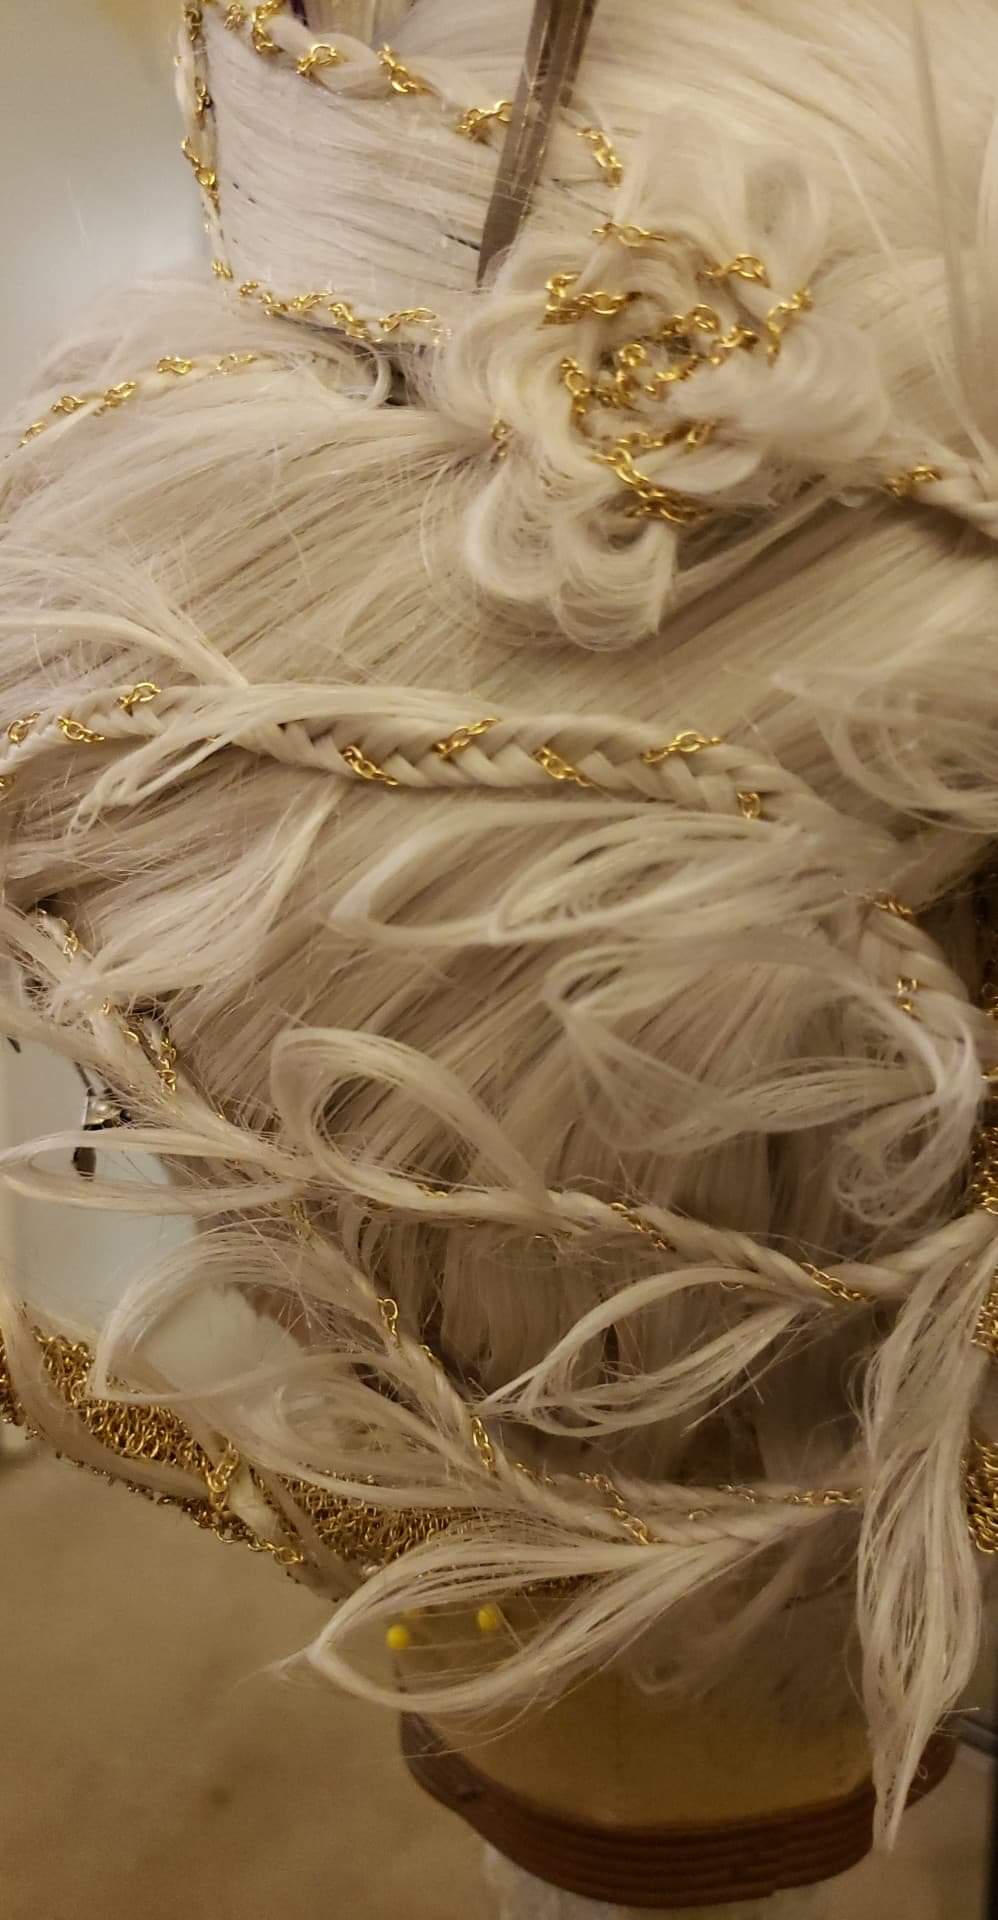
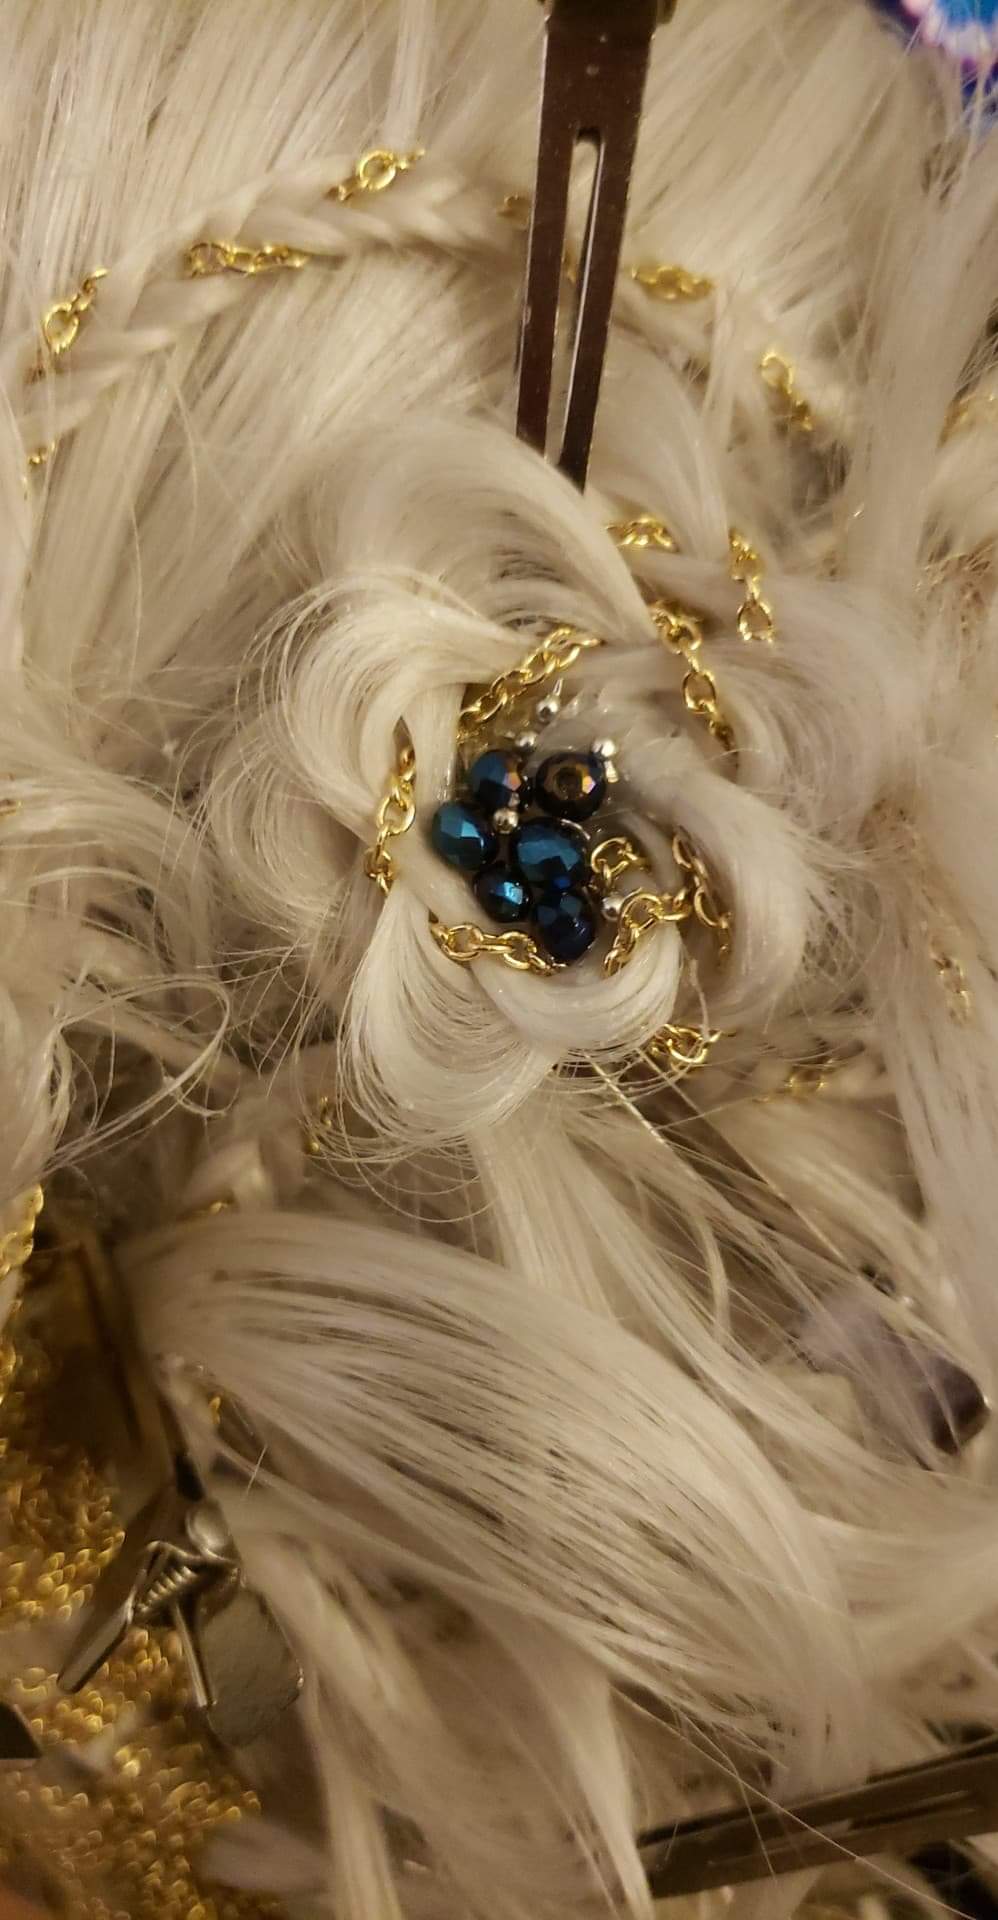
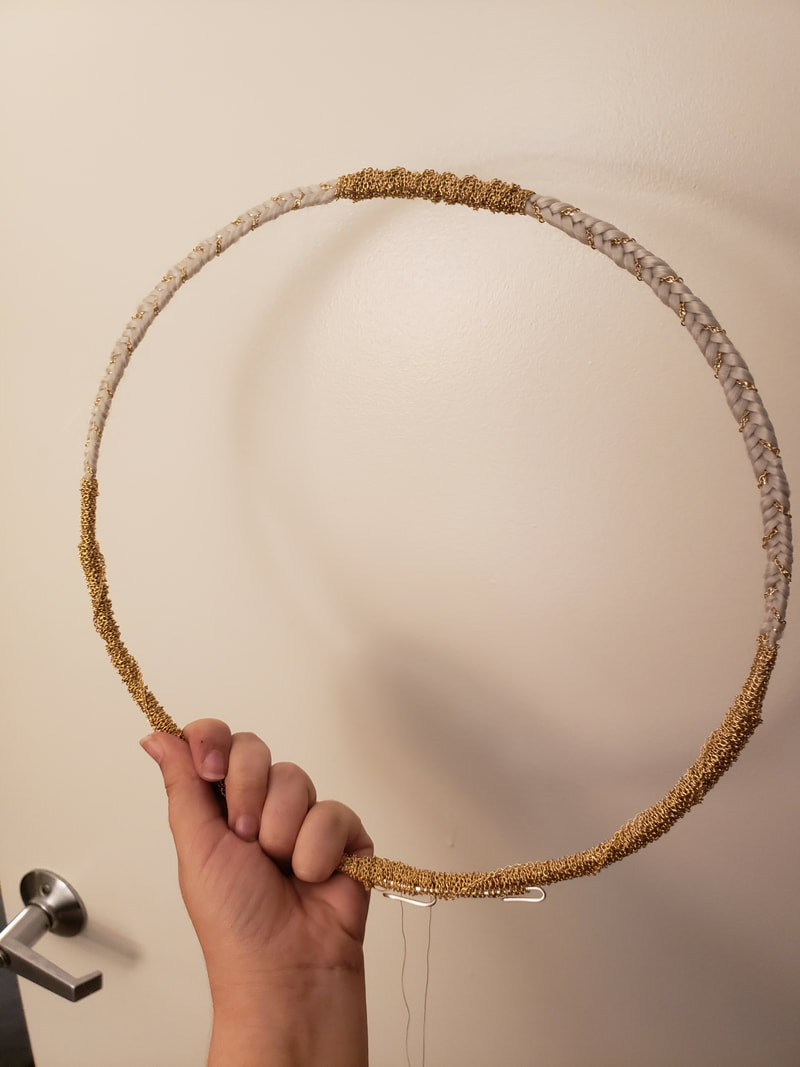
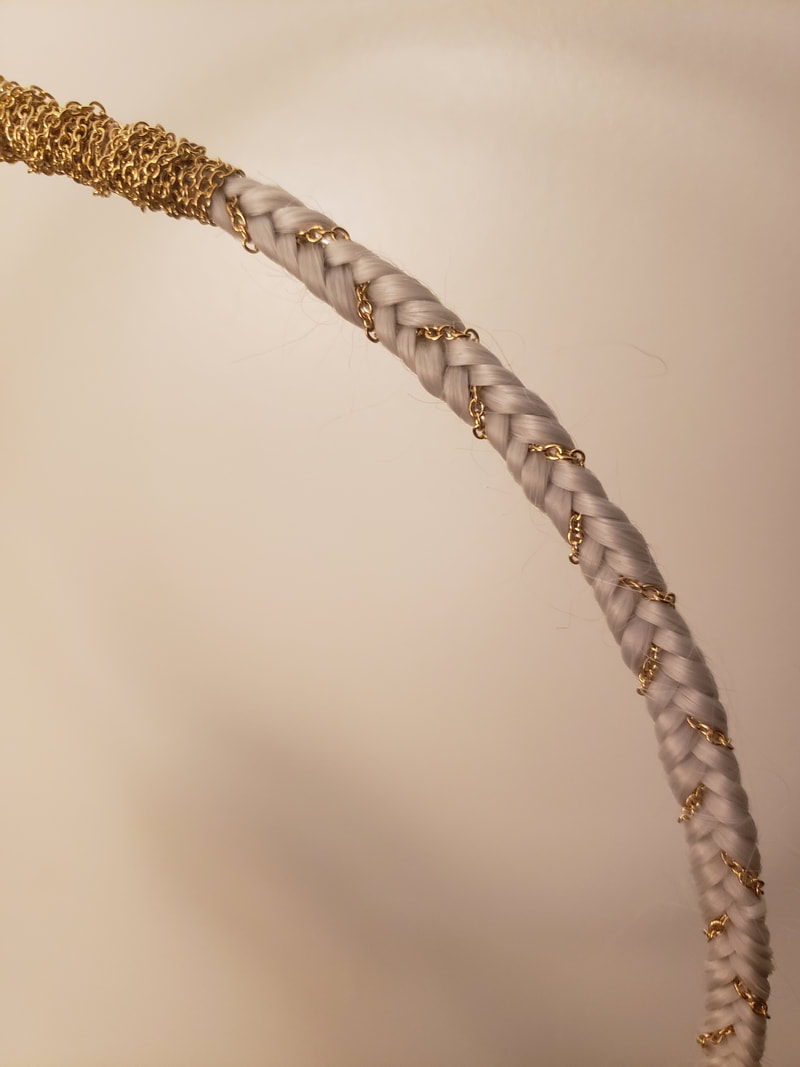
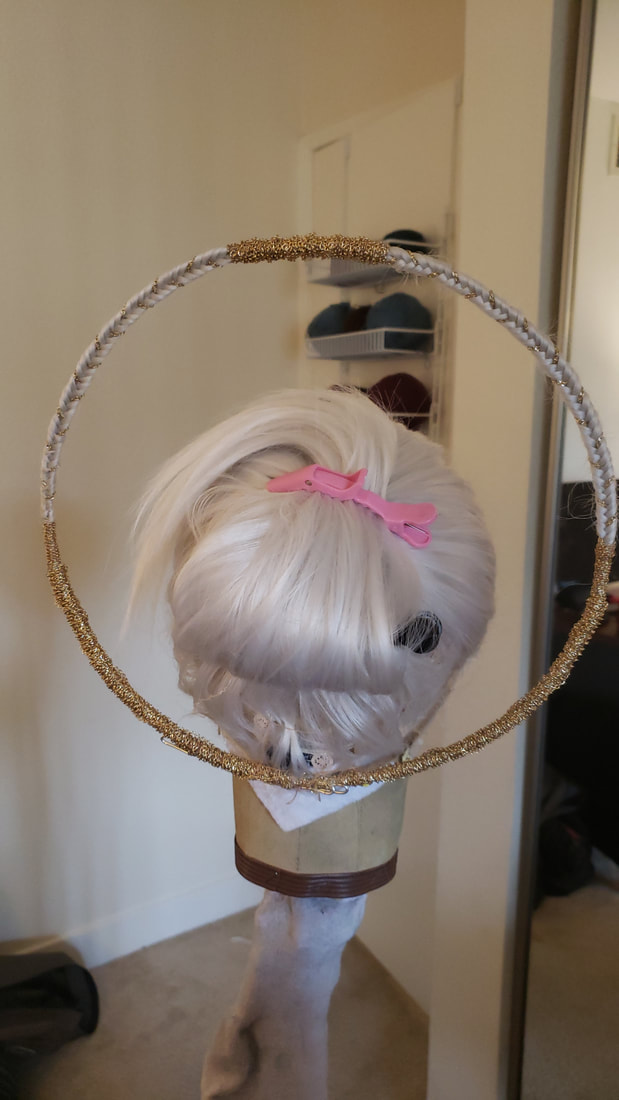
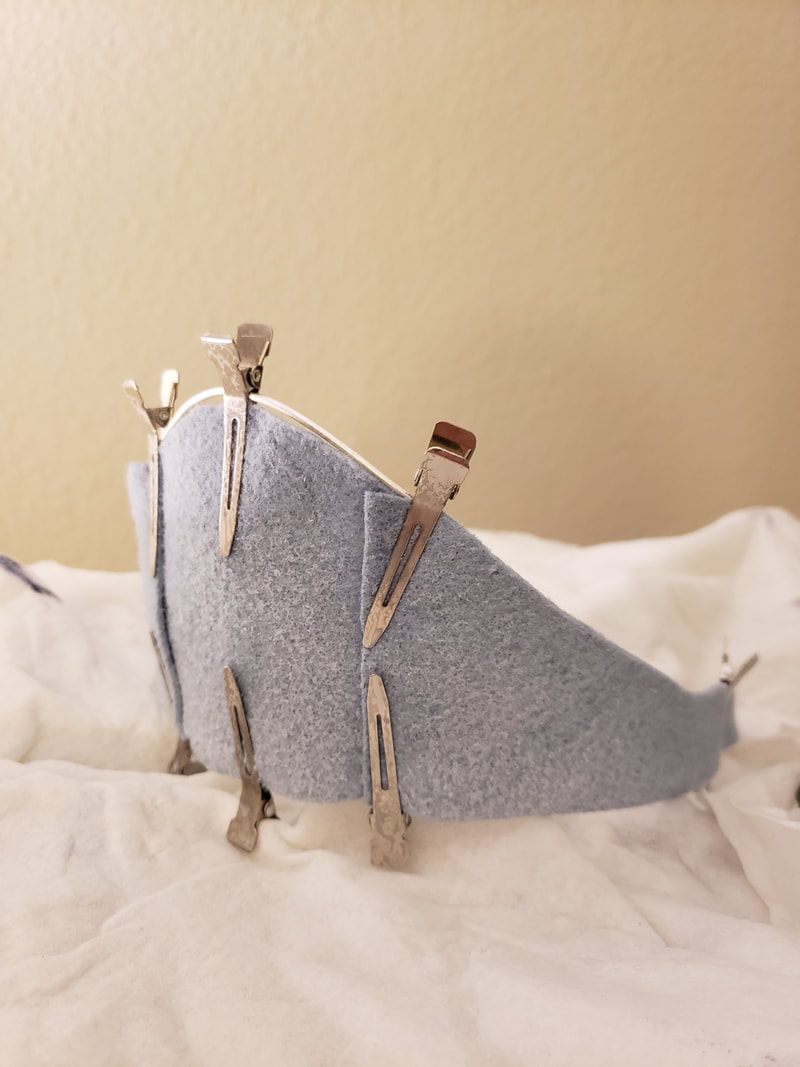
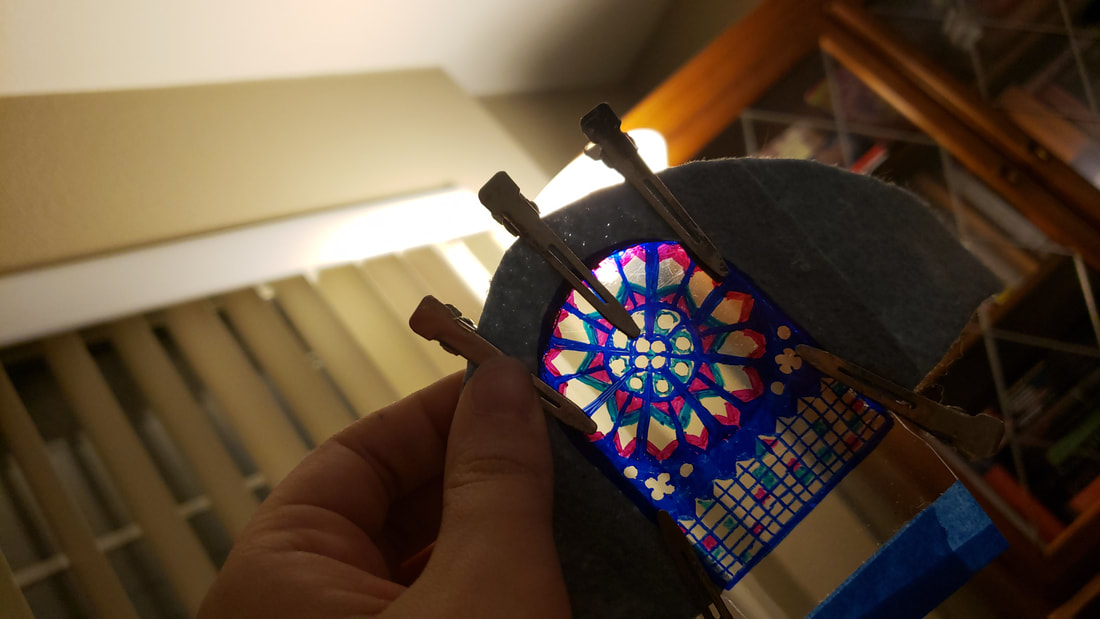
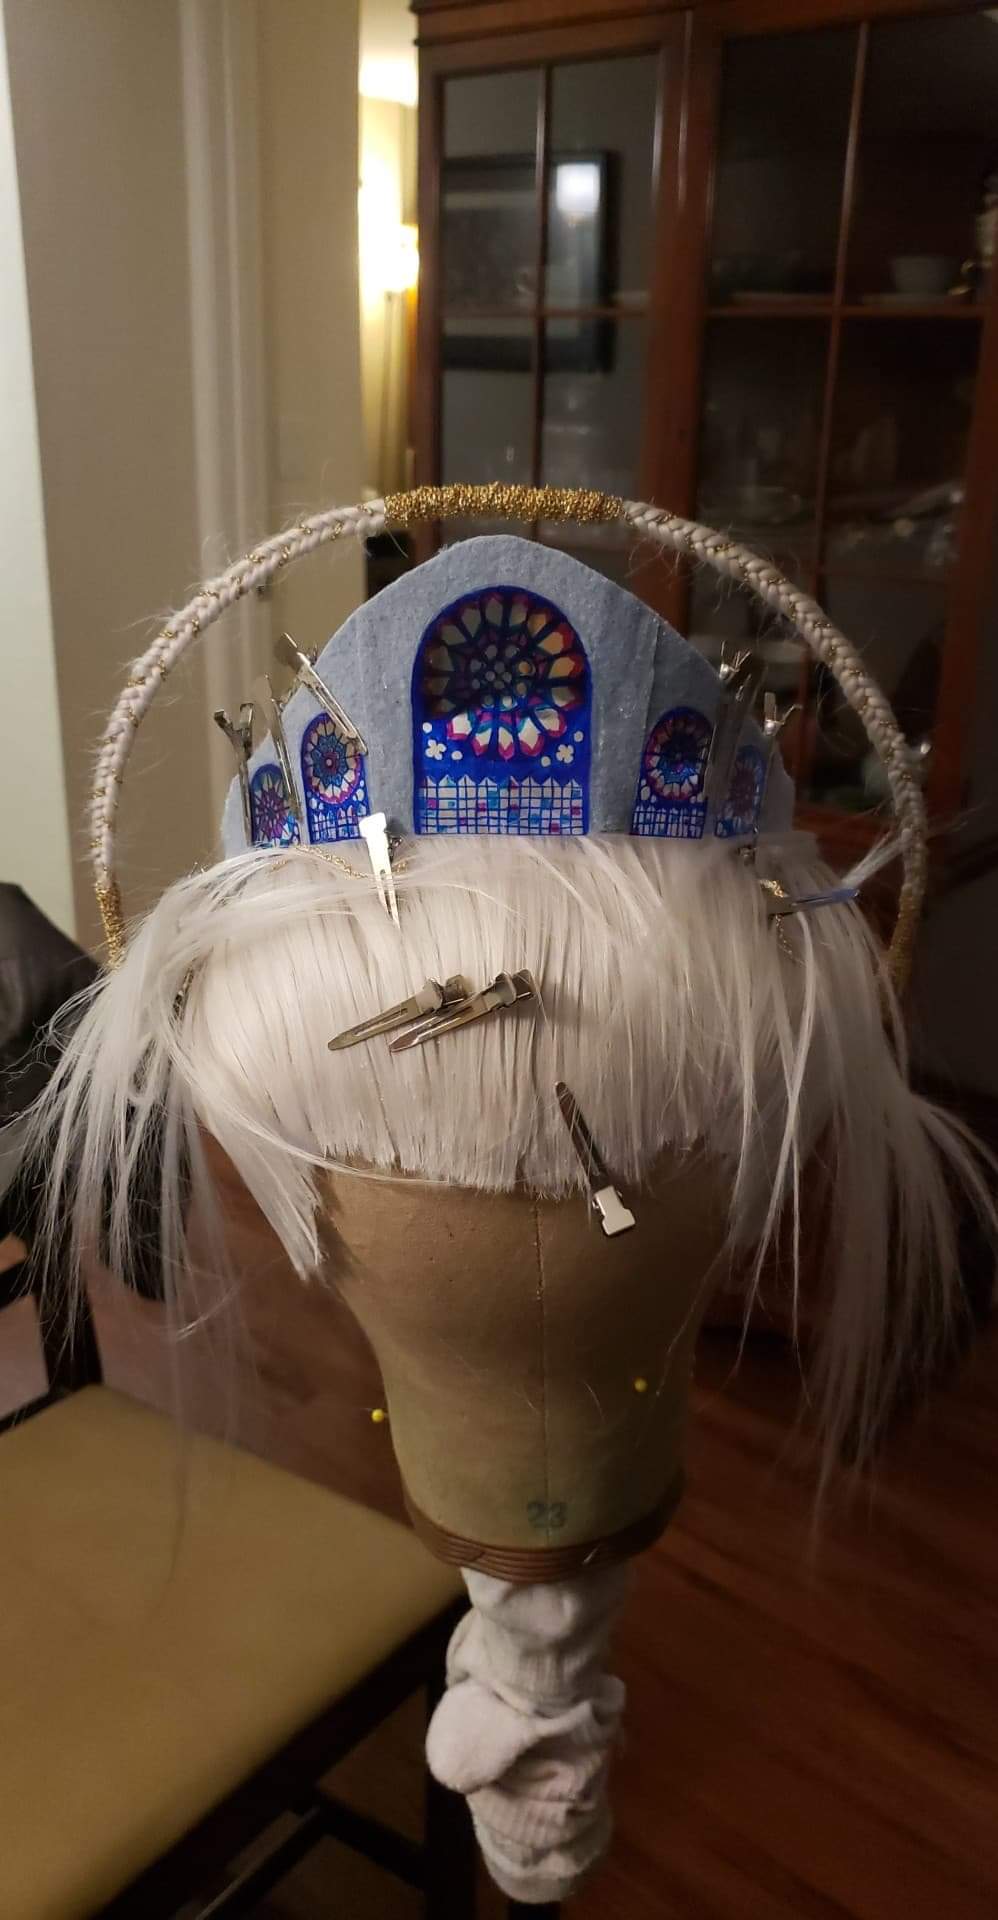
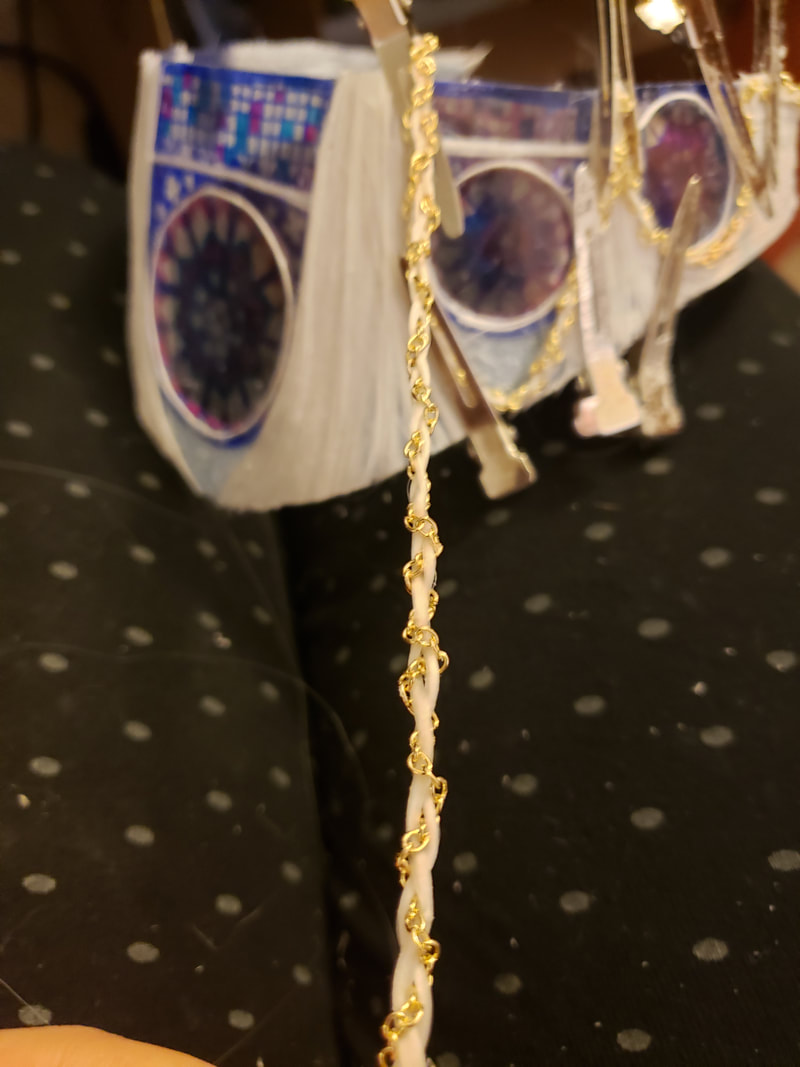
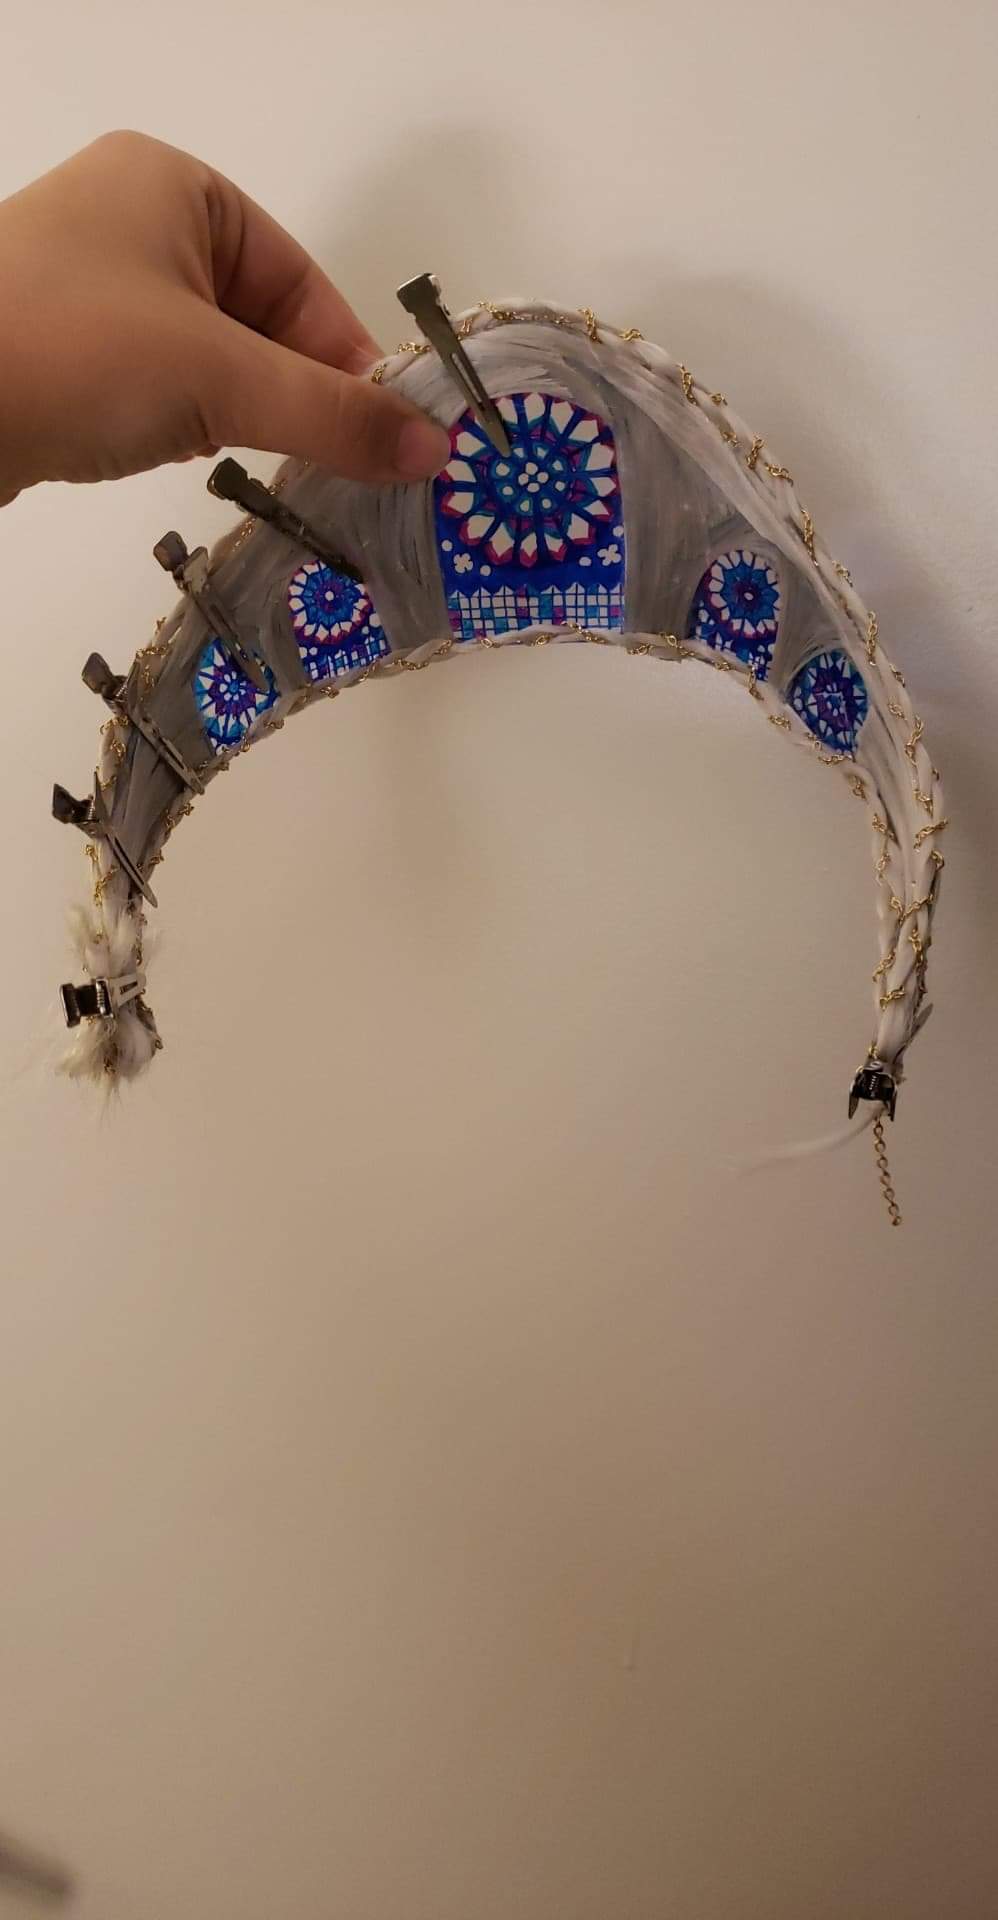
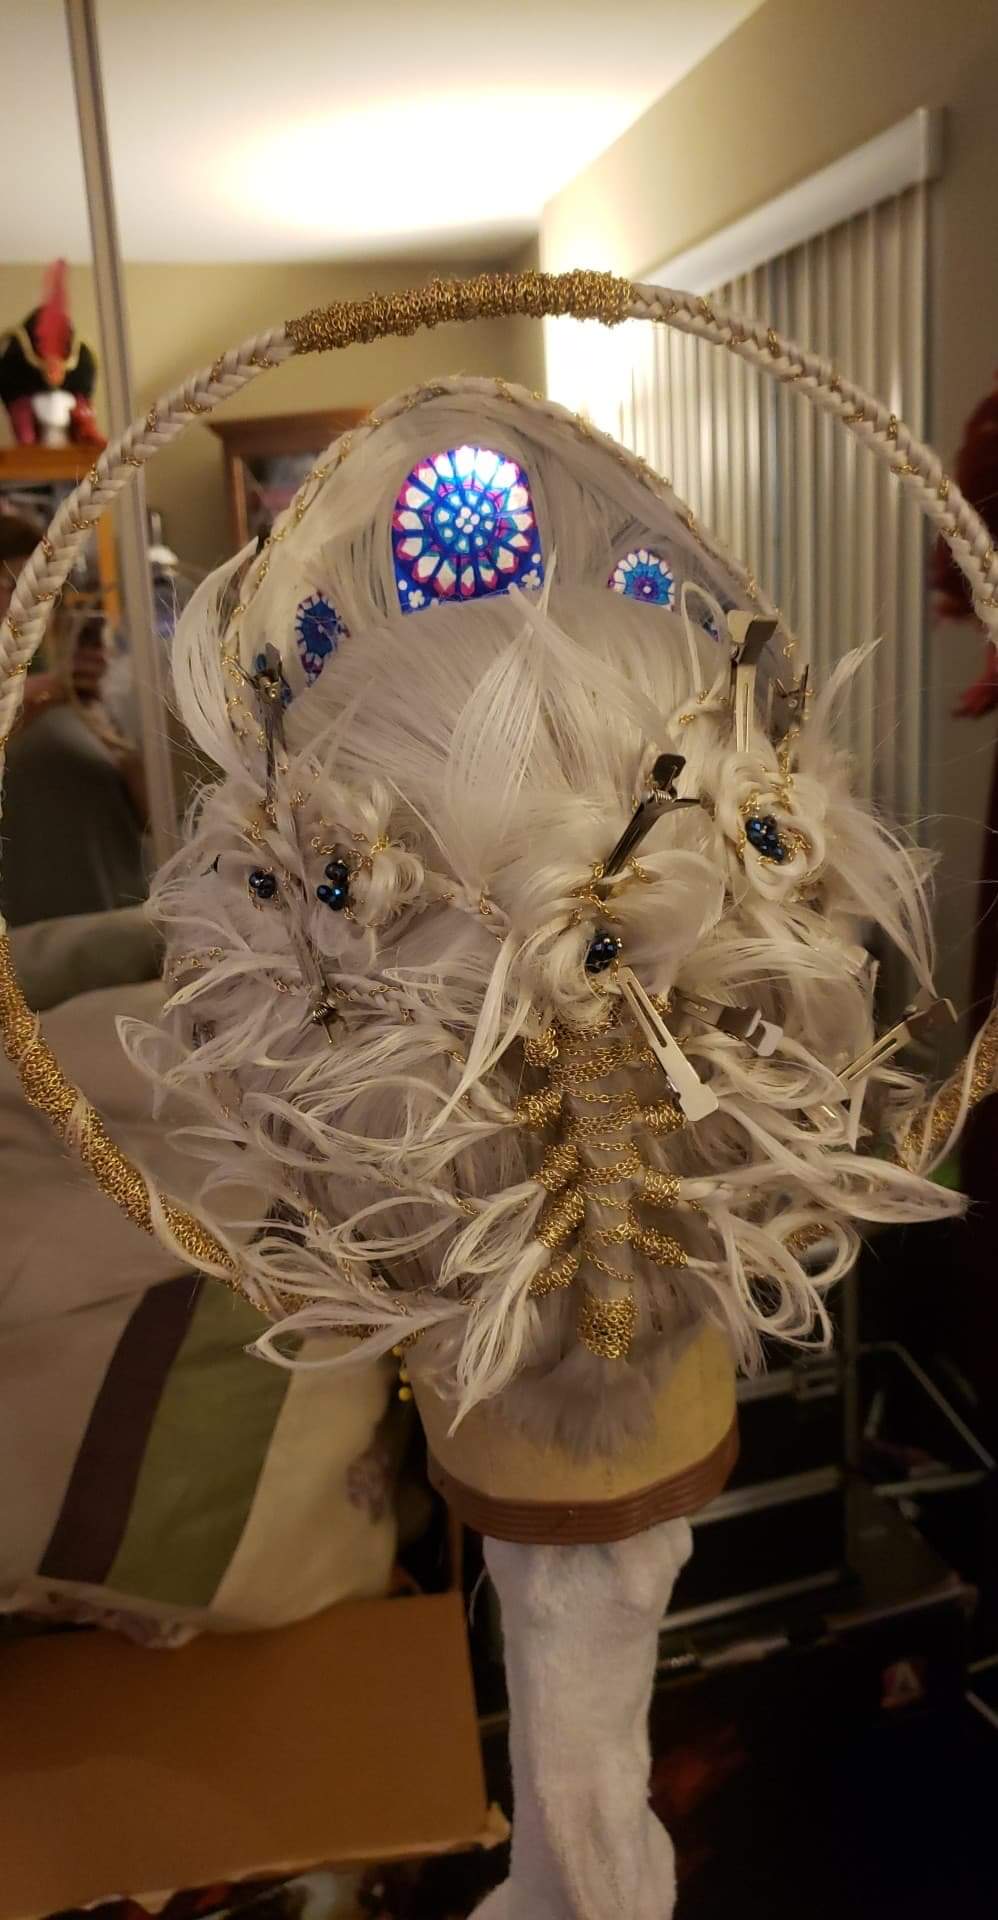
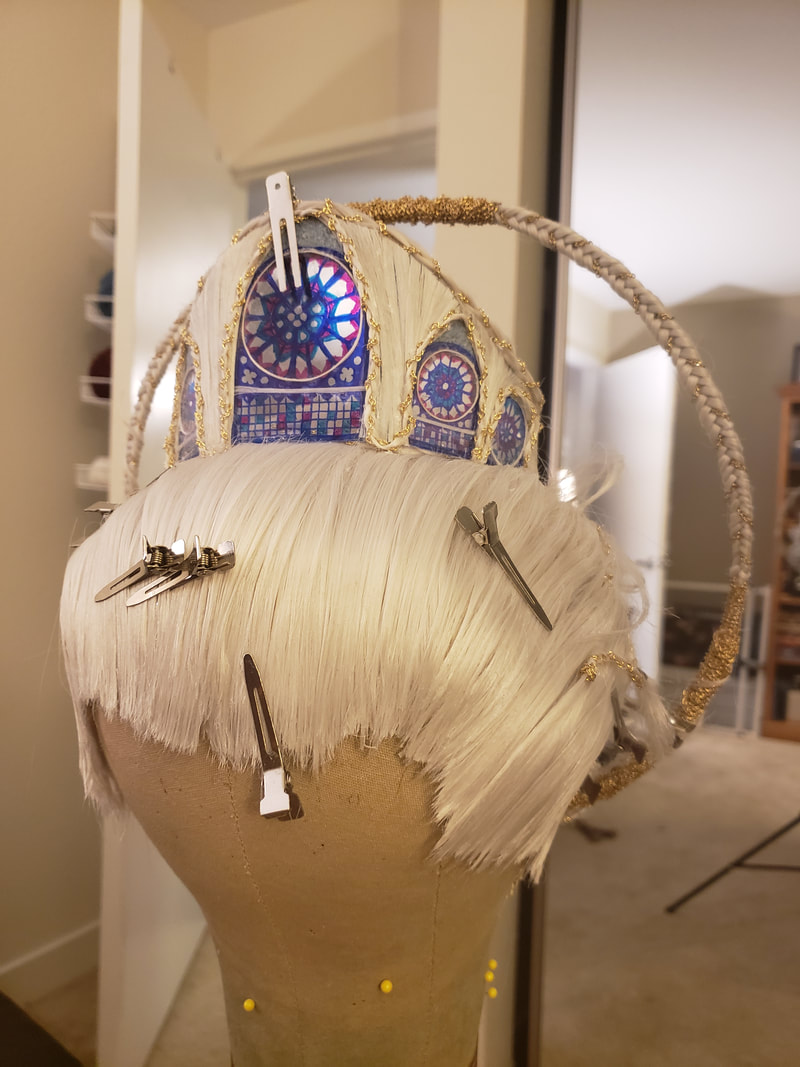
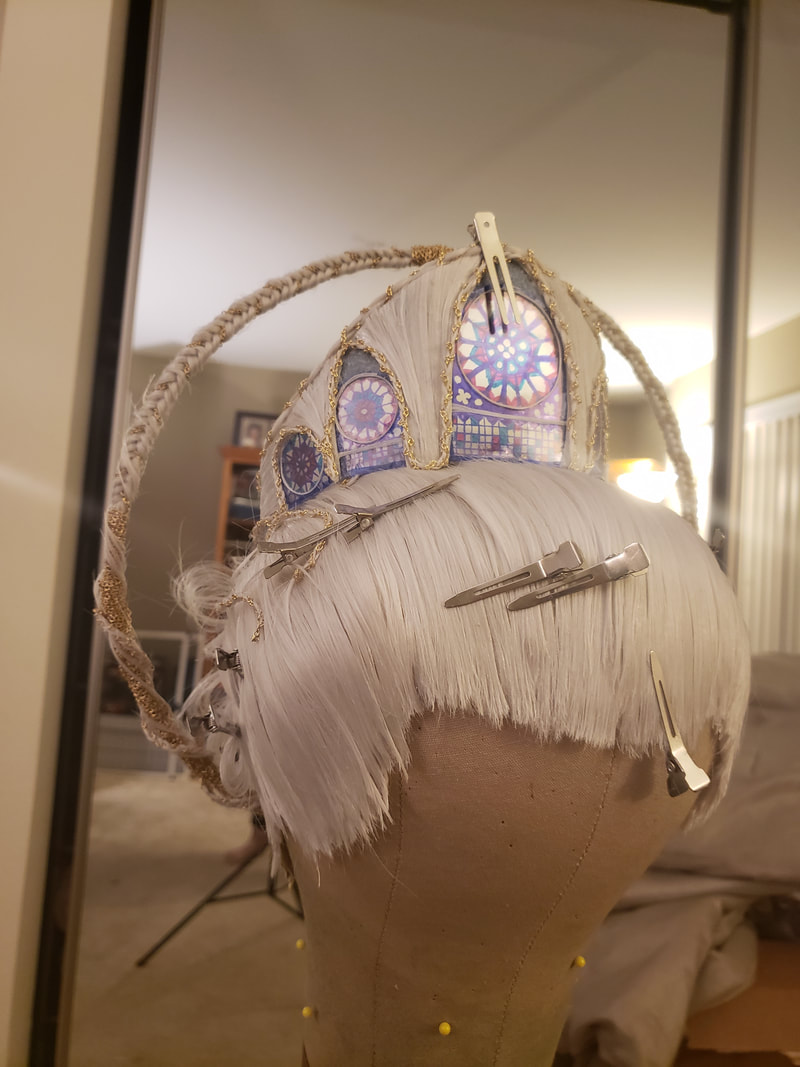
Inspiration: 
I was inspired by the French Gothic architecture of the Notre Dame and wanted to play this against modern alternative Gothic. My design started with a halo as seen in many Gothic depictions of religious figures. I then wanted to capture the vaulted ceilings of the cathedral which lead to my inclusion of the crown. From there, it seemed only natural to fill the crown with stained glass windows. I used the Rose Window as inspiration for the shape but ended up needing to create my own simplified design. An updo would allow for clean lines and a more regal presence.
Process:
Base Wig:
  • Straightened the wig to work with the hair more easily and removed the teasing.
  • Started by removing all the wefts and sewing them back on in a pattern that benefited me. The original pattern of the Victoria was not conducive to the planned updo.
  • Sewed in some white felt to better hide the wefts and create a more dynamic hairline.
  • Kept some wefts out to use for other designs later
  • Sewed in the wefts for the base wig in a pattern centered around the crown of the head for a high ponytail
  • Re-teased the roots to better hide the wefts
  • Created a false hairline using tacky glue all the way around the wig following the flow of a high ponytail
  • Did an upside down French twist (ha see what I did there?) to bring the hair down as opposed to a regular French twist where the hair twists up.
  • Attached the halo to the nape of the neck (outlined later).
  • Constructed the tree by wrapping chain around a section of hair, leaving sections out on the way down.
  • Then braided the branches of the tree with more chain and laid them out against the back of the head with more tacky glue and model glue. The braids are 5 strand.
  • Left more sections of hair out of each braid to be the leaves.
  • Shaped the leaves using hairspray and trimmed them.
    • Started the shape by fanning the fibers out
    • looped the fanned fibers back to their “stem”
    • Used hairspray to point each leaf
  • ​Then added the crown (outlined later)
  • Created flowers with more chain and excess hair leftover 
    • Braid with the chain - simple 3 strand braid
    • “Pancake” one side of the braid
    • Roll into a flower
    • Glue base with tacky glue
  • Placed the flowers around the back of the head
  • Glued in beads for color and to fill in the center of each flower
  • Cleaned with more tacky glue and hairspray
Halo:
  • Shaped 2 concentric circles from wire
  • Cut hair from spare wefts to create braid in extensions
  • Braided chain and wefts around the wire. Also used 5 strand braids for this and switched direction in the middle of the halo to create symmetry in the halo
  • Closed the hoops of wire with chain and glue
  • Attached to the nape of the neck by sewing and gluing and then used hair from the hairline and trunk to stabilize and secure.
  • Sealed the braid with water and Modge Podge to make sure fraying was minimal
  • Cleaned fraying with scissors.
Crown:
  • Created the pattern using wire, plastic wrap, and painters tape.
  • Used plastic from to go boxes to draw stained windows in Sharpie tracing an original design first drawn on paper using measurements from the crown pattern
  • Cut out the pattern in felt and used Modge Podge fabric stiffener to solidify.
  • Cut out the windows and glued them into the crown.
  • Added an extra pane of plastic to seal the Sharpie so it wouldn’t get rubbed off or ruined with all the glue, hairspray, and handling.
  • Used tacky glue and excess hair to cover the felt of the crown
  • Chain and a 3 strand braid were applied to the window frames
  • Hair was used to trace the circles with modeling glue and create more of a frame
  • Glued in beads to the tops of the windows to get the cathedral and vaulted ceiling shape
  • The excess of the braid on the crown was used to make another flower.
Results: You can see how I did here. In short, I didn't win the round, but I didn't lose either! The round definitely set the bar for the rest of the competition. Check out the other contestants too.
  • Rentchan (Lauren)
  • Hidory Hope
  • Lina Flan
  • Phunkee Bones
  • Rin Marie Wigs
They are all incredible artists and I am lucky to be creating art with them.
See The Final Product
0 Comments

    Author

    Arda Wigs' Iron Wig 2020 3rd Place Winner with wiggy ideas to share. Want to know more? Check out the About Emily page or get in touch!

    Categories

    All
    5 Minute Styles
    Announcements
    Arda Iron Wig 2020

    Archives

    May 2021
    April 2021
    March 2021
    February 2021
    May 2020
    March 2020

    RSS Feed

Proudly powered by Weebly
  • Home
  • Blog
  • Gallery
  • About Our CEO
  • Contact
  • Commissions
    • Consultation
    • Commission FAQ
    • Terms of Service
  • Shop
  • Home
  • Blog
  • Gallery
  • About Our CEO
  • Contact
  • Commissions
    • Consultation
    • Commission FAQ
    • Terms of Service
  • Shop